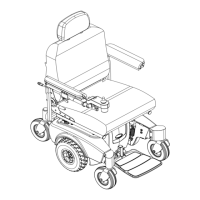
SECTION 9—SHROUDS/FRAME
Pronto
®
M91™and M94™ 88 Part No. 1125038
SECTION 9—SHROUDS/FRAME
WARNING
After ANY adjustments, repair or service and BEFORE use, make sure all attaching
hardware is tightened securely - otherwise injury or damage may result.
Before performing any maintenance, adjustment or service verify that ON/OFF
switch on the joystick is in the OFF position.
Removing/Installing the Shrouds
NOTE:Forthisprocedure,refertoFIGURE 9.1onpage90.
WARNING
To prevent cracking the plastic shroud material, DO NOT overtighten the mount-
ing screws.
NOTE:Reversethisproceduretoinstalltheshrouds.
1. Disconnectthejoystick.RefertoDisconnecting/ConnectingtheJoystickonpage 112.
2. Removeortilttheseatassembly.RefertoRemoving/InstallingorTiltingtheSeat
Assemblyonpage 35.
3. Performoneofthefollowing:
•TopShroud‐Liftuponrearedgeoftopshroudtoreleasethefourhookandloop
stripsthatsecurethetopshroudtothebaseframe.
•RightandLeftSideShroud‐
i. Removethedrivewheel.RefertoRemoving/InstallingtheDriveWheel
on
page 84.
ii. Removethefivemountingscrewsthatsecuretheshroudtothesideframe
assemblyandremovesideshroudfromsideframe.
NOTE:Shortermountingscrewsareusedtosecurethetoprearofsideshrouds(Detail“A”of
FIGURE 9.1).
•ShroudPlate‐Removethetwomountingscrewsandwasherssecuringtheshroud
platetothesideframeassembly(Detail“A ” ofFIGURE 9.1)andremoveshroud
platefromsideframe.
•FrontShroud‐Removethetwomountingscrewsthatsecurethefrontshroudto
thebaseframe(Detail“B”ofFIGURE 9.1)andremovefrontshroudfromthebase
frame.

 Loading...