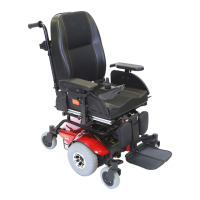
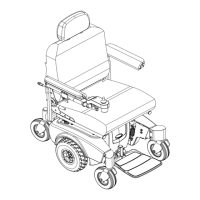
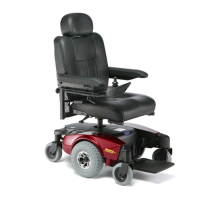
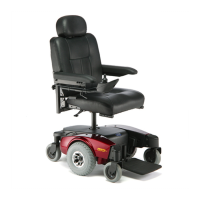
SECTION 8—WHEELS
Part No. 1125038 83 Pronto
®
M91™and M94™
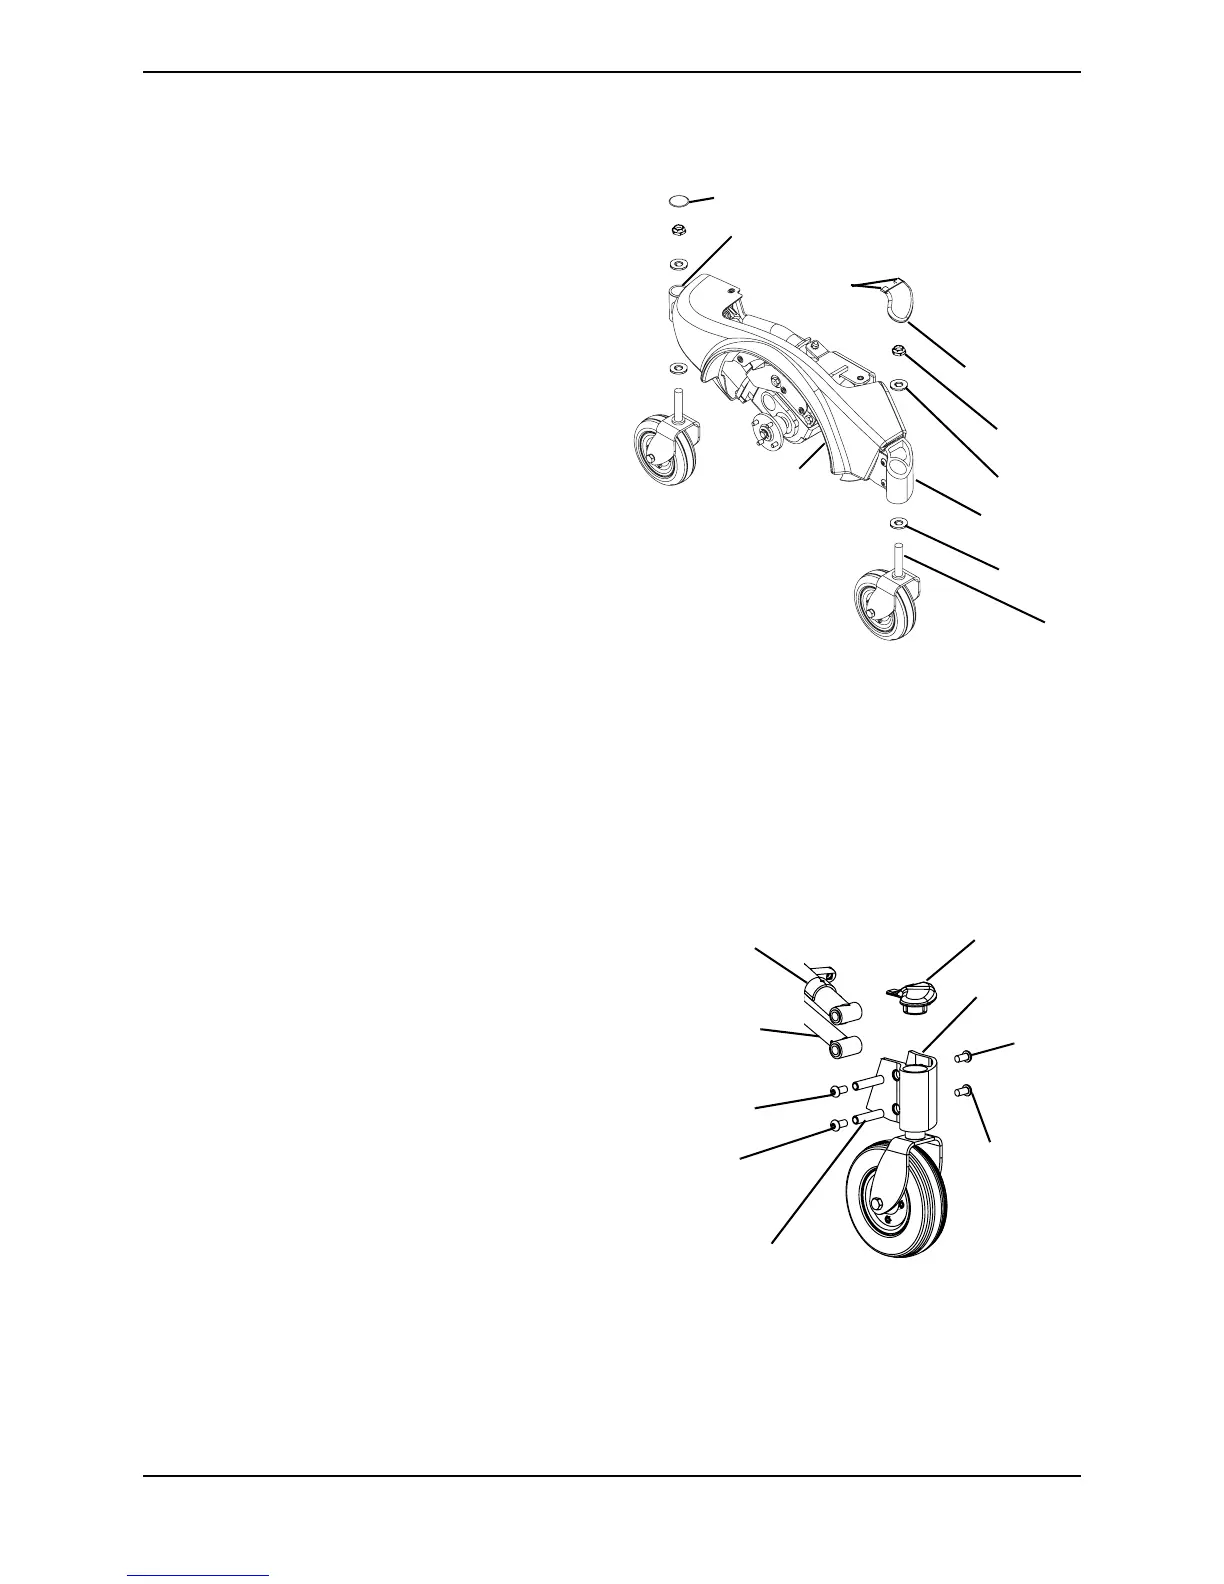
Removing/Installing the Front/Rear Caster Assemblies
NOTE:Forthisprocedure,referto
FIGURE 8.3.
NOTE:Frontandrearcasterassembliesare
replacedinthesamemanner.
Removing
1. Removethedustcover.
2. Removelocknutandtwowashers
securingcasterassemblytothe
headtube.
Installing
1. Insertthreadedpostofcasterassembly
intoheadtube.
2. Usinglocknutandtwowashers,secure
casterassemblytoheadtube.
3. Snapdustcoverintotheheadtube.
FIGURE 8.3 Removing/Installing the Front/
Rear Caster Assemblies
Removing/Installing the Front Headtube Assembly
NOTE:Forthisprocedure,refertoFIGURE 8.4.
NOTE:Takenoteofpositionandorientationof
headtubeandmountinghardwarefor
installation.
NOTE:Reversethisproceduretoinstallthe
frontheadtubeassembly.
1. Removethedustcover.
2. Removethetwotopmountingscrews
andbushingsthatsecuretheheadtube
tothewalkingbeam.
3. Removethe
twobottommounting
screwsandbushingsthatsecurethe
headtubetothepivottube.
4. Removetheheadtubefromthewalking
beamandpivottube.
FIGURE 8.4 Removing/Installing the Front
Headtube Assembly
Locknut
Caster Assembly
(Threaded Post)
Dust Cover
Tabs
Washer
NOTE:Components
explodedforclarity.
Thereisnoneedto
removetheforkfrom
thebaseframe.
NOTE:Ensuretabsare
underthesideshrouds
wheninstalling.
Headtube
Dust Cover
Side
Shroud
Headtube
Washer
Top Mounting
Screw
Dust Cover
Bushings
Headtube
Top
Mounting
Screw
Bottom
Mounting Screw
Bottom
Mounting
Screw
Walking Beam
Pivot Tube
 Loading...