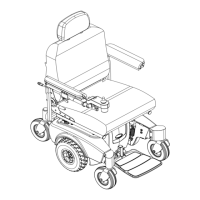
SECTION 6—FRONT RIGGINGS
Part No. 1125038 73 Pronto
®
M91™and M94™
Replacing Heel Loops
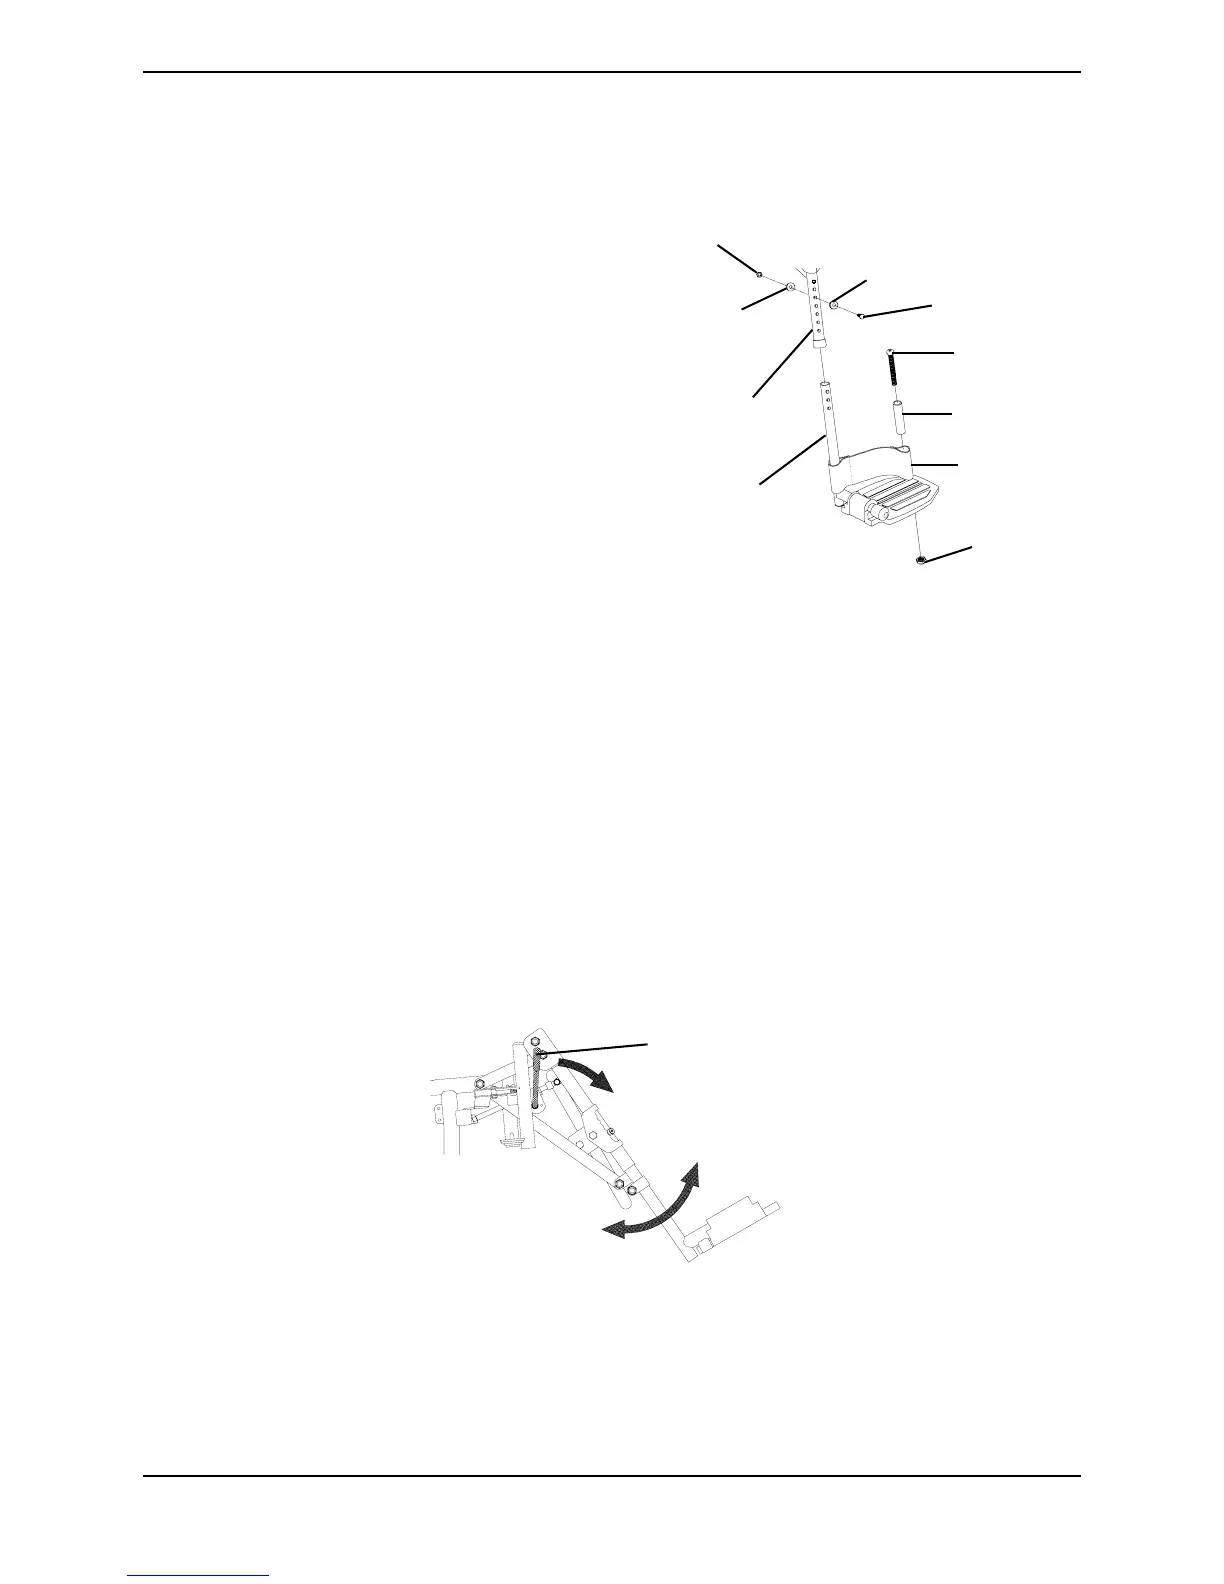
NOTE:Forthisprocedure,refertoFIGURE 6.4.
1. Notethepositionofhexbolt,coved
washersandlocknutforreinstallation.
2. Removethehexbolt,covedwashers
andlocknutthatsecurethelower
footresttothefootrestsupport.
3. Removethelowerfootrest.
4. Removethephillipsbolt,spacerand
locknutthatsecuretheexistingheel
looptothelowerfootrest.
5. Slidetheexistingheelloopoffthe
lowerfootrest.
6. Replaceheelloop.
7. ReverseSTEPS1‐6toreassemble.
FIGURE 6.4 Replacing Heel Loops
NOTE:Whensecuringheellooptolowerfootrest,tightenthephillipsscrewandlocknutuntilthe
spacerissecure.
Raising/Lowering Elevating Front Riggings
NOTE:Forthisprocedure,refertoFIGURE 6.5.
1. Performoneofthefollowing:
•Raising‐Pullbackonthereleaseleverandraisefrontriggingtothedesiredheight.
•Lowering‐Supportfrontriggingwithonehandawayfromthereleaselever.Push
releaseleverdownwardwithotherhand.
FIGURE 6.5 Raising/Lowering Elevating Front Riggings
Coved
Washer
Hex Bolt
Footrest
Support
Coved
Washer
Locknut
Lower
Footrest
Phillips Bolt
Locknut
Spacer
Heel Loop
Release
Lever

 Loading...