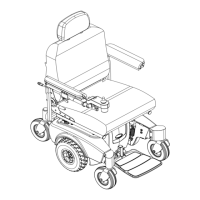
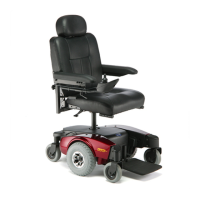
SECTION 9—SHROUDS/FRAME
Pronto
®
M91™and M94™ 92 Part No. 1125038
Removing/Installing the Walking Beam Assembly,
Stability Lock Assembly and/or Swing Arm
NOTE:Forthisprocedure,refertoFIGURE 9.3onpage94.
NOTE:Takenoteofpositionandorientationofthestabilitylock,swingarmandmounting
hardwarebeforeremoval.
Removing
1. Removetheseat.RefertoRemoving/InstallingorTiltingtheSeatAssemblyon
page 35.
2. Removethebatteries.RefertoInstalling/RemovingtheBatteriesonpage 103.
3. Removethedrivewheel.RefertoRemoving/InstallingtheDriveWheelonpage 84.
4. Removethesideshroud.RefertoRemoving/InstallingtheShroudsonpage 88.
5. Removethemotor.RefertoRemoving/InstallingtheMotoronpage 98.
CAUTION
Use caution when removing tension from the extension spring - otherwise, injury
may result.
6. Useascrewdrivertoreleasetheextensionspringfromthespringmountontheswing
armassembly.Removetheextensionspringfromthepivotplateandsetaside.
CAUTION
Use extreme caution when removing tension from the torsion spring - otherwise,
injury may result.
7. Useascrewdrivertoreleasetheendofthetorsionspringrestingonthepinonthelock
plate.
8. Removethelockplate.Allowthetorsionspringtorestinplace.
9. Removethewalkingbeammountingscrew,washerandnutsecuringthewalking
beamassembly,torsionspringandspringspacerto
theframe.
10. Removethetwomountingscrewssecuringthepivotracktothepivotlink.
11. Removethepivotrackfromthepivotlink.
12. Removethefrontmountingscrew,twonylonwashers,O‐ring,cuppedwasher,
locknutsecuringthepivotlinktothewheelchairframemountinghole(Detail“C”of
FIGURE 9.3).
13. Removethelongshoulderscrewandlocknutsecuringthepivotlinktotherearframe
mountinghole.
14. Performoneofthefollowing:
•RemovingtheStabilityLockAssemblyHardwareONLY‐
i. Remov ethe twoshoulderscrews andonewashersecuringthe motorracktothe
walkingbeam.

 Loading...