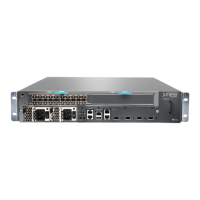
To remove an AC power supply (see Figure 50 on page 116):
1. Switch off the dedicated customer site circuit breaker for the power supply, and
remove the power cord from the AC power source. Follow the instructions for your
site.
2. Attach an ESD grounding strap to your bare wrist and connect the strap to one of the
ESD points on the chassis.
3. Move the AC input switch next to the appliance inlet on the power supply to the off
(O) position.
4. Remove the power cord from the power supply.
5. Press the release latch on the left side of the power supply to disconnect the power
supply from the chassis.
6. Pull the power supply straight out of the chassis.
Figure 50: Removing an AC Power Supply
Installing an MX5, MX10, MX40, and MX80 AC Power Supply
To install an AC power supply (see Figure 51 on page 117):
1. Attach an ESD grounding strap to your bare wrist and connect the strap to one of the
ESD points on the chassis.
2. Move the AC input switch next to the appliance inlet on the power supply to the off (O)
position.
Copyright © 2019, Juniper Networks, Inc.116
MX5, MX10, MX40, and MX80 Universal Routing Platforms Hardware Guide

 Loading...