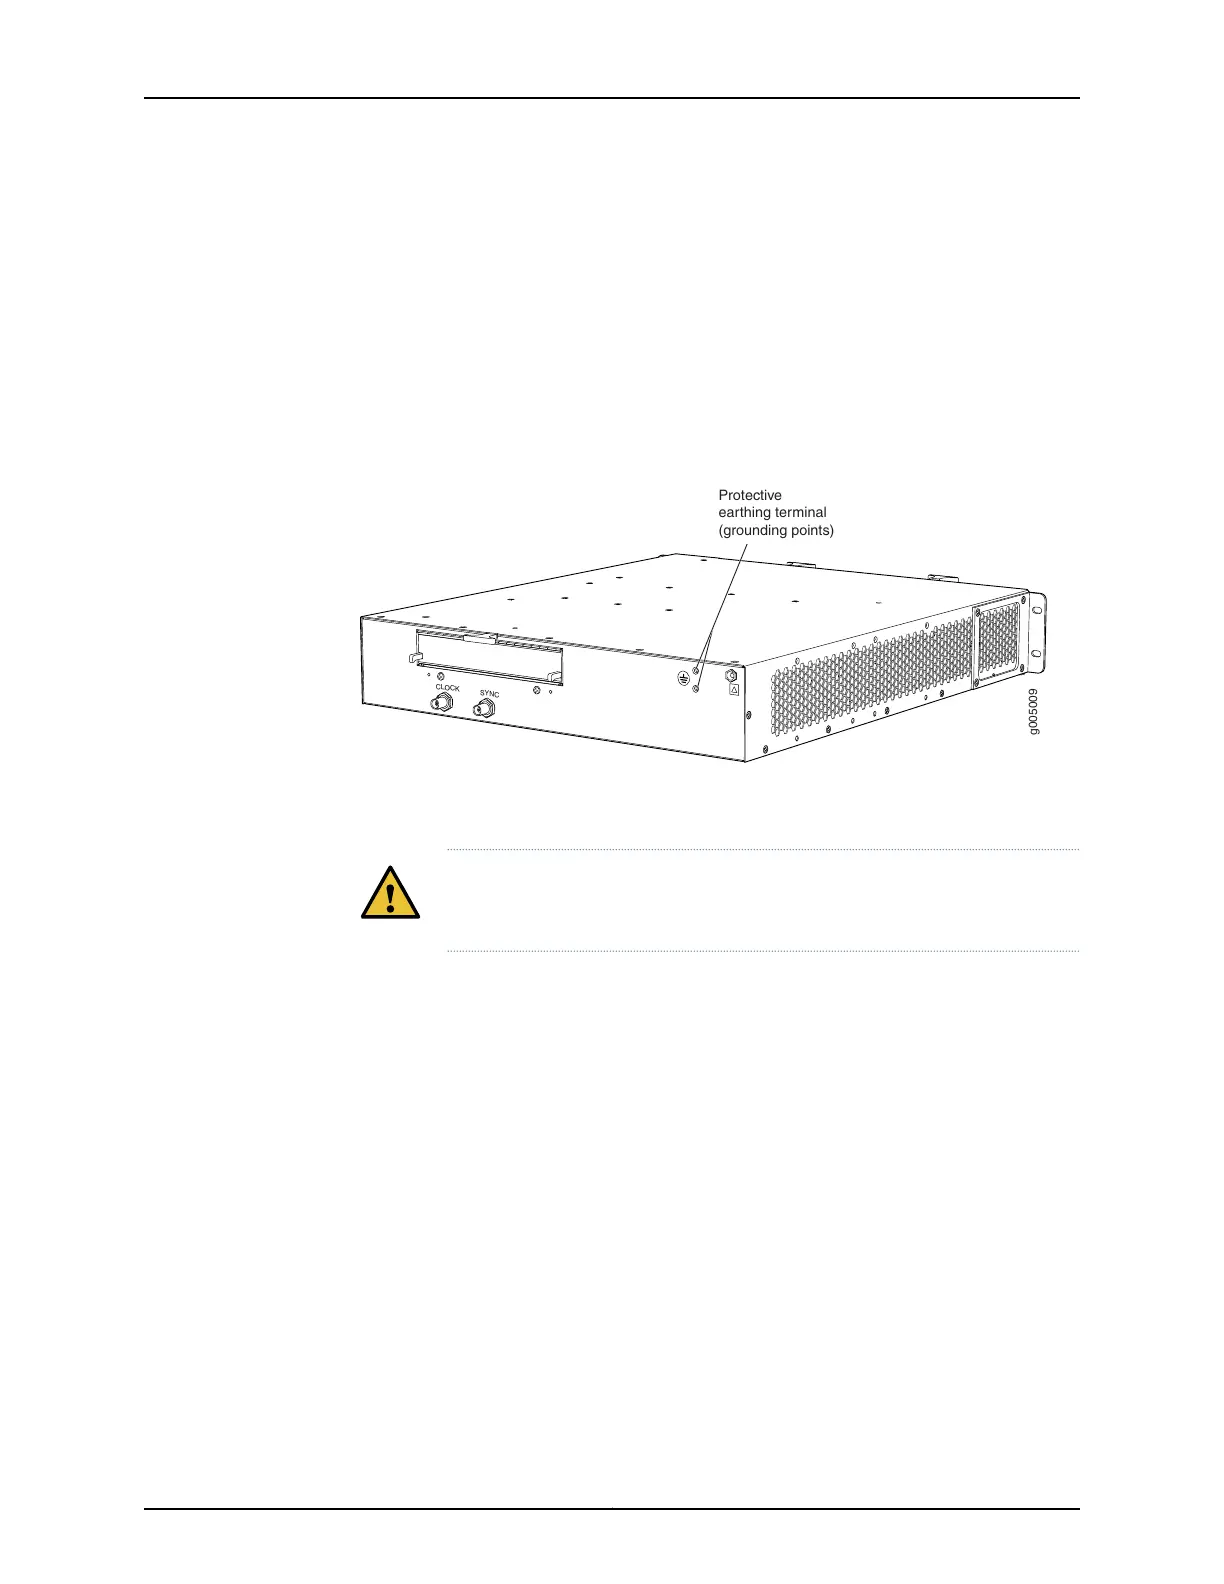
7. Place the grounding cable lug over the grounding points on the upper rear of the
chassis (see Figure 33 on page 84).
8. Secure the grounding cable lug with the screws. The holes are sized for SAE 10-32
screws.
9. Dress the grounding cable, and verify that it does not touch or block access to router
components, and that it does not drape where people could trip on it.
Figure 33: Grounding Points on MX5, MX10, MX40, and MX80 Routers
g005009
CLOCK
SYNC
Protective
earthing terminal
(grounding points)
Connecting Power to an AC-Powered MX5, MX10, MX40, and MX80 Router
CAUTION: Do not mix AC and DC power supply modules within the same
router. Damage to the router might occur.
You connect AC power to the router by attaching power cords from the AC power sources
to the AC appliance inlets located on the power supplies.
To connect the AC power cords to the router for each power supply:
1. Locate power cords that have a plug appropriate for your geographic location. For
more information, see “Connecting an MX5, MX10, MX40, and MX80 AC Power Supply
Cord” on page 118.
2. Attach an ESD grounding strap to your bare wrist and connect the strap to one of the
ESD points on the chassis.
3. Move the AC input switch next to the appliance inlet on the power supply to the off (O)
position.
4. Connect the power cord to the power supply.
Copyright © 2019, Juniper Networks, Inc.84
MX5, MX10, MX40, and MX80 Universal Routing Platforms Hardware Guide

 Loading...