- 56 -
3. Scan
1
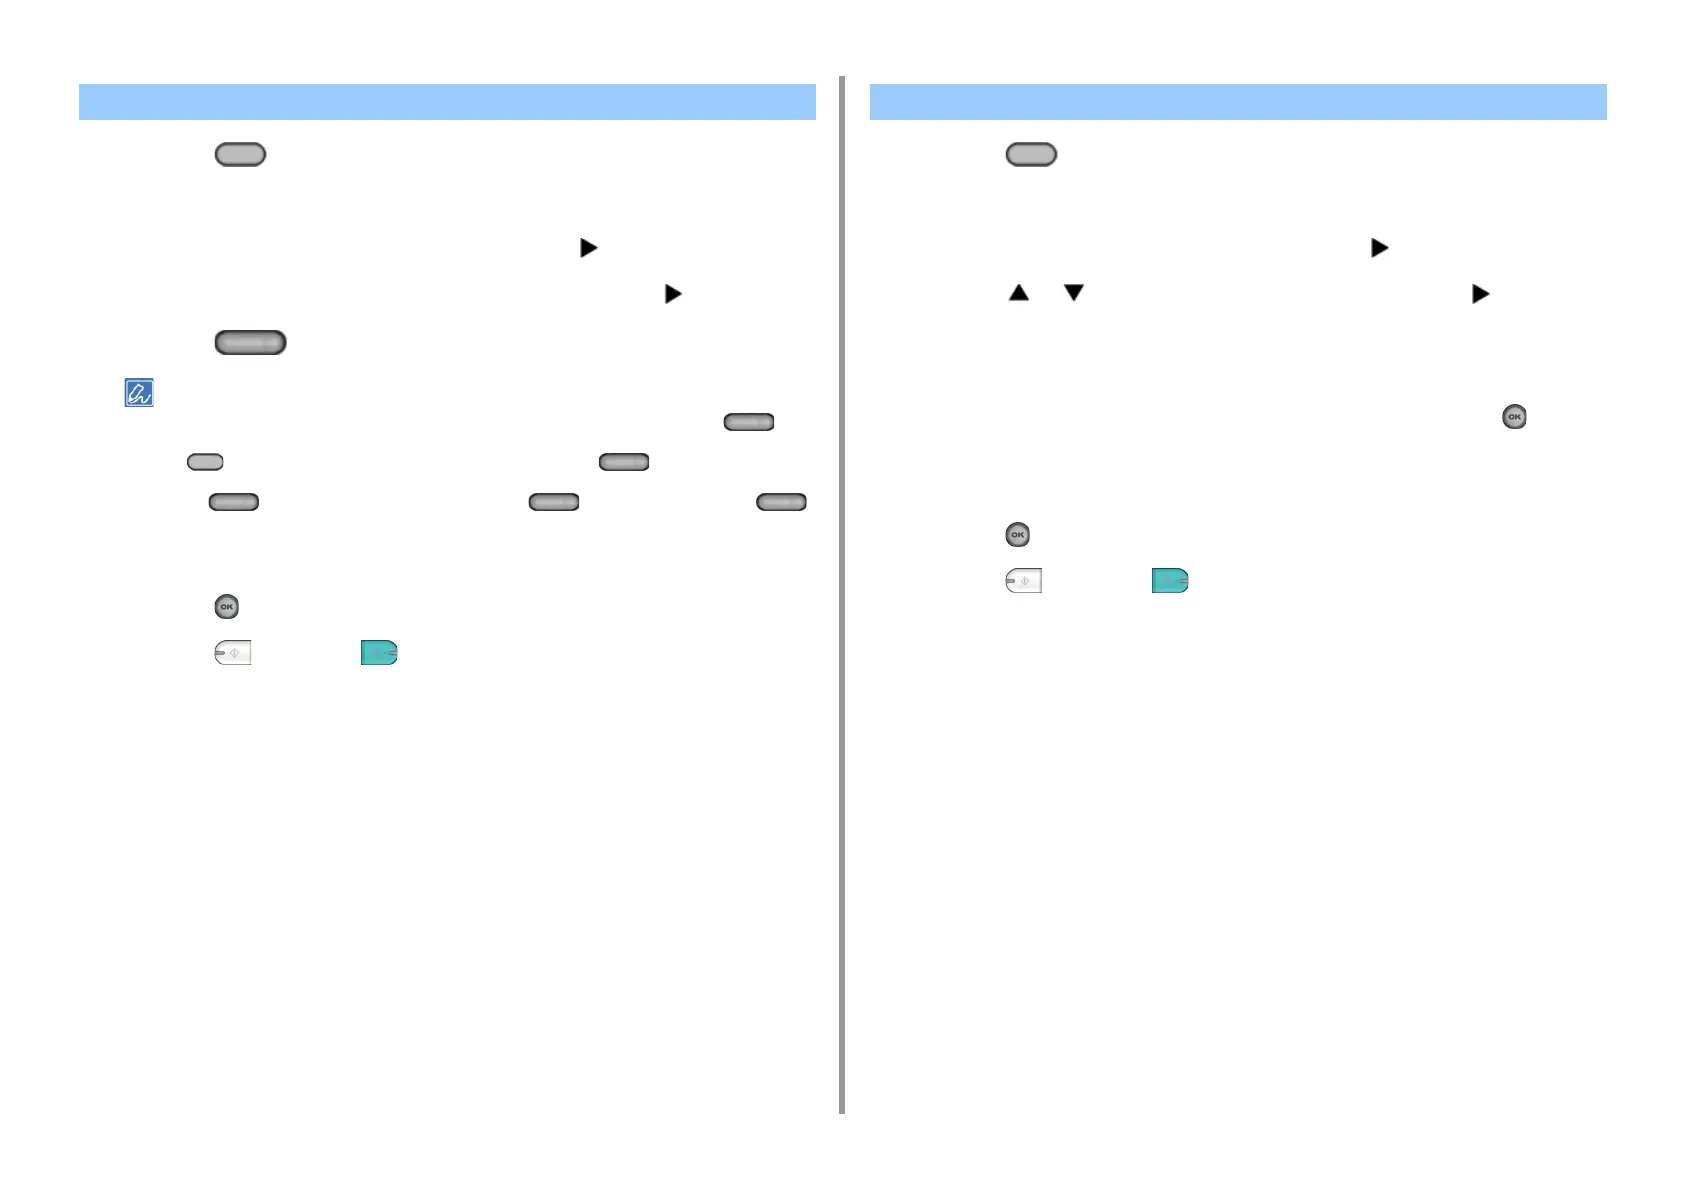
Press the (SCAN) button on the operator panel.
2
Set a document in the ADF or on the document glass.
3
Check that [E-mail] is selected, and then press the button.
4
Check that [Add Destination] is selected, and then press the button.
5
Press the (One-touch) button to which the destination is registered.
If you register E-mail addresses, the first 16 E-mail addresses are automatically registered to the (One-
touch) buttons No. 1 to 16.
Press the (SCAN) button to specify E-mail addresses registered to the (One-touch) buttons No.1
to 16 as destinations.
To select the (One-touch) buttons No. 9 to 16, press the (One-touch) button with the
(SHIFT) button pressed.
6
Set scan settings if necessary.
7
Press the (OK) button.
8
Press the (MONO) or (COLOR) button.
1
Press the (SCAN) button on the operator panel.
2
Set a document in the ADF or on the document glass.
3
Check that [E-mail] is selected, and then press the button.
4
Press the or button to select [Tx History] and press the button.
5
Select the destination.
You can select multiple items.
6
When you complete the selection of all the destinations, press the (OK)
button.
7
Set scan settings if necessary.
8
Press the (OK) button.
9
Press the (MONO) or (COLOR) button.
Specifying a Destination Using One-touch Button Specifying a Destination from Transmission History

 Loading...


