- 71 -
3. Scan
This section describes how to add or delete destination computers for Scan To Computer
when the machine is connected via network.
The computer with the scanner driver installed is registered to the device when it was installed.
1
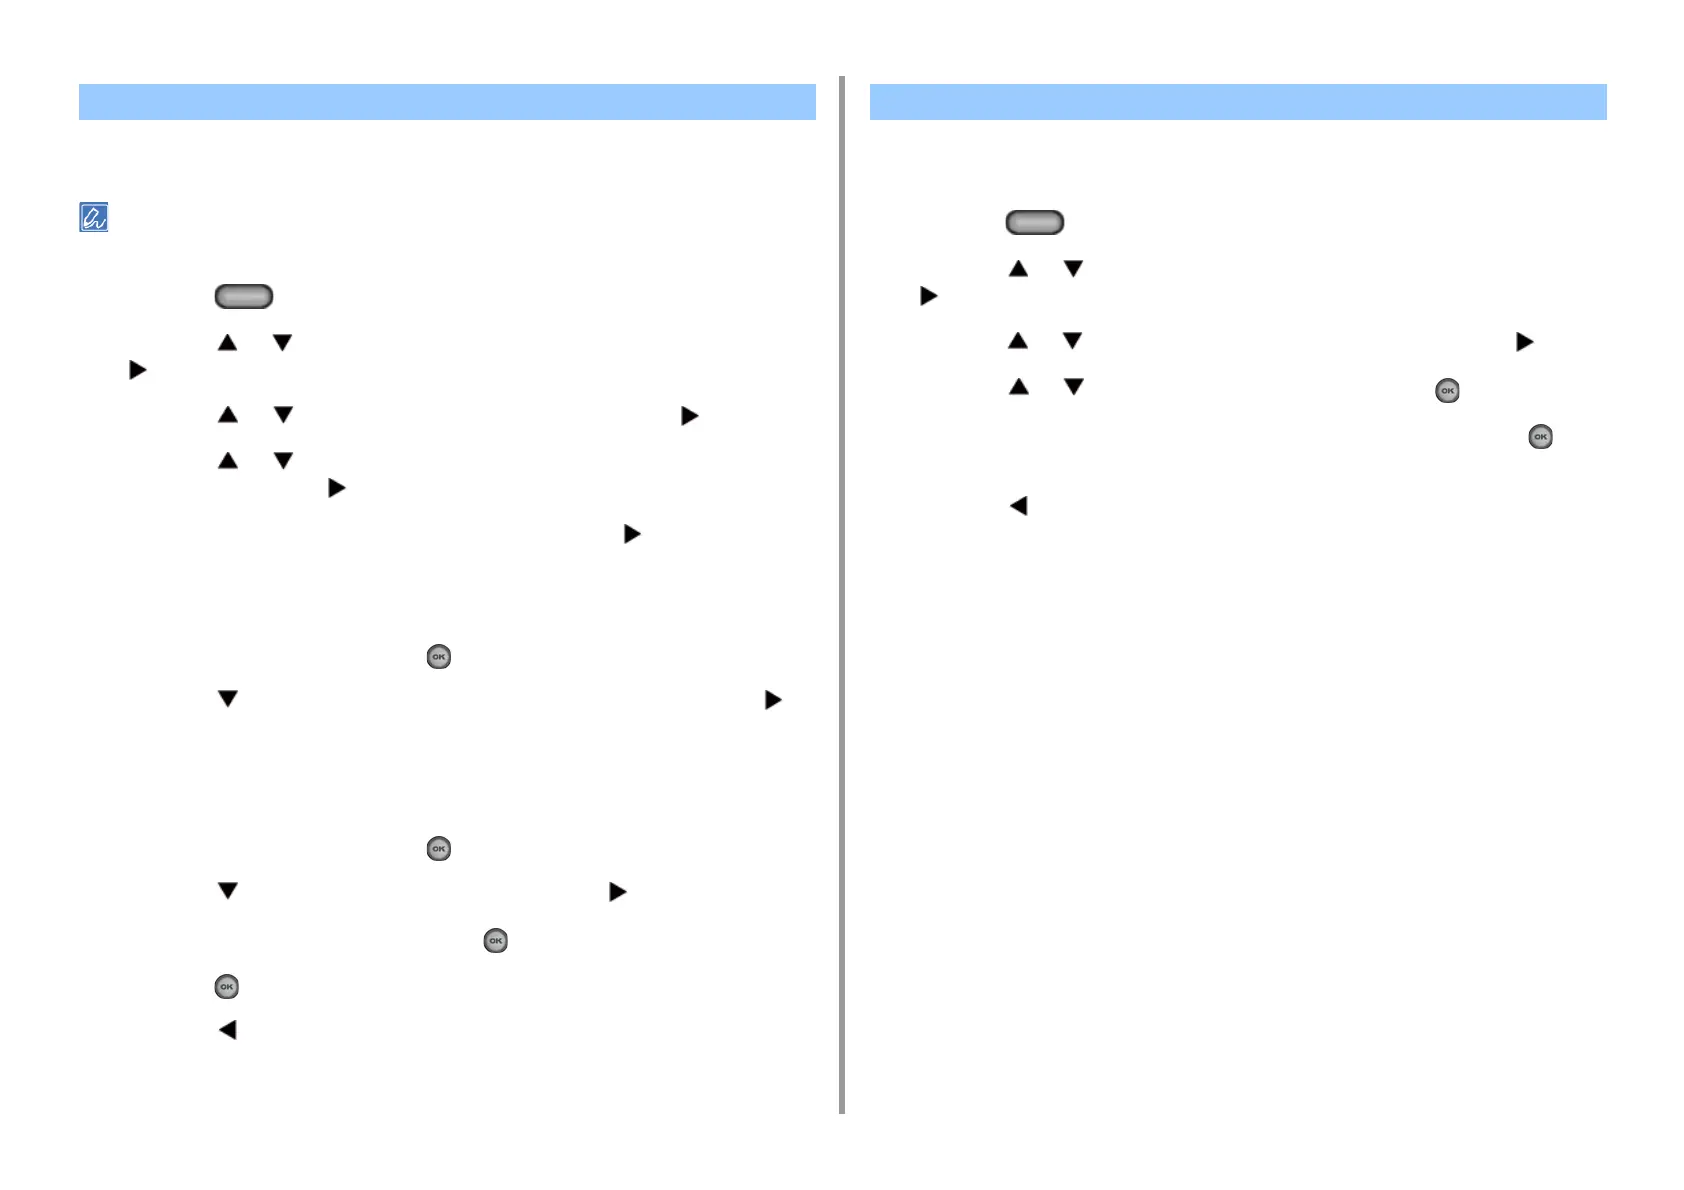
Press the (SETTING) button on the operator panel.
2
Press the or button to select [Network Scan Destination] and press the
button.
3
Press the or button to select the number and press the button.
4
Press the or button to select [Register] of the computer you want to
register and press the button.
5
Check that [Destination] is selected, and then press the button.
6
Enter a destination.
You can enter up to 16 characters.
7
Select [Enter], and then press the (OK) button.
8
Press the button to select [Destination Address], and then press the
button.
9
Enter an IP address, host name, or computer name.
You can enter up to 64 characters.
10
Select [Enter], and then press the (OK) button.
11
Press the button to select [Port No.] and press the button.
12
Enter a port number, and then press the (OK) button.
13
Press the (OK) button to register the setting.
14
Press the button until the home screen is displayed.
This section describes how to delete a computer that is registered in this machine as a
destination of scanned documents.
1
Press the (SETTING) button on the operator panel.
2
Press the or button to select [Network Scan Destination] and press the
button.
3
Press the or button to select the report to print and press the button.
4
Press the or button to select [Delete] and press the (OK) button.
5
Check that [Yes] is selected on the confirmation screen, and press the (OK)
button.
6
Press the button until the home screen is displayed.
Adding Destination for Scan To Computer Deleting Destination for Scan To Computer

 Loading...


