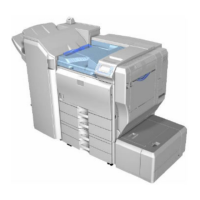
1000-Sheet Finisher (B408)
SM 1-31 G179
Installation
The holder bracket [3] must be placed outside the front joint bracket [2]. The
holder bracket [3] is provided with the Bridge Unit (D386).
3. Install the grounding plate [5] on the finisher ( x 2; M3 x 8)
Use the screw removed in step 1 and the screw from the accessory box.
4. Open the front door [6] then pull the locking lever [7].
5. Align the finisher on the joint brackets, and lock it in place by pushing the locking lever.
6. Secure the locking lever (1 knob screw; M3 x 8).
7. Close the front door.
8. Install the copy tray [8] (1 knob screw; M4 x 10).
9. Connect the finisher cable [9] to the main machine as shown above.
10. Attach the staple position decal to the top right cover.
11. Turn on the main power switch and check the finisher operation.

 Loading...