19
Project Operations
Managing Samples Loaded into a Project
(Sample Bank)
Here’s how to manage the samples that are loaded into a project.
1.
Press the [PROJECT] button.
2.
Use the cursor [<] [>] buttons to select “SAMPLE,” and then
press the [ENTER] button.
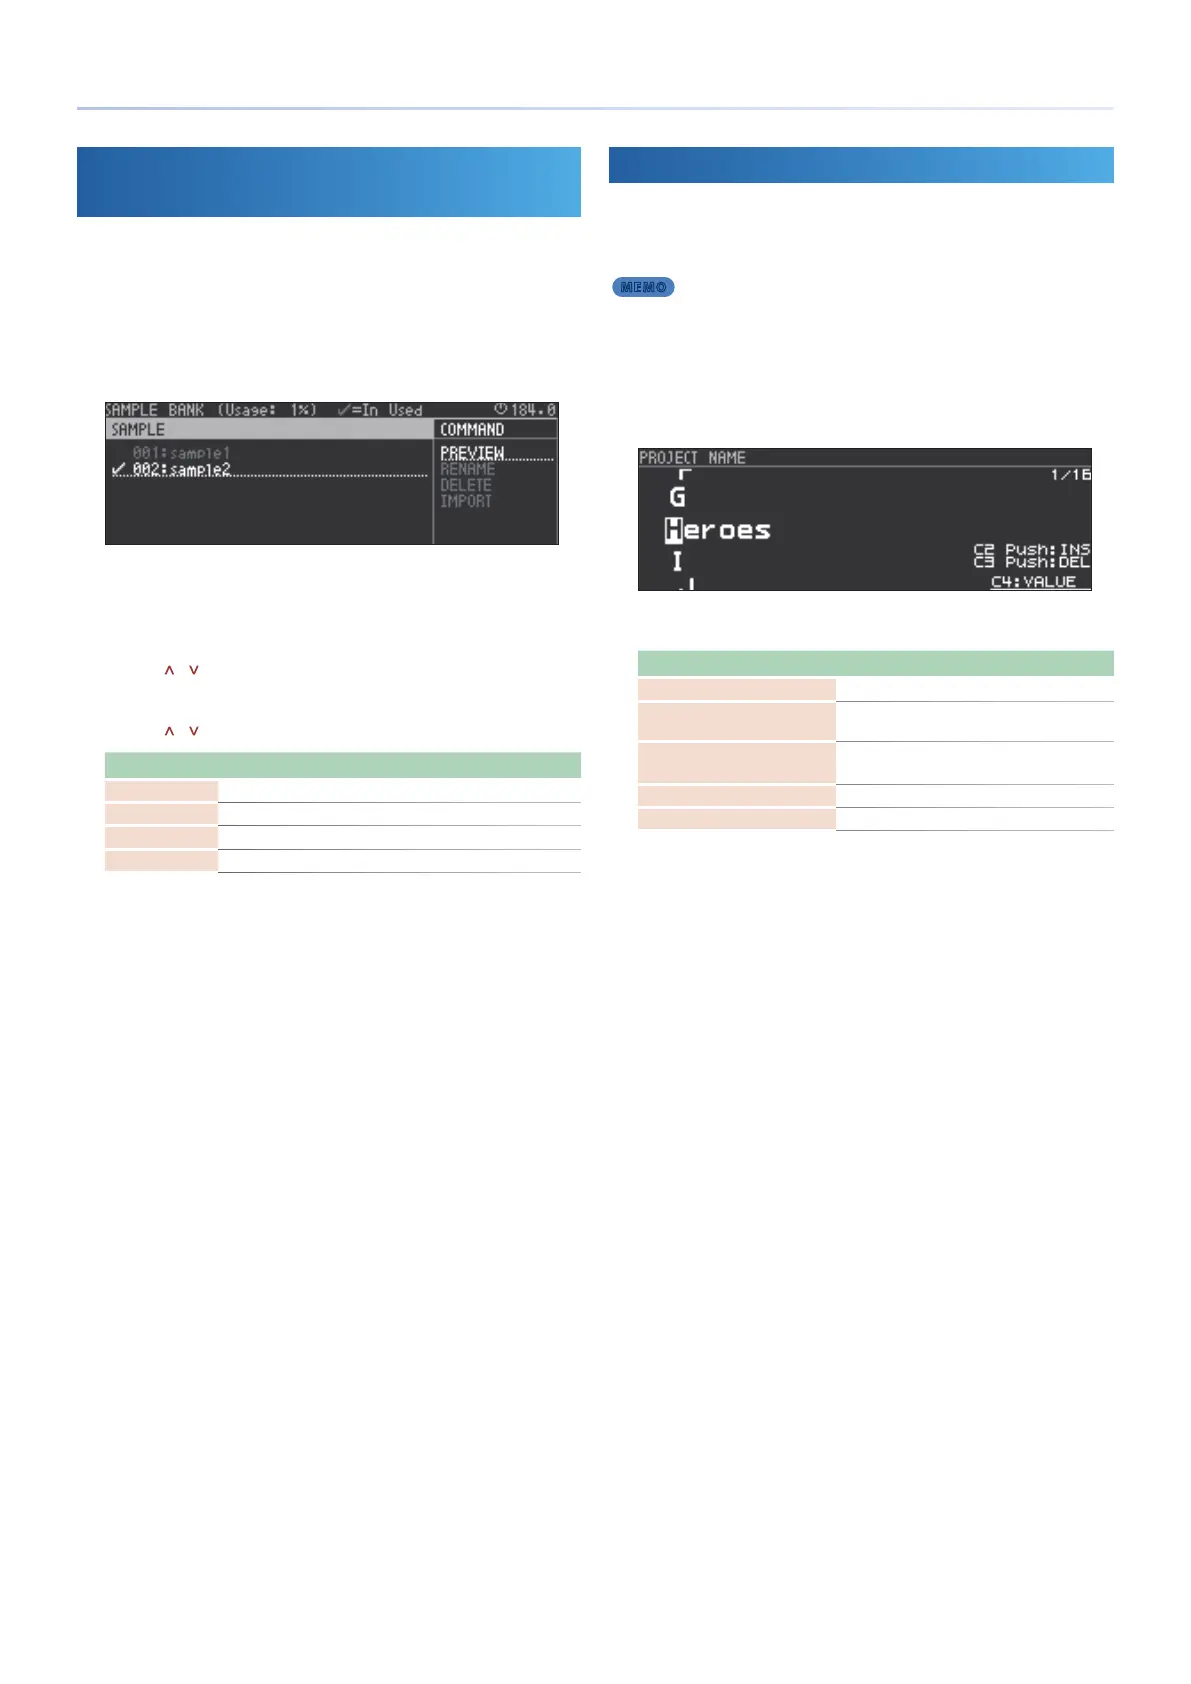
The SAMPLE BANK screen appears.
* Even if you delete a clip or track, the samples used by the sound will remain.
* Samples with a check mark are used by sounds in the project.
* Samples without a check mark are not used by any sound.
3.
Use the cursor [<] button to select “SAMPLE,” and use the
cursor [
] [ ] buttons to select a sample.
4.
Use the cursor [>] button to select “COMMAND,” and use the
cursor [
] [ ] buttons to select a command.
Command Explanation
PREVIEW Auditions the sound.
RENAME Renames the sample.
DELETE Deletes the sample.
IMPORT Imports a sample from the SD card.
5.
Press the [ENTER] button.
Execute the selected command.
Saving a Project
Here’s how to save the project to the SD card.
1.
Press the [PROJECT] button.
MEMO
You can also save by holding down the [SHIFT] button and pressing
the [FUNC] button.
2.
Use the Cursor [<] [>] buttons to select “WRITE,” and then
press the [ENTER] button.
The PROJECT NAME screen appears.
3.
Use the cursor buttons to edit the project name.
Operating the Unit Explanation
Cursor [<] [>] buttons Selects the character to edit.
[C2] knob
Switches between uppercase, lowercase,
numerals, and symbols.
[C3] knob [C4] knob,
[VALUE] knob
Change the character.
Press the [C2] knob Inserts a space.
Press the [C3] knob Deletes a character.
4.
Press the [ENTER] button.
A conrmation message appears.
5.
Use the cursor [<] [>] buttons to select “O K ,” and then press
the [ENTER] button.
If you decide to cancel, use the cursor [<] [>] buttons to select
“CANCEL,” and then press the [ENTER] button.
* If there is a project of the same name, it is overwritten.
* Projects with a lock symbol are locked, and cannot be overwritten.
* If there is no project of the same name, the project is saved as a new project.
 Loading...