Removal
and Internal
Move
Checklist
Functional Check
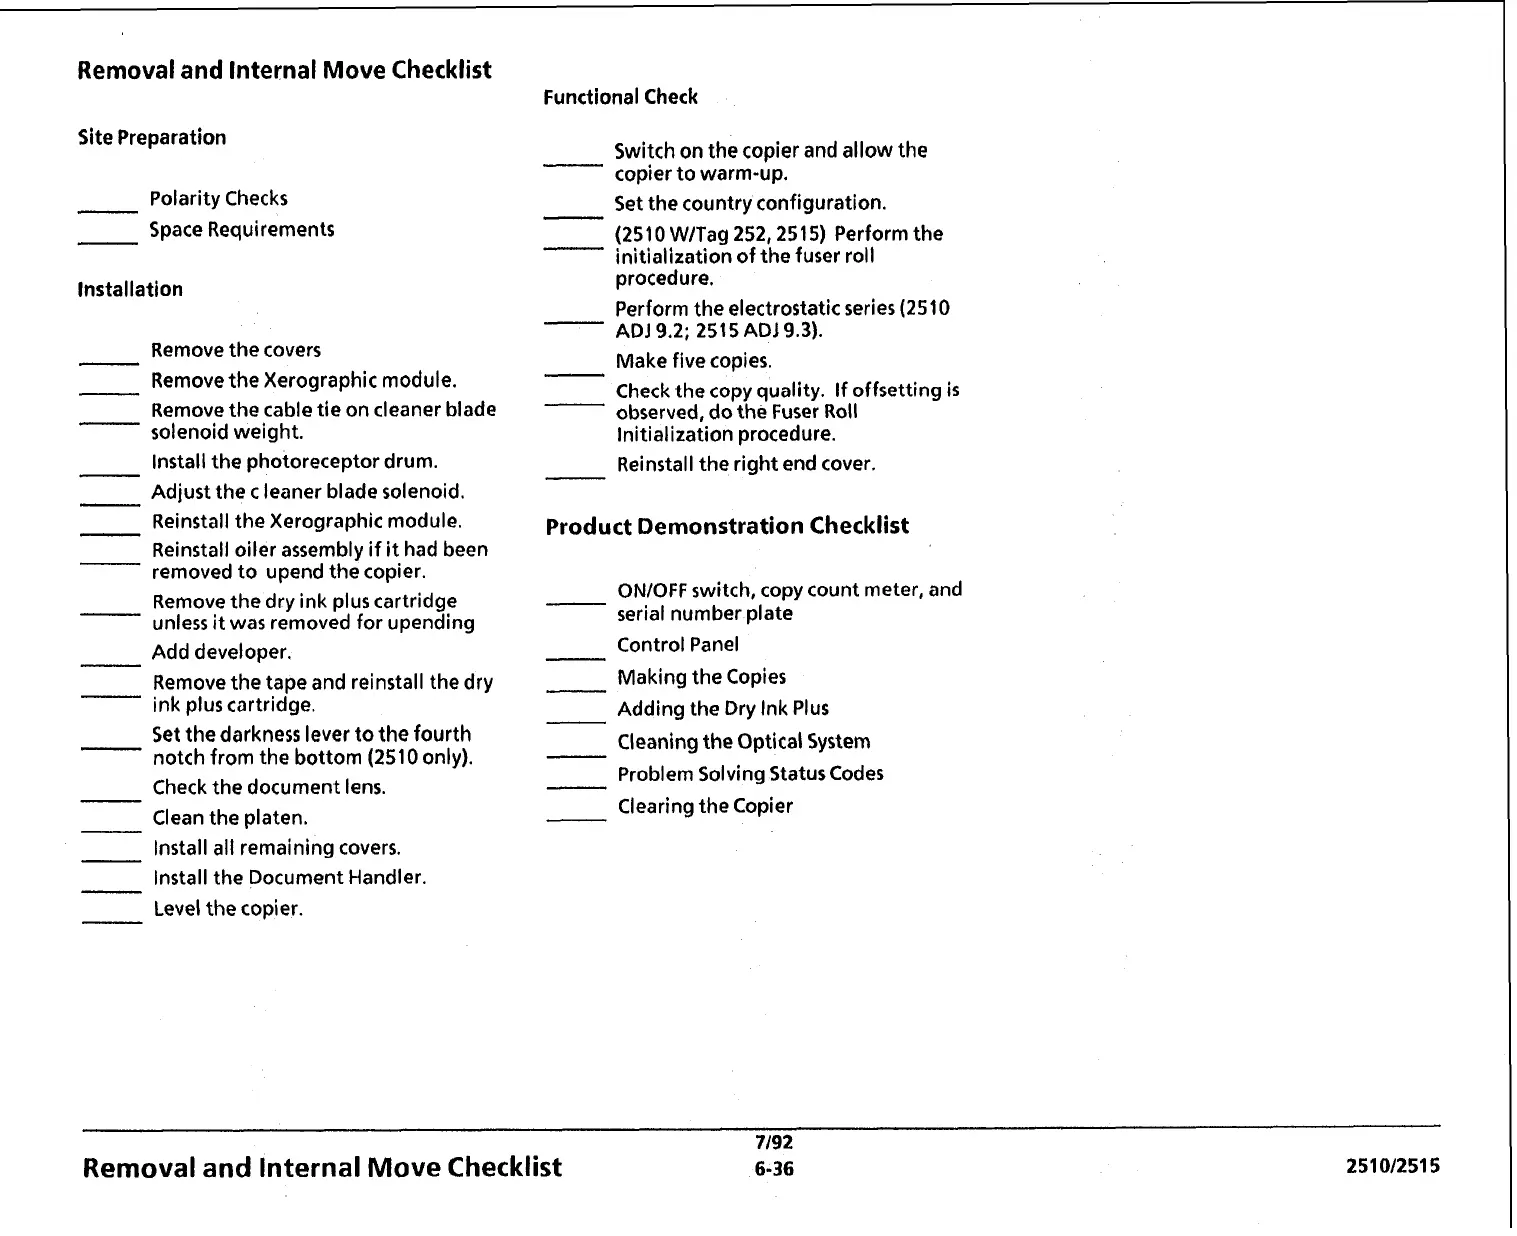
Site Preparation
Switch on the copier and allow the
copier to warm-up.
-
Polarity Checks
-
Space Requirements
Installation
-
Remove the covers
Remove the Xerographic module.
Remove the cable tie on cleaner blade
solenoid weight.
Install the photoreceptor drum.
-
Adjust the
c
leaner blade solenoid.
-
Reinstall the Xerographic module.
-
Reinstall oiler assembly if
it
had been
removed to upend the copier.
Remove the dry ink plus cartridge
unless
it
was removed for upending
Add developer.
Remove the tape and reinstall the dry
ink plus cartridge.
-
Set the darkness lever to the fourth
notch from the bottom (2510 only).
Check the document lens.
Clean the platen.
Install all remaining covers.
Install the Document Handler.
Level the copier.
-
Set the country configuration.
-
(2510 WITag 252,2515) Perform the
initialization of the fuser roll
procedure.
Perform the electrostatic series (2510
ADJ 9.2; 2515 AD1 9.3).
-
Make five copies.
Check the copy quality. If offsetting
is
observed, do the Fuser Roll
Initialization procedure.
-
Reinstall the right end cover.
Product Demonstration Checklist
ONfOFF switch, copy count meter, and
serial number plate
Control Panel
Making the Copies
Adding the Dry Ink Plus
Cleaning the Optical System
Problem Solving Status Codes
-
Clearing the Copier
7/92
Removal and Internal Move Checklist
6-36
251012515
 Loading...


