04/2016
4-79
Phaser 4600/4620/4622 Printer Service Manual
REP 8.52
4 Repairs and Adjustments
Revised
REP 8.52 Shaft Frame Assembly Transport Belt
Parts List on PL 8.50 Item 15
Removal
WARNING
Switch off the electricity to the machine. Disconnect the power cord from the customer
supply while performing tasks that do not need electricity. Electricity can cause death or
injury. Moving parts can cause injury.
1. Remove the Shaft Frame Assembly from the machine, REP 8.16.
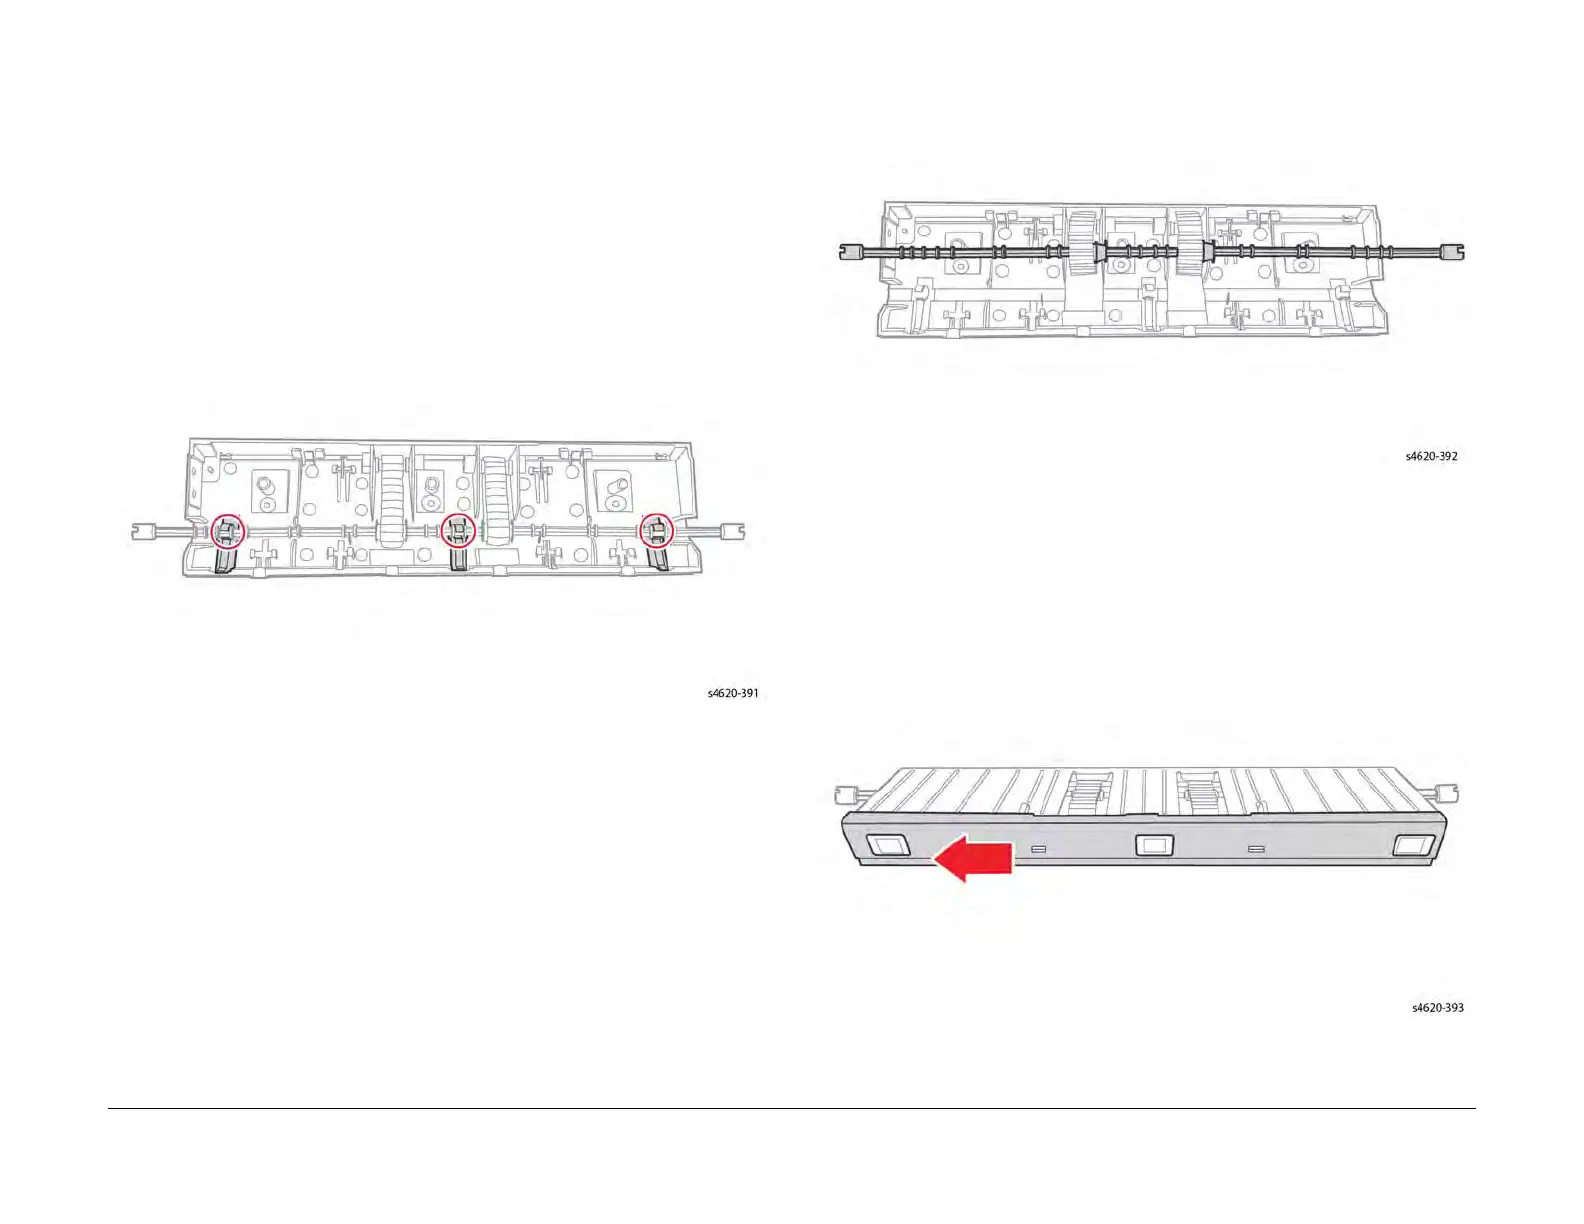
2. Release the drive shaft from the frame by releasing from the 3 clips.
Figure 1 Locations of securing clips for Drive Shaft
Figure 2 Drive Shaft released from securing clips
3. Release the De-Tack Saw from the frame by sliding in the direction shown in Figure 3 .
NOTE: The DTS is held in place by 3 clips as shown in Figure 4. Care should be taken
not to damage the clips when removing the DTS.
Figure 3 Direction to remove DTS
 Loading...


