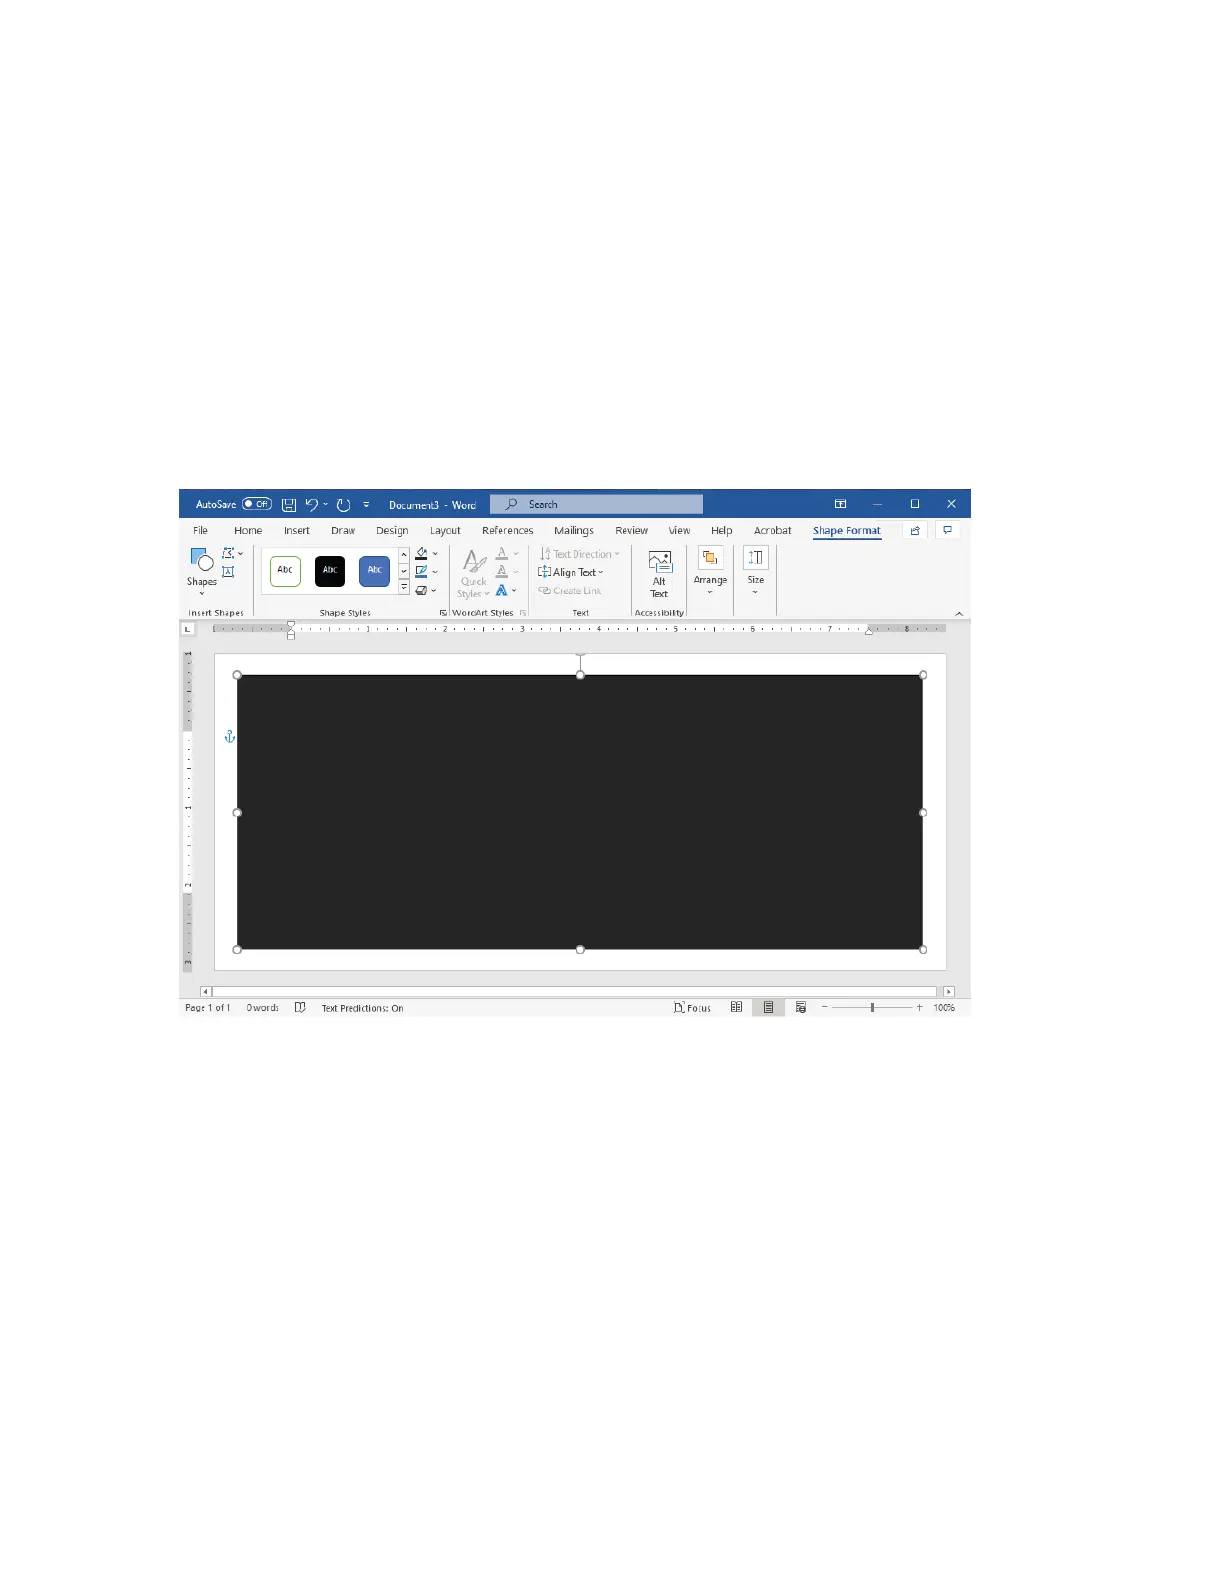
5. To fill the rectangle with 85% black:
a. Select the rectangle.
b. From the menu bar, select the SShhaappee FFoorrmmaatt tab.
c. From the SShhaappee SSttyylleess section on the ribbon, click SShhaappee FFiillll, then select 8855%% BBllaacckk.
6. To set the outline option for the rectangle:
a. Select the rectangle.
b. From the menu bar, select the SShhaappee FFoorrmmaatt tab.
c. From the SShhaappee SSttyylleess section on the ribbon, click SShhaappee OOuuttlliinnee >> NNoo OOuuttlliinnee.
The test file setup is complete.
7. To evaluate the results, print a few samples of the test file onto the envelopes, then inspect the printed
envelopes carefully.
Potential Issues
Where multiple layers of paper overlap on the envelope, inconsistencies can appear in the print, as shown in the
image below. These issues are obvious in the test run. However, to avoid these problems in actual jobs, design your
print job so that there is no printed content in the affected area.
188
Xerox
®
PrimeLink
®
B9100/B9110/B9125/B9136 Copier/Printer User Guide
Paper and Media
 Loading...