6. If necessary, set the skew adjustment levers to the required position for your print job.
7. Gently push in the tray until it stops.
If enabled by your System Administrator, the Paper Tray settings screen appears on the control panel touch
screen.
8. If you made changes to the paper tray, touch CChhaannggee SSeettttiinnggss. If you have not made changes to the paper
tray, do the following steps:
a. Select options for Paper Type/Paper Weight, Paper Size, and Paper Color features.
b. If needed, make changes to the Paper Curl and Alignment Adjustment options.
Note: For detailed information on the Paper Curl and Alignment Adjustment options, refer to the Xerox
®
PrimeLink
®
B9100/B9110/B9125/B9136 Copier/Printer System Administrator Guide.
c. Touch SSaavvee until you are returned to the Paper Tray settings screen.
9. To close the screen, touch CCoonnffiirrmm.
10. For network print jobs, for instructions on loading tab stock into a tray, refer to your Print Server Customer
Documentation. At the print server user interface, verify that the tab stock settings are the same as those that
you selected for the job.
Loading Transparencies in the OHCF (1 or 2 Trays)
1. Select the appropriate paper stock for your print job.
2. Pull out the tray slowly until it stops.
3. Before you load the transparencies into the tray, fan the transparencies to prevent them from sticking together.
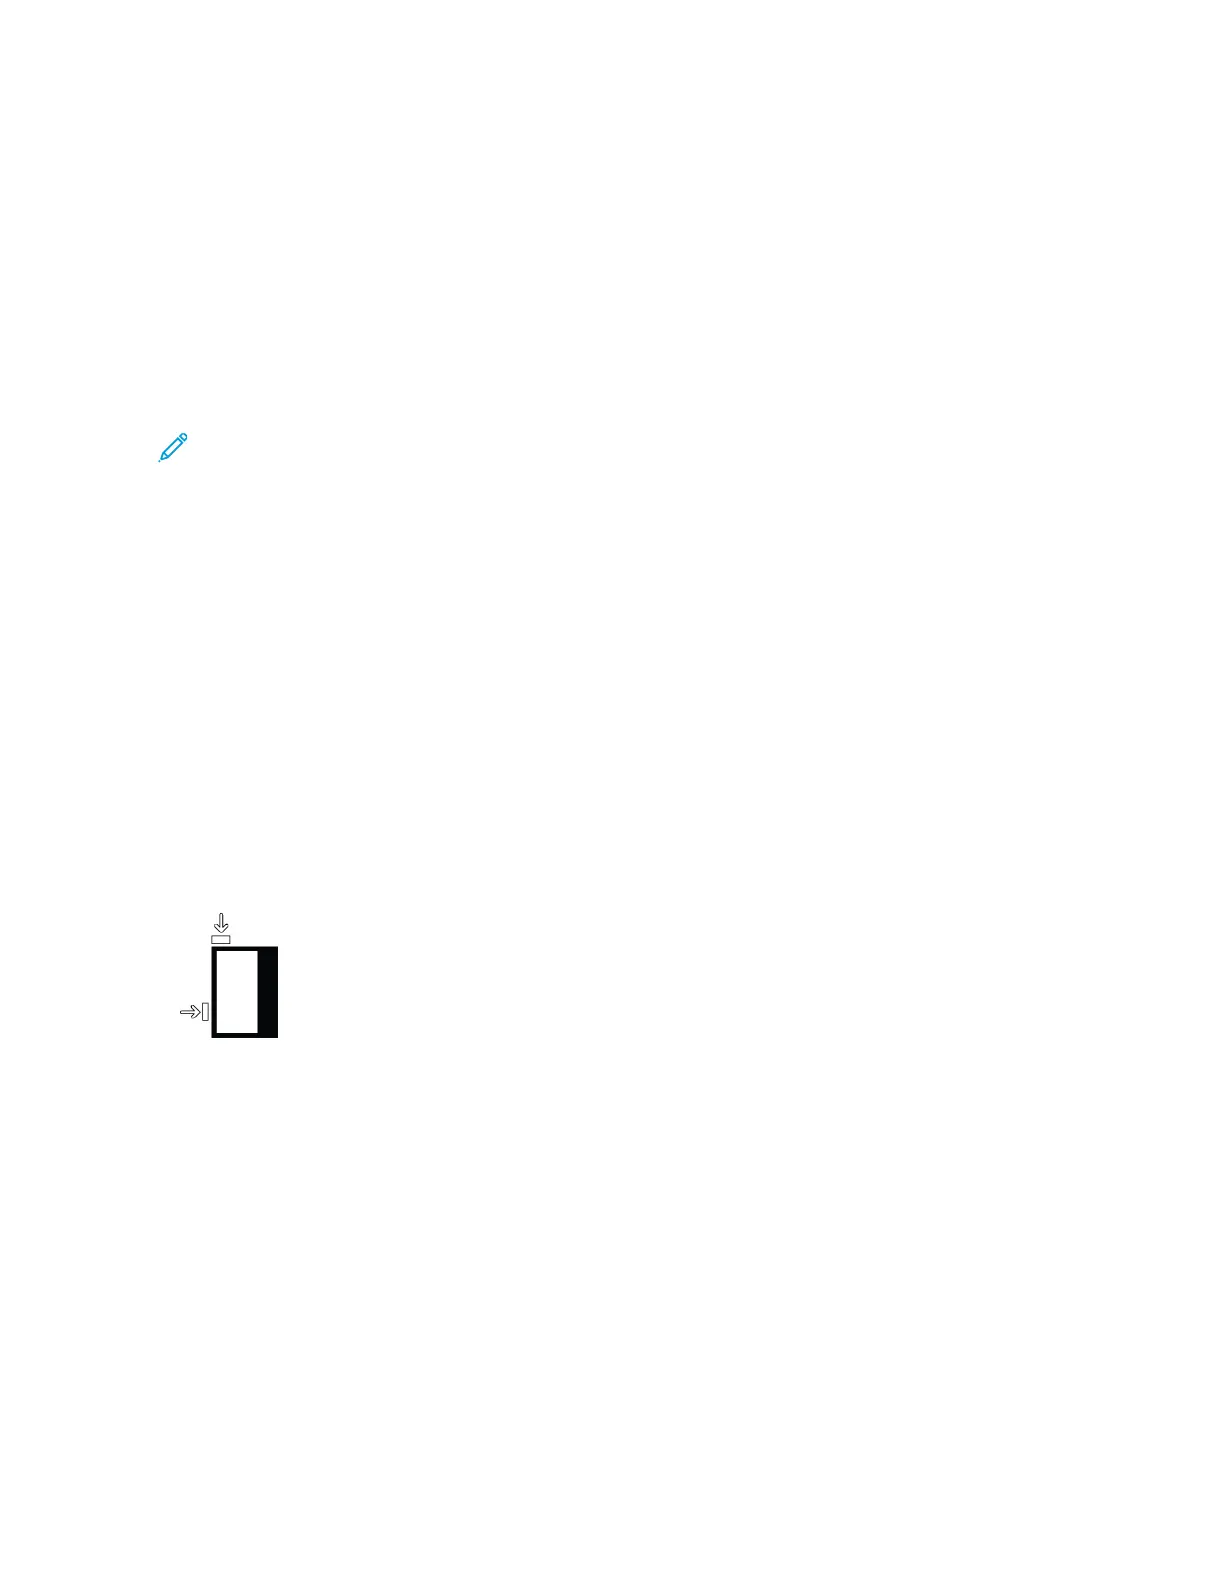
4. Load transparencies on top of a small stack of the same size paper. Align the edges of the transparency against
the edges of the tray, as shown:
5. To adjust the paper guides, press in the guide release, then carefully move the edge guide until it lightly
touches the edges of the transparencies in the tray.
Do not load transparencies above the MAX fill line on the rear edge guide.
6. If necessary, set the skew adjustment levers to the required position for your print job.
7. Gently push in the tray until it stops.
If enabled by your System Administrator, the Paper Tray settings screen appears on the control panel touch
screen.
8. If you made changes to the paper tray, touch CChhaannggee SSeettttiinnggss. If you did not make changes to the paper
tray, do the following:
a. Select options for the PPaappeerr TTyyppee//PPaappeerr WWeeiigghhtt, PPaappeerr SSiizzee, and PPaappeerr CCoolloorr features.
318
Xerox
®
PrimeLink
®
B9100/B9110/B9125/B9136 Copier/Printer User Guide
Oversized High Capacity Feeder
 Loading...