Installation Procedure
132
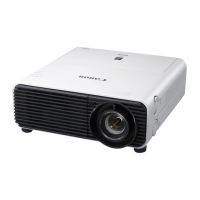
Removing hole caps labeled (2)
Open the lamp cover and use a screwdriver or similar tool to
push off the caps from below.
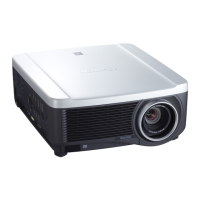
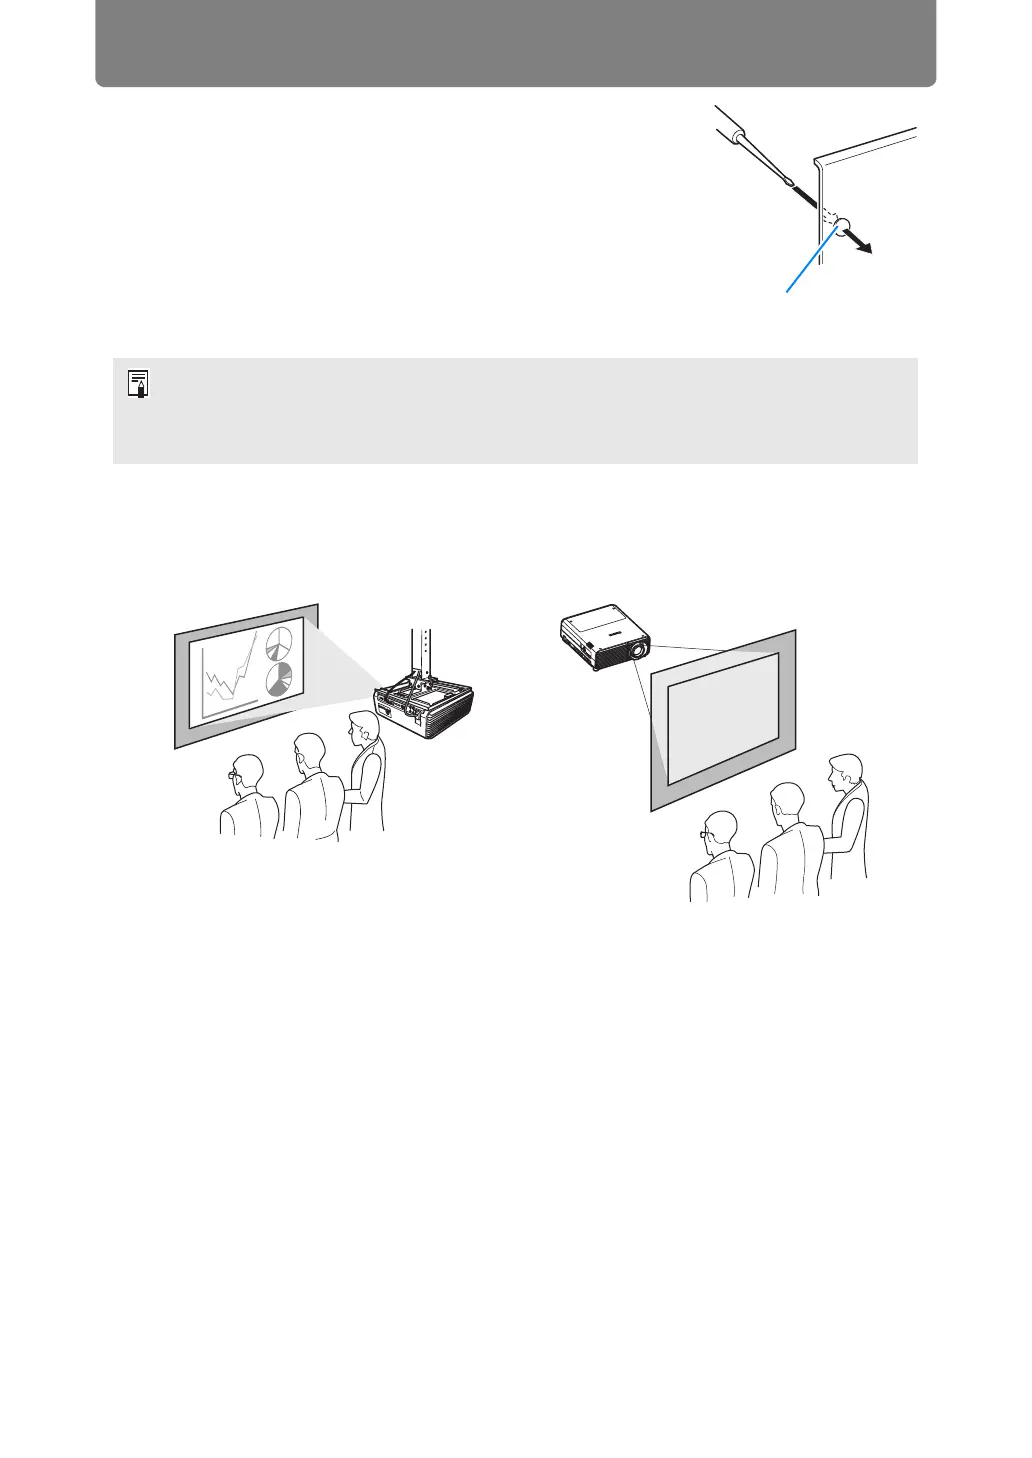
■ Ceiling Mounting or Rear Projection
You can mount the projector on the ceiling (ceiling mounting) with it turned upside
down or place it behind the screen (rear projection) if you use a translucent screen.
Make sure to use the optional ceiling attachment. For the ceiling attachment, refer
to “Option” (P305). For details, refer to the assembly and installation manual
provided with the ceiling attachment.
• Keep the caps in a safe place to avoid losing them.
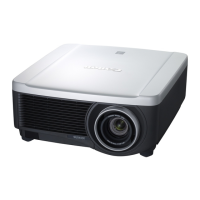
• The option feet can be used in conjunction with the adjustable feet. When changing the
projection position with adjustable feet, you can make the projector more stable by attaching
option feet to the two holes toward the back of the bottom surface.
Hole cap
Ceiling mounting Rear projection
 Loading...