181
Completing Computer Settings
Installation and Maintenance Connecting to a Network
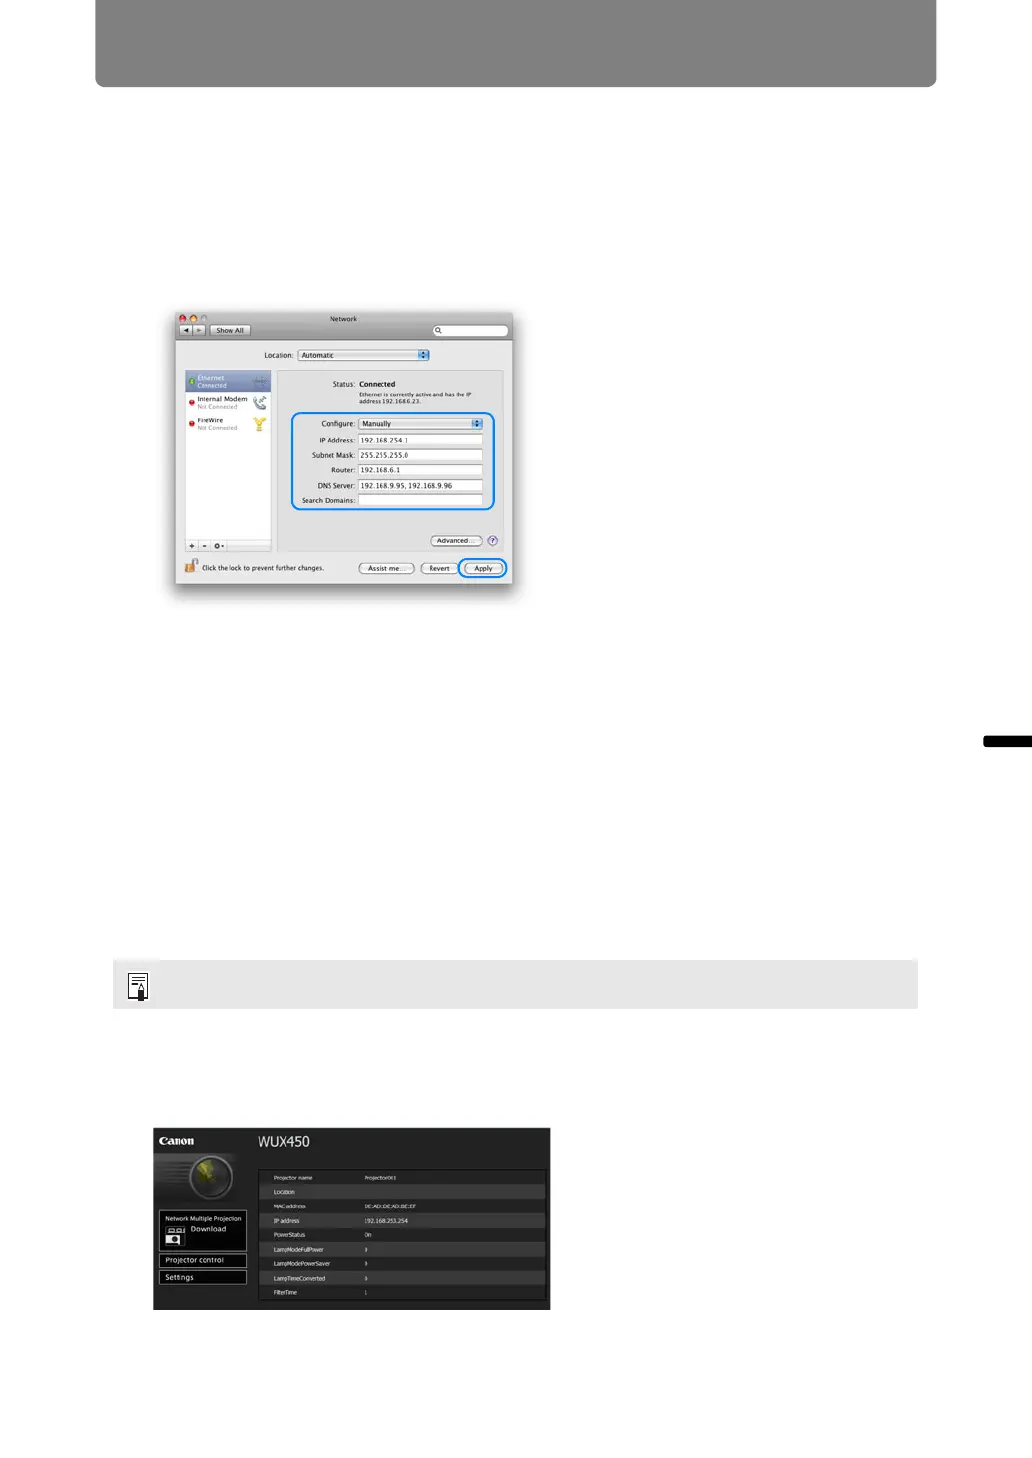
4 Create a new network environment and set the IP address and subnet
mask.
The factory default IP address for the projector is “192.168.254.254”. Set an IP
address which is different from this.
Example
IP address: 192.168.254.1
Subnet mask: 255.255.255.0
5 Click [Apply] to close the network preference window.
■ Resetting the IP Address Setting of the Computer
Follow the same procedure as for changing the IP address and reset the values to
the original values based on the notes taken before the change.
Setting Up the Network
■ Displaying the Network Configuration Screen
1 Turn on the computer and projector.
2 Launch a web browser, enter “http://(projector IP address)” in the
address bar, and press the Enter key.
The projector web screen appears.
Network functions are not available for the first 40 seconds after projector startup.
 Loading...