CP80 and CP80 Plus Service Manual 6-23
Swingarm Assembly
Removal Procedure
1. Turn off the printer and unplug the power cord.
2. Remove the ribbon cartridge and cleaning roller.
3. Remove the
Main Enclosure (page 6-15).
4. Optional: If the swingarm needs to be fully removed from the printer, it will
be necessary to remove the printhead cable.
A. Remove the
Upper Printer Assembly from the interstage platform (page
6-38).
B. Disconnect the printhead power and data cable connectors from the main
control board.
C. Cut the cable tie near the ferrite bead.
D. Disconnect the printhead fan connector from the main control board.
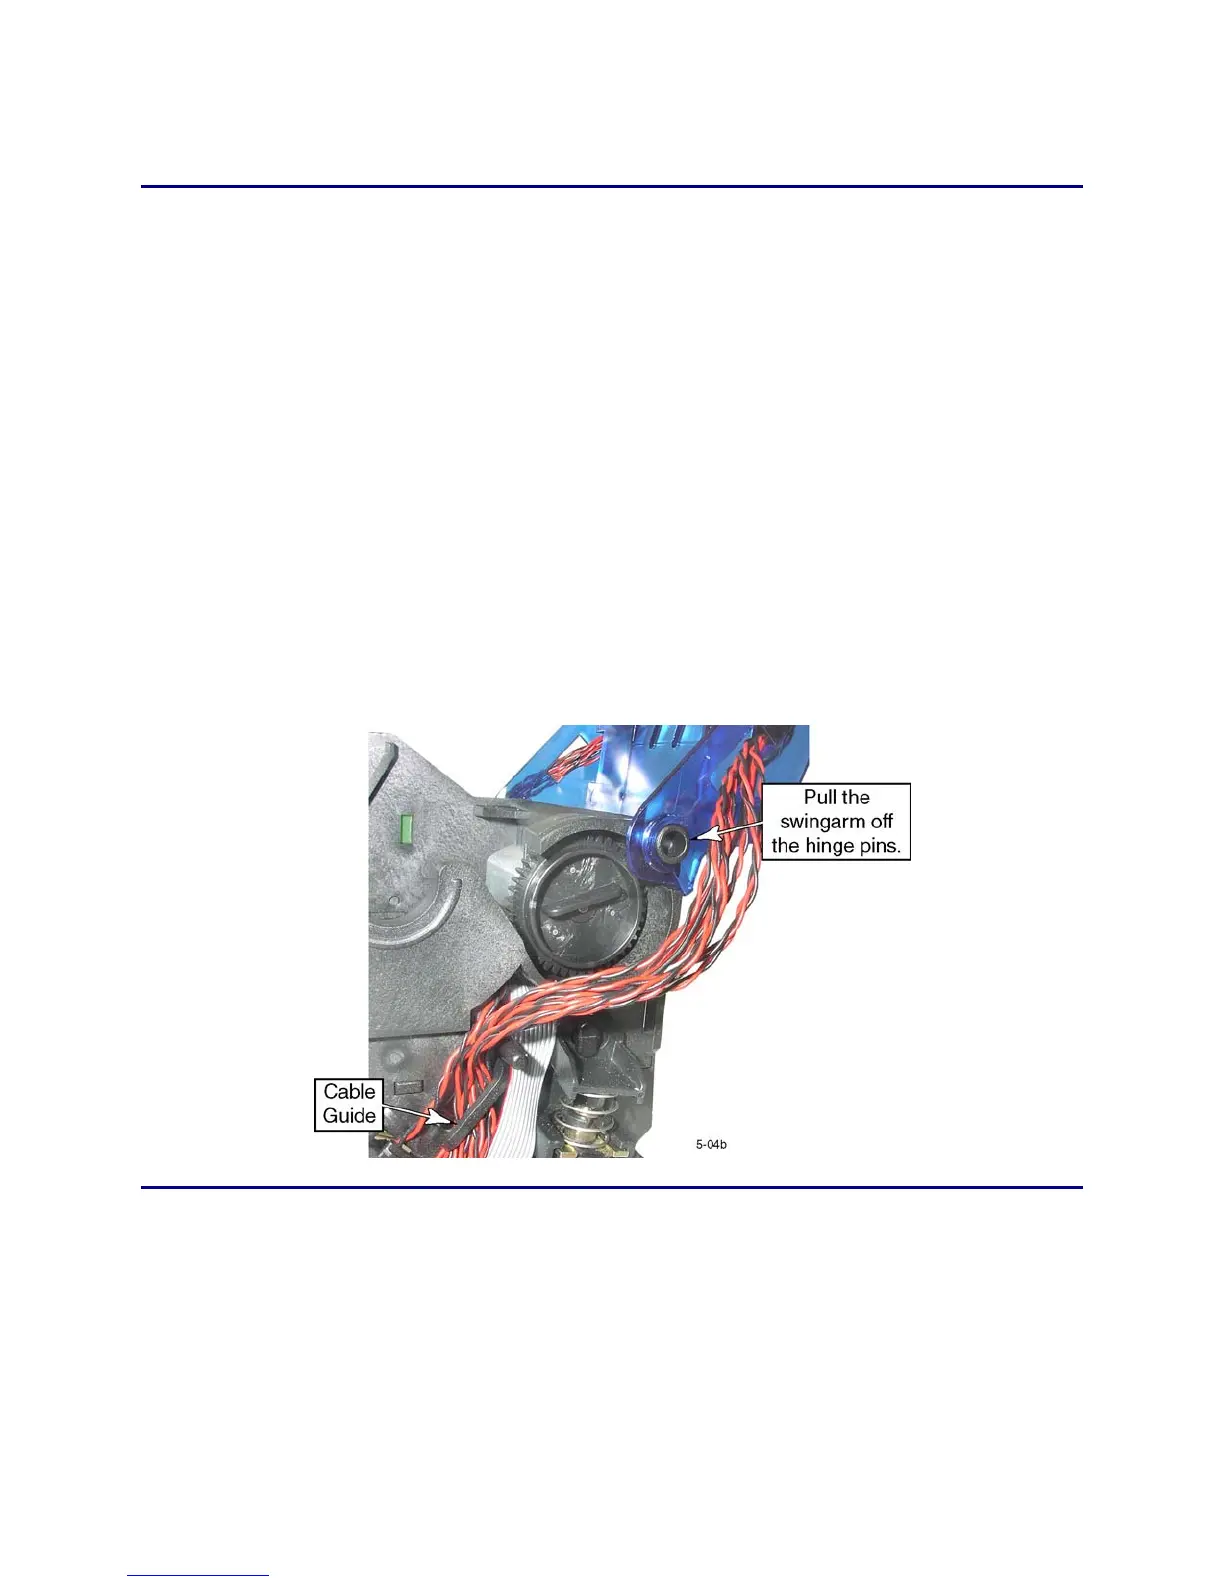
E. Pull the cables back through the cable guides in the transport chassis.
5. Unhinge the swingarm by pulling each side off the hinge pins.
Replacement Note
• Replace the cable tie if it was cut free.
• Refer to the Print Engine Duplex and Printhead Wire Routing Diagram on page
6-7.
 Loading...


