Procedure
1. Align the screw holes on the 2.5-inch hard drive with the screw holes on the 3.5-inch hard
drive adapter.
2. Install the screws to secure the hard drive to the 3.5-inch hard drive adapter.
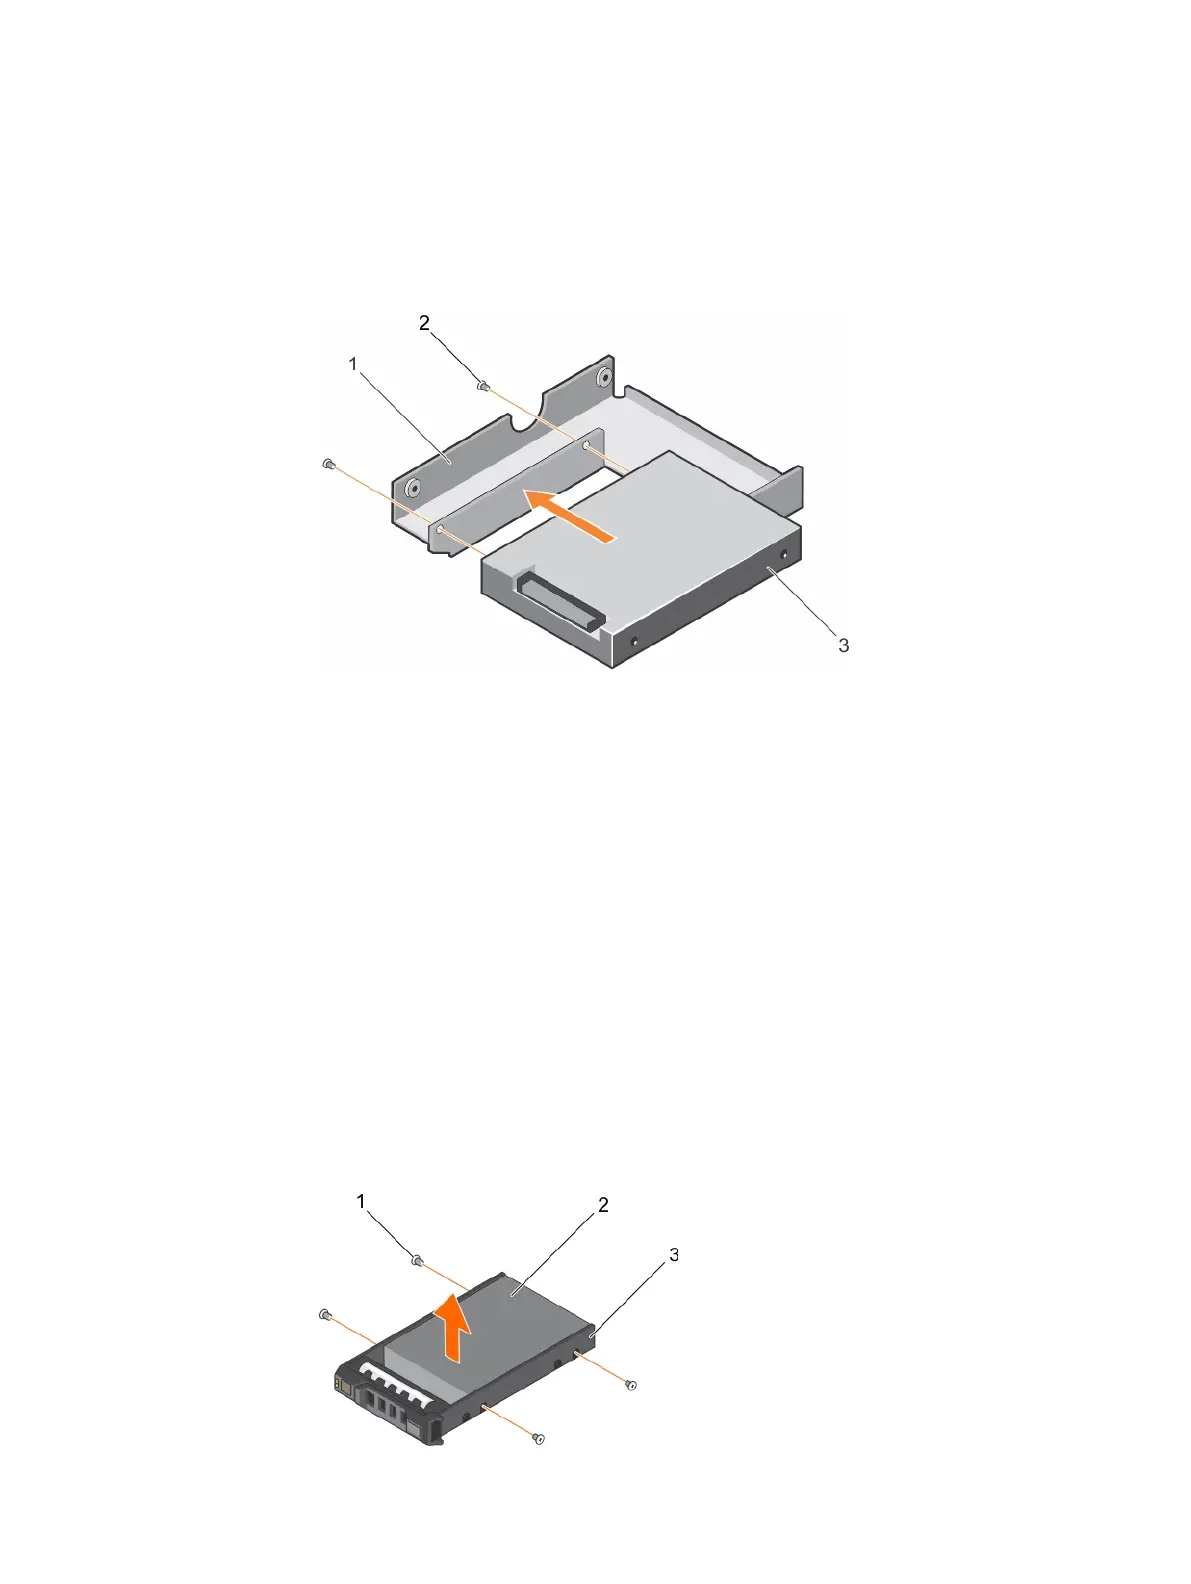
Figure 39 Installing a 2.5-inch hard drive into a 3.5-inch hard drive adapter
a. 3.5-inch hard drive adapter
b. screw (2)
c. 2.5-inch hard drive
After you finish
Install the 3.5-inch adapter into the 3.5-inch hard drive carrier.
Removing a hard drive from a hard drive carrier
Before you begin
1. Keep the Phillips #1 screwdriver ready.
2. Remove the hot swappable hard drive carrier from the system.
Procedure
1. Remove the screws from the slide rails on the hard drive carrier.
2. Lift the hard drive out of the hard drive carrier.
Figure 40
Removing a hard drive into a hard drive carrier
Installing and removing system components
116 Dell PowerEdge R430 Owner's Manual

 Loading...


