l
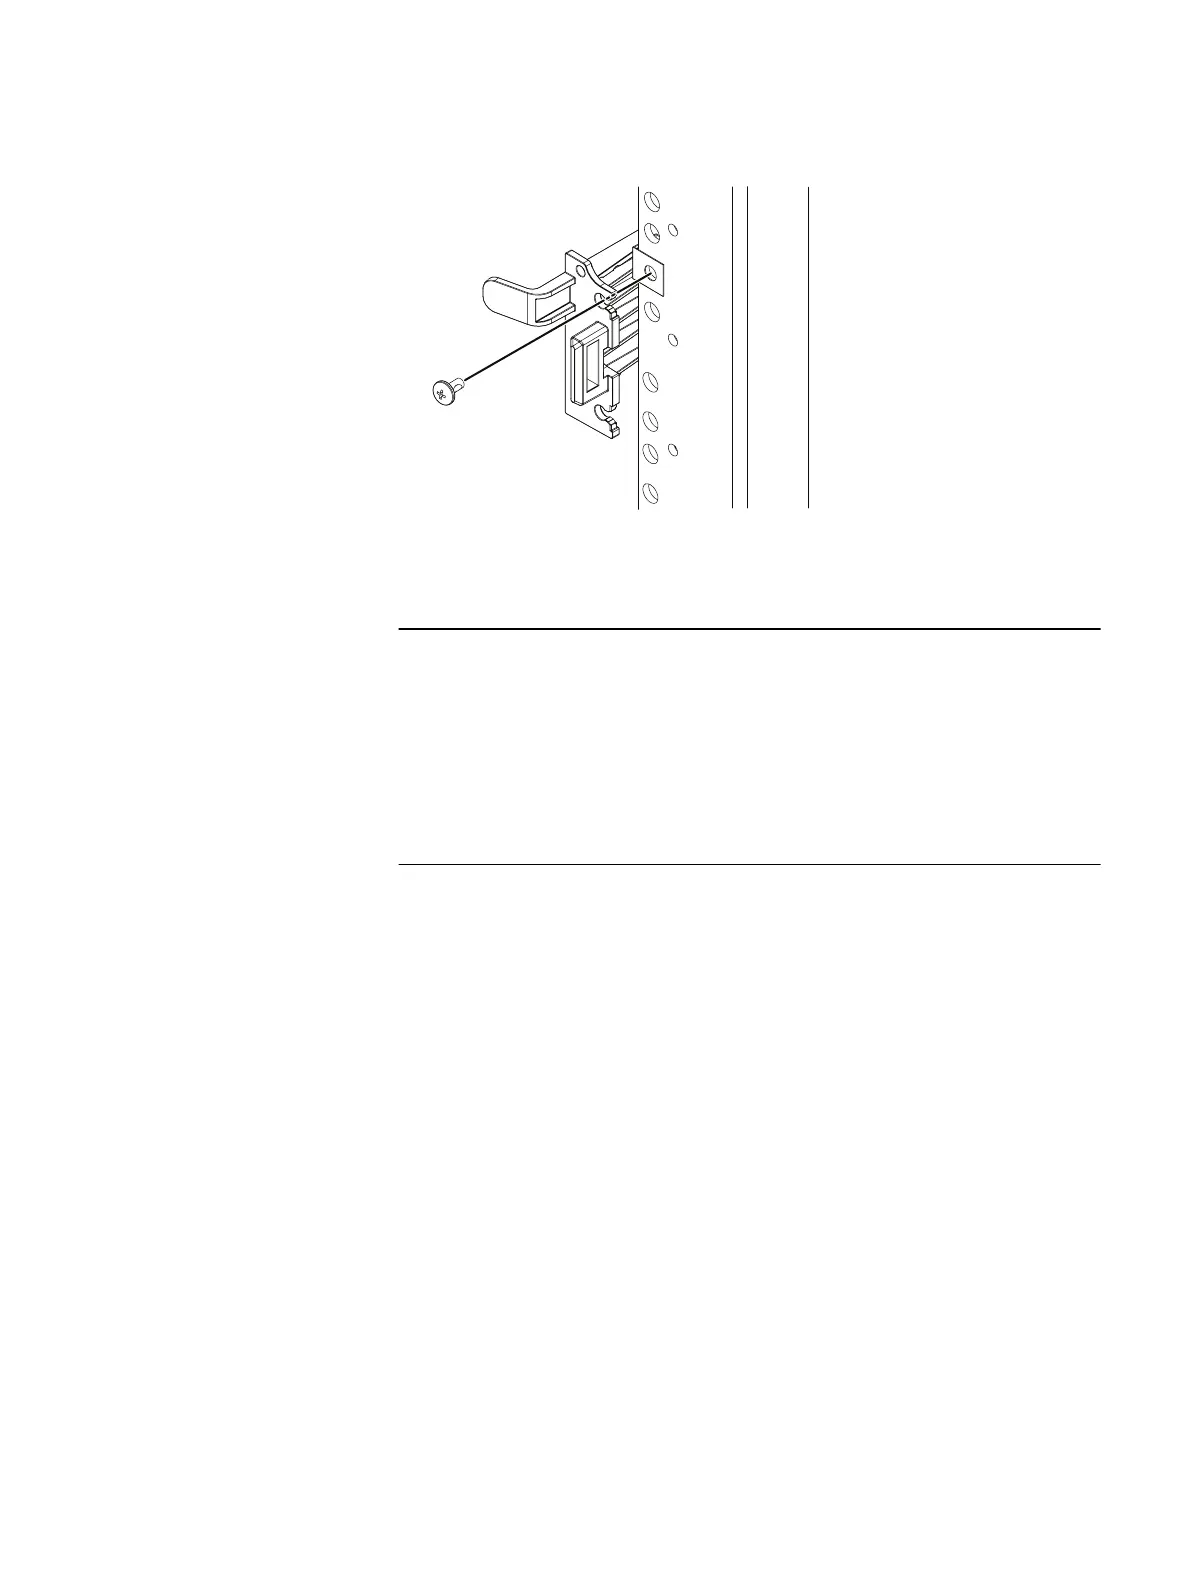
Figure 144 Installing ears to rack using truss head screws
Use the orange enclosure latch handles to push the shelf completely into the
cabinet. Secure the enclosure to the rack using four truss-head screws.
3.
The top cover can secure to the cabinet in one of two ways, depending upon
your configuration. Some configurations do not have any hardware installed into
the top cover. In these configurations, the appropriate truss head screw must
be used to attach the top cover to the cabinet. Some configurations have semi-
captive screws in the top cover that will attach to EMC cabinets. If non-EMC
cabinets are being used, the semi-captive screws can be removed and truss
head screws can be used as required to attach the top cover to the cabinet.
To secure the top cover using a top cover that does not have any mounting
hardware, secure the top cover to the rack using the screws or pins from the kit
that accompanies the device. These screws secure the chassis cover and
prevent the cover from coming out of the cabinet during operation. Secure the
top cover to the rack as follows:
a. If the shelf is being installed into an EMC rack, secure the top cover to the
rack using M5 truss head screws from the kit. Tighten the screws until they
are finger tight.
b. If the shelf is being installed into a non-EMC rack, identify the mounting
holes on the rack that will line up with the mounting holes on the top cover.
Identify which truss head screws will be used to secure the top cover to the
rack (refer to the following table for guidance). For non-threaded racks,
place tinnernam clips over the rack mounting holes. Attach the top cover to
the rack using the appropriate truss head screws from the hardware kit that
comes with the shelf. Refer to the following figure and table for guidance
(shelf and rack not shown).
Removing and Replacing FRUs
Inserting and securing the top cover and chassis 161
 Loading...