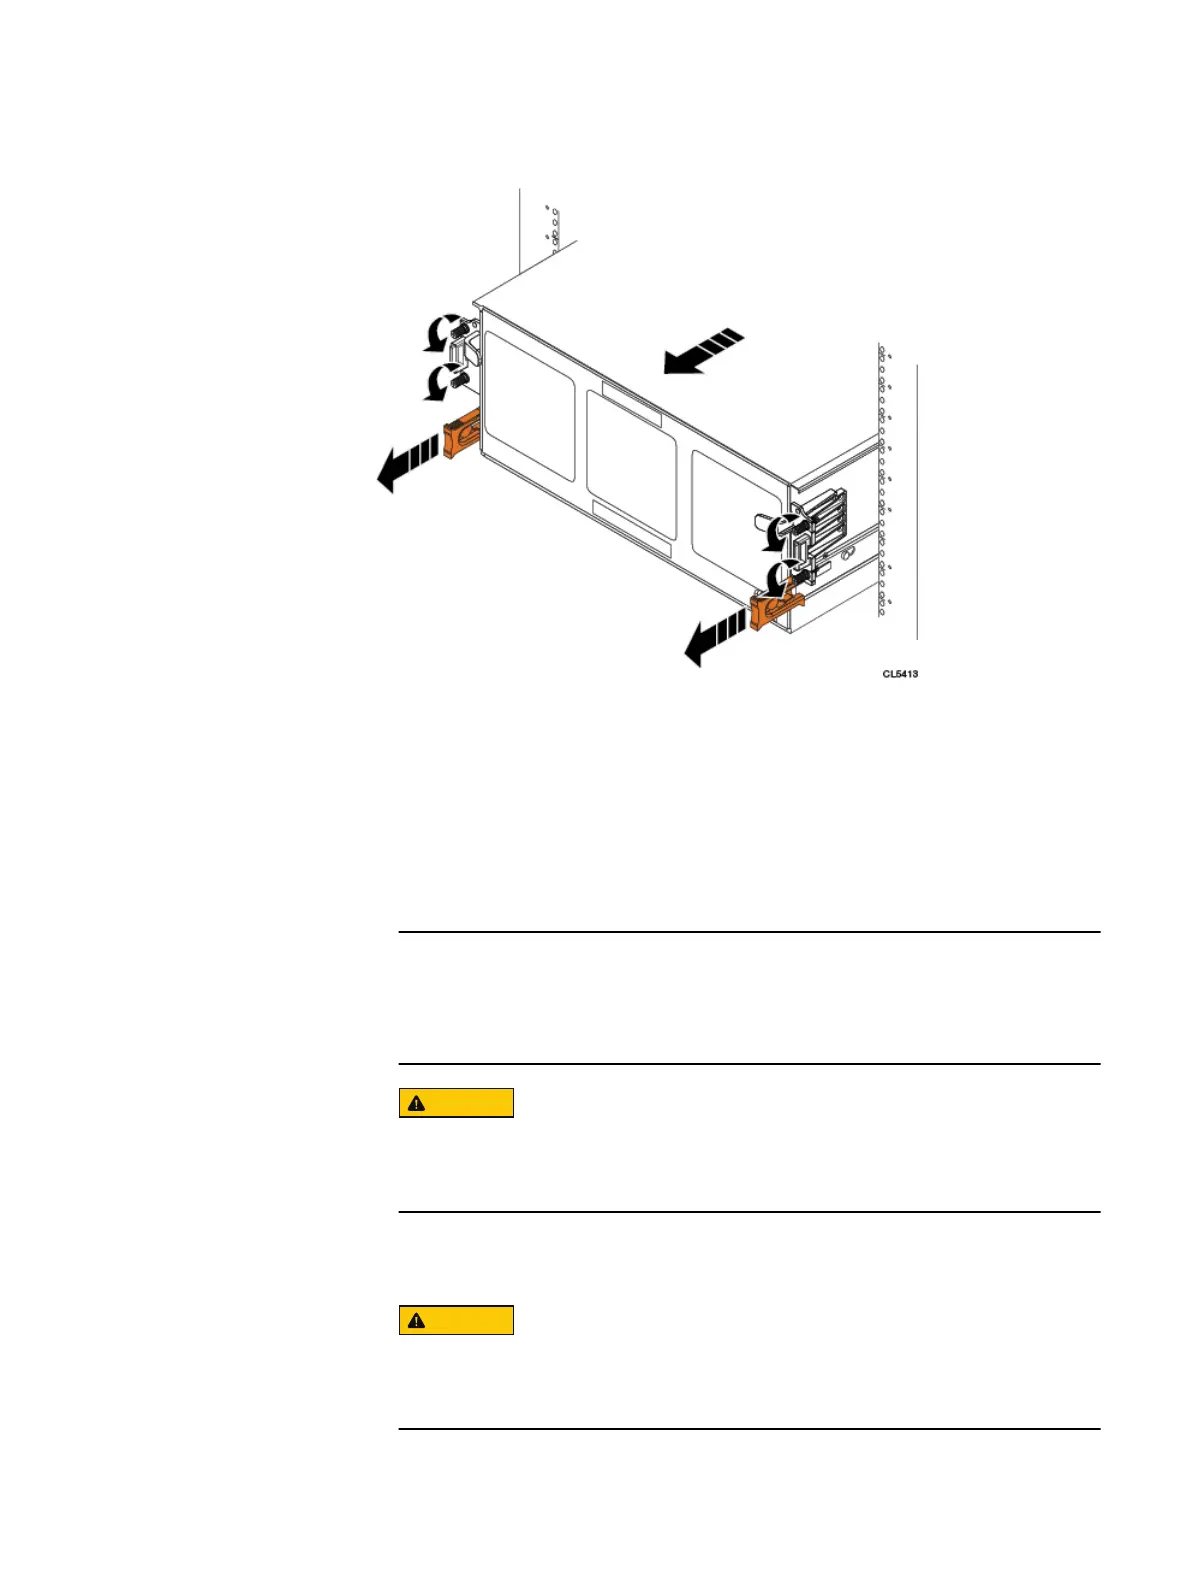
Figure 168 Pulling the Chassis Out (Two shoulder Screw Configuration)
Add new disks
It is not necessary to remove power from the disk shelf before adding new disks.
Procedure
1. Grab the finger slot of a blank carrier and pull it straight up to remove it from
the disk slot.
After removing a blank carrier, insert the disk into the empty slot before
removing the next carrier. Do not attempt to remove all the carriers before
installing the disks.
Install the disk drives within 10 minutes after the shelf is slid out of the
rack. If it is not returned to the rack within 10 minutes, all drives may be
powered down to avoid overheating the node.
2. Attach and ESD wristband to your wrist and the shelf in which you are installing
the disk
3.
Do not drop the disk drive into the slot. Dropping the disk drive may
damage the disk drive and the drive interface backplane, which requires a
full chassis replacement.
With the disk carrier latch fully open, align the module with the guides and
gently lower the disk into the slot (1).
Adding Disks
Add new disks 181
 Loading...