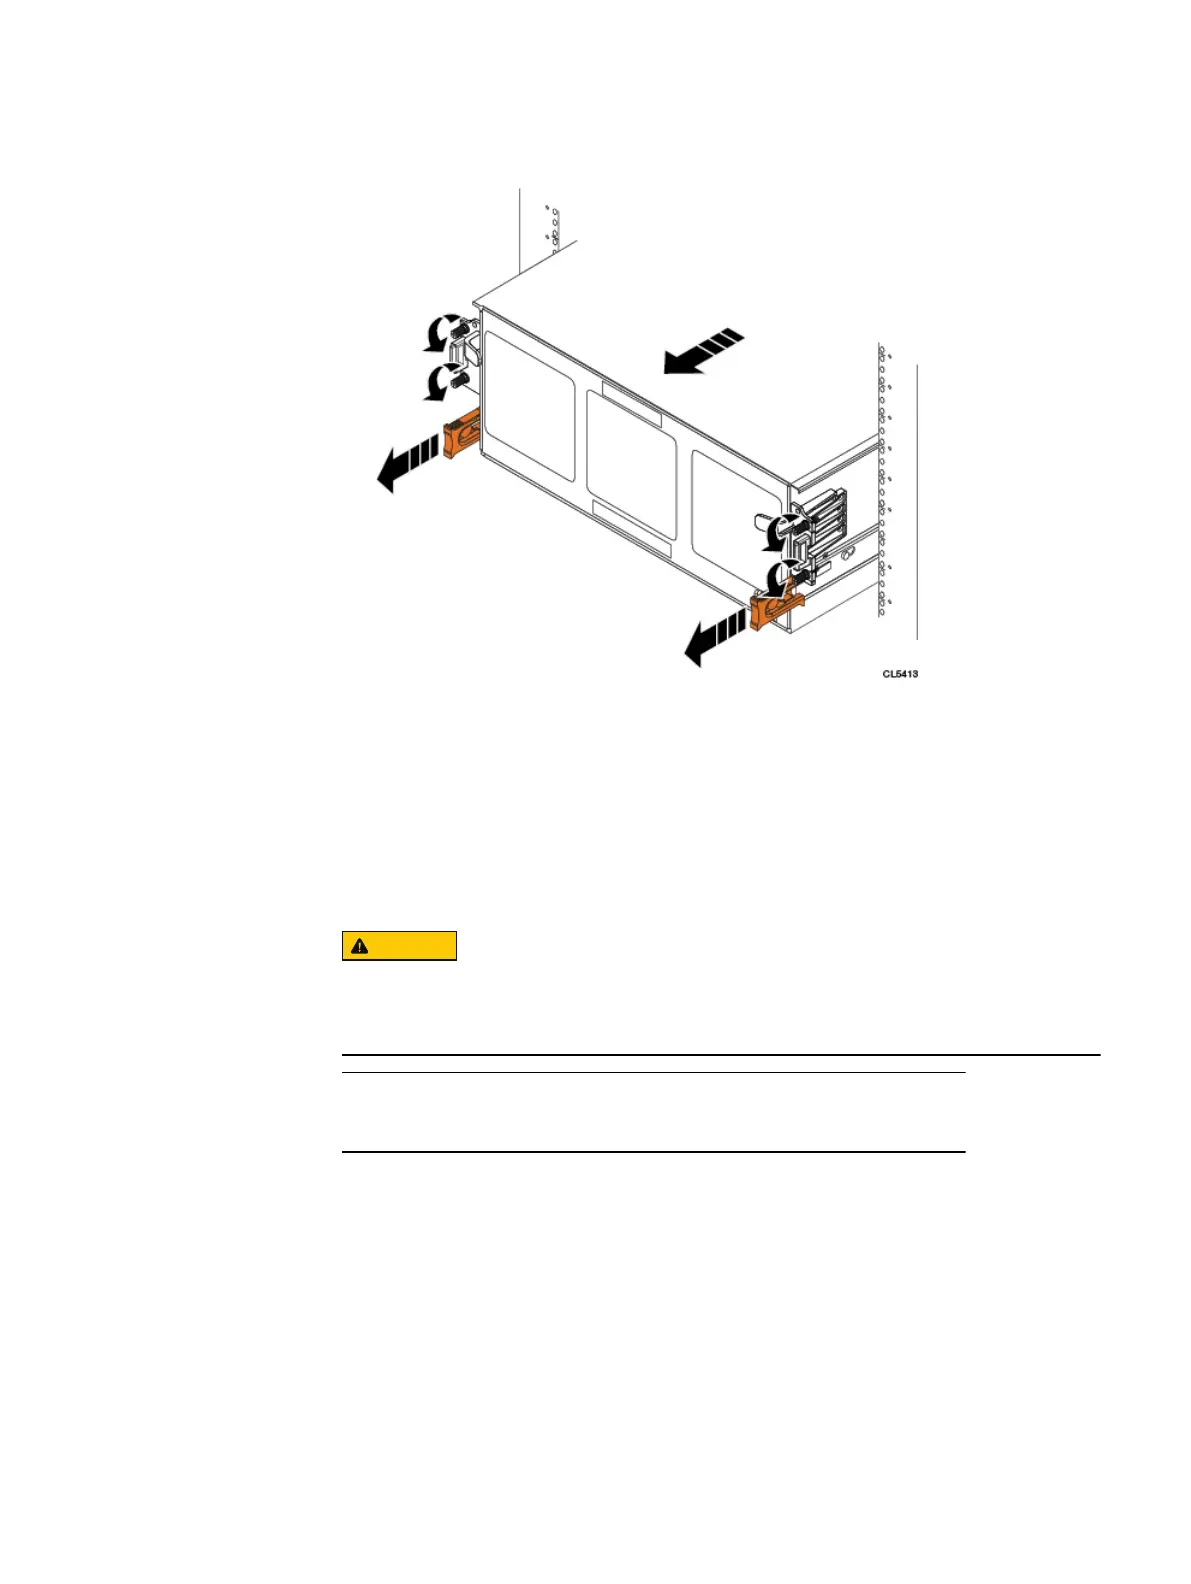
Figure 70 Pulling the Chassis Out (Two shoulder Screw Configuration)
Removing a disk drive
This procedure describes how to remove a disk drive from the chassis.
A faulted disk has an amber fault LED on its carrier. However, the amber fault LED
may not always be illuminated if a drive fails. Refer to the troubleshooting procedures
to correctly identify faulted disk drives. Do not replace a faulted disk until you have a
replacement disk with the same part number available.
A disk drive must be replaced within 10 minutes after the shelf is slid out of the
rack. If it is not returned to the rack within 10 minutes, all drives may be powered
down to avoid overheating the node.
Disks can be removed and replaced with the power applied to the shelf.
Procedure
1. Attach an ESD wristband to your wrist and the shelf with the disks you are
removing.
Removing and Replacing FRUs
Removing a disk drive 91
 Loading...