h. Repeat for the other rail.
4. Once the rails are adjusted to the proper length, install the rails in the rack.
Installing the rails in a non-EMC rack
Exercise care when installing the short rails. Exposed metal edges may be sharp
and could damage cabling or cause injury to personnel.
For each shelf, install the rails using the table, figure and steps that follow. The rails
are designed to be universal in nature. They are shipped with 6.8mm adaptors that will
fit into any EMC rack. To install the universal rails into a non-EMC rack, the 6.8mm
adaptors must be removed, then replaced with rail pins that will fit the hole-types in
the rack being used. The following table shows the rail pins and their suggested use .
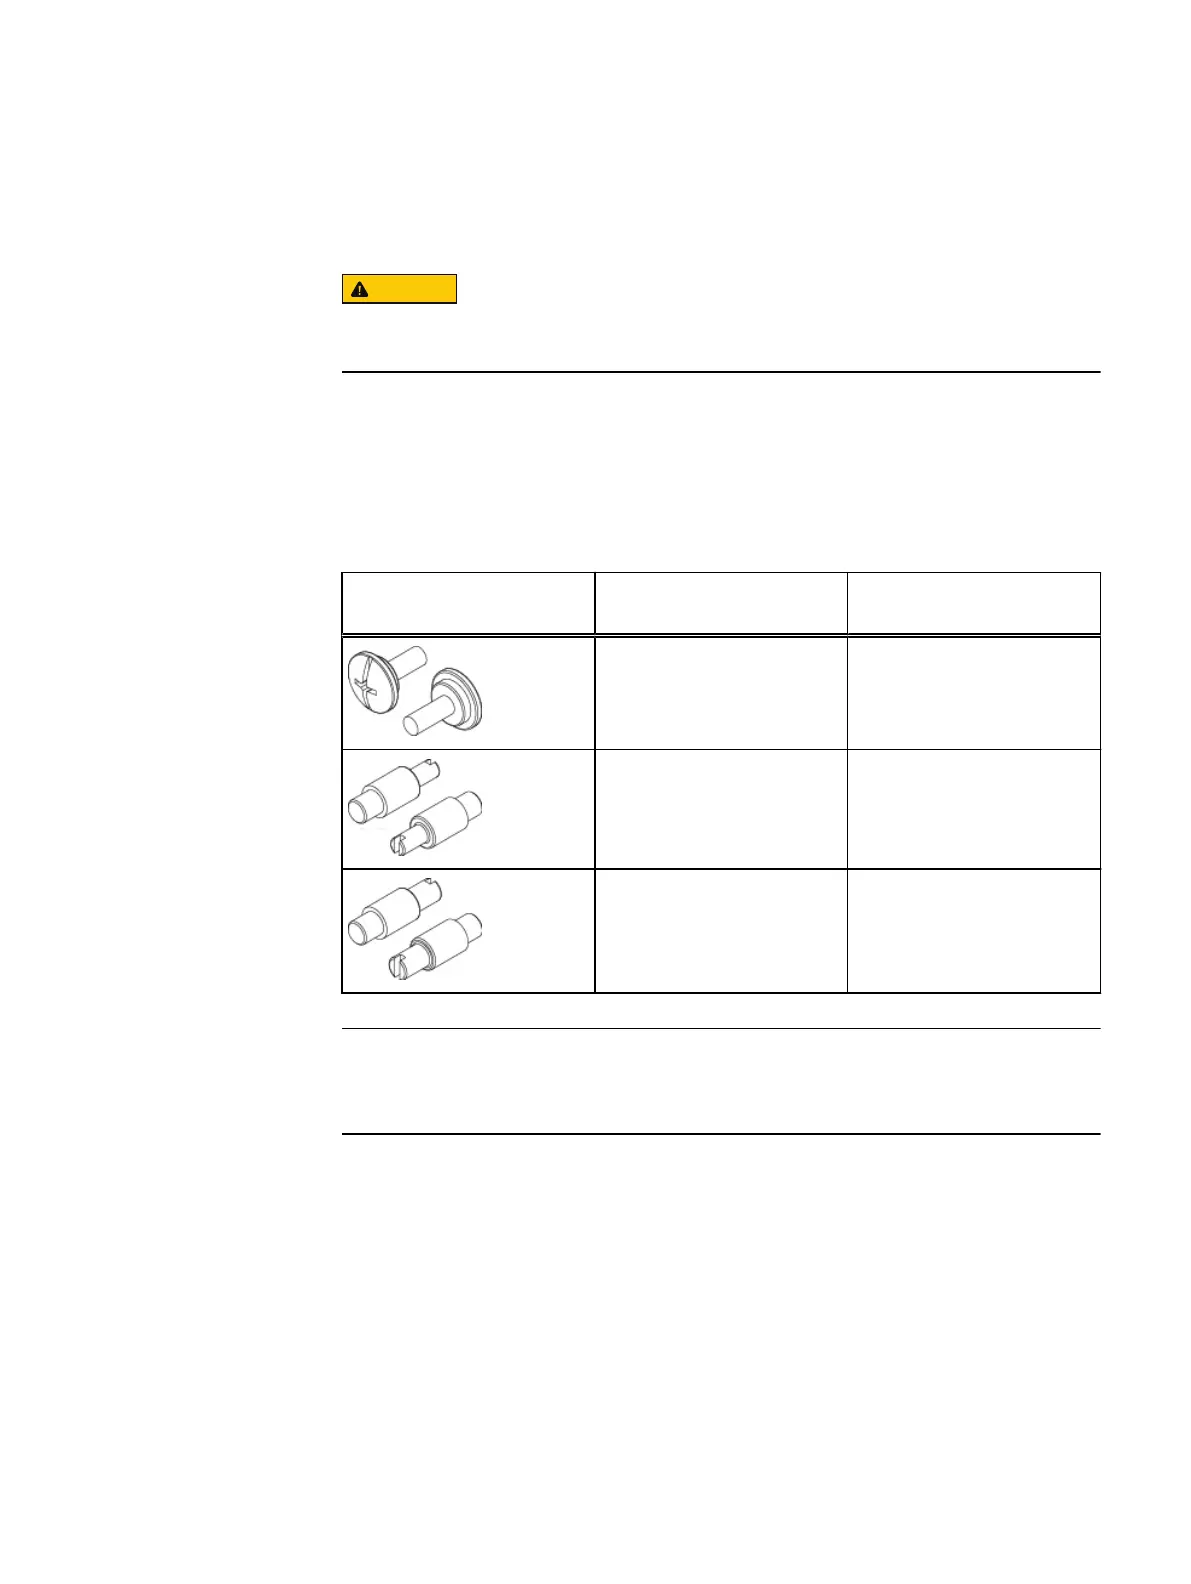
Table 11 Pins for non-EMC racks
Rail Pins from kit Part Number and
Description
Suggested Use
036-028-018
Custom screw, M4 x 10MM
(Quantity: 4 per kit)
Used for any non-EMC rack.
Can be used in racks with
threaded holes.
036-028-016
3.8MM Alignment Pin
(Quantity: 8 per kit)
Used in racks that have M5,
#10, or #12 threaded holes.
036-028-017
4.8MM Alignment Pin
(Quantity: 8 per kit)
Used in racks that have M6
threaded holes.
Each of the rail alignment pins must be located in the middle holes of the bottom two
U spaces of the 4U space.
Shelf Installation and Removal
66 EMC Data Domain DS60 Expansion Shelf Installation and FRU Replacement Hardware Guide
 Loading...