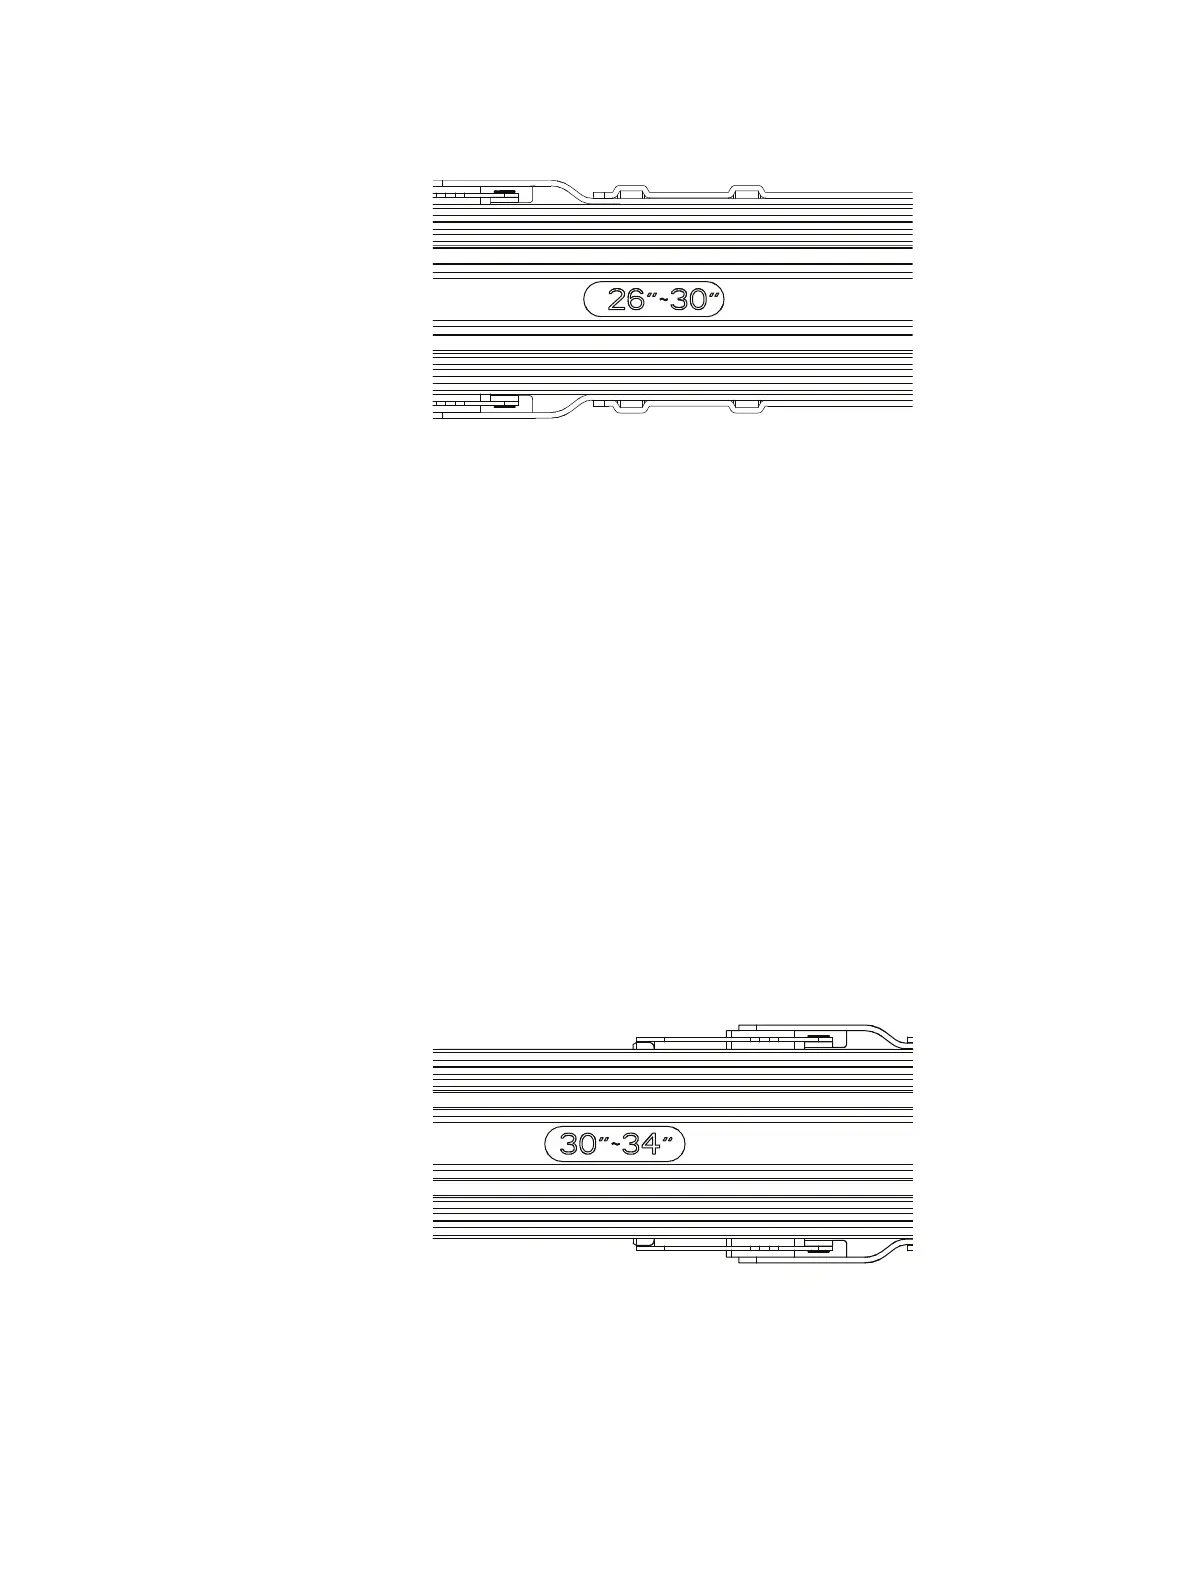
Figure 61 26"-30" Marking
e. Slide the inner rail mechanism to the rear of the rail until the 26"-30" mark is
visible. If the inner mechanism is locked, depress the leaf spring to free it.
f. Adjust the hardware to make sure the mounting holes are aligned with the
mounting slots.
g. Secure the length adjustment bracket in place using the screw and nut that
were removed earlier.
h. Repeat for the other rail.
3. To change the length of the rail to 30-34"" (longest setting) do the following:
a. Orient one of the rails to identify the front of the rail so that the inside of the
rail is visible with the spacing markings visible.
b. Locate the two screws and nuts which hold the length adjustment bracket in
place.
c. Using a screwdriver and a nut driver (pliers or vise-grips will work as well),
remove both screws and nuts. The length adjustment bracket will be free of
the rail.
d. Move the length adjustment bracket to the rear of the rail and align the
mounting slots with the mounting holes near the rear of the rail.
Figure 62
30"-34" Marking
e. Slide the inner rail mechanism to the rear of the rail until the 30-34" mark is
visible. If the inner mechanism is locked, depress the leaf spring to free it.
f. Adjust the hardware to make sure the mounting holes are aligned with the
mounting slots.
g. Secure the length adjustment bracket in place using both screws and nuts
that were removed earlier.
Shelf Installation and Removal
Shelf rail installation in non-EMC racks 65
 Loading...