SC-F9200 Series Revision C
ADJUSTMENT Ink Supply Related Checks and Adjustments 335
SE Group Confidential (Related Staff Only)
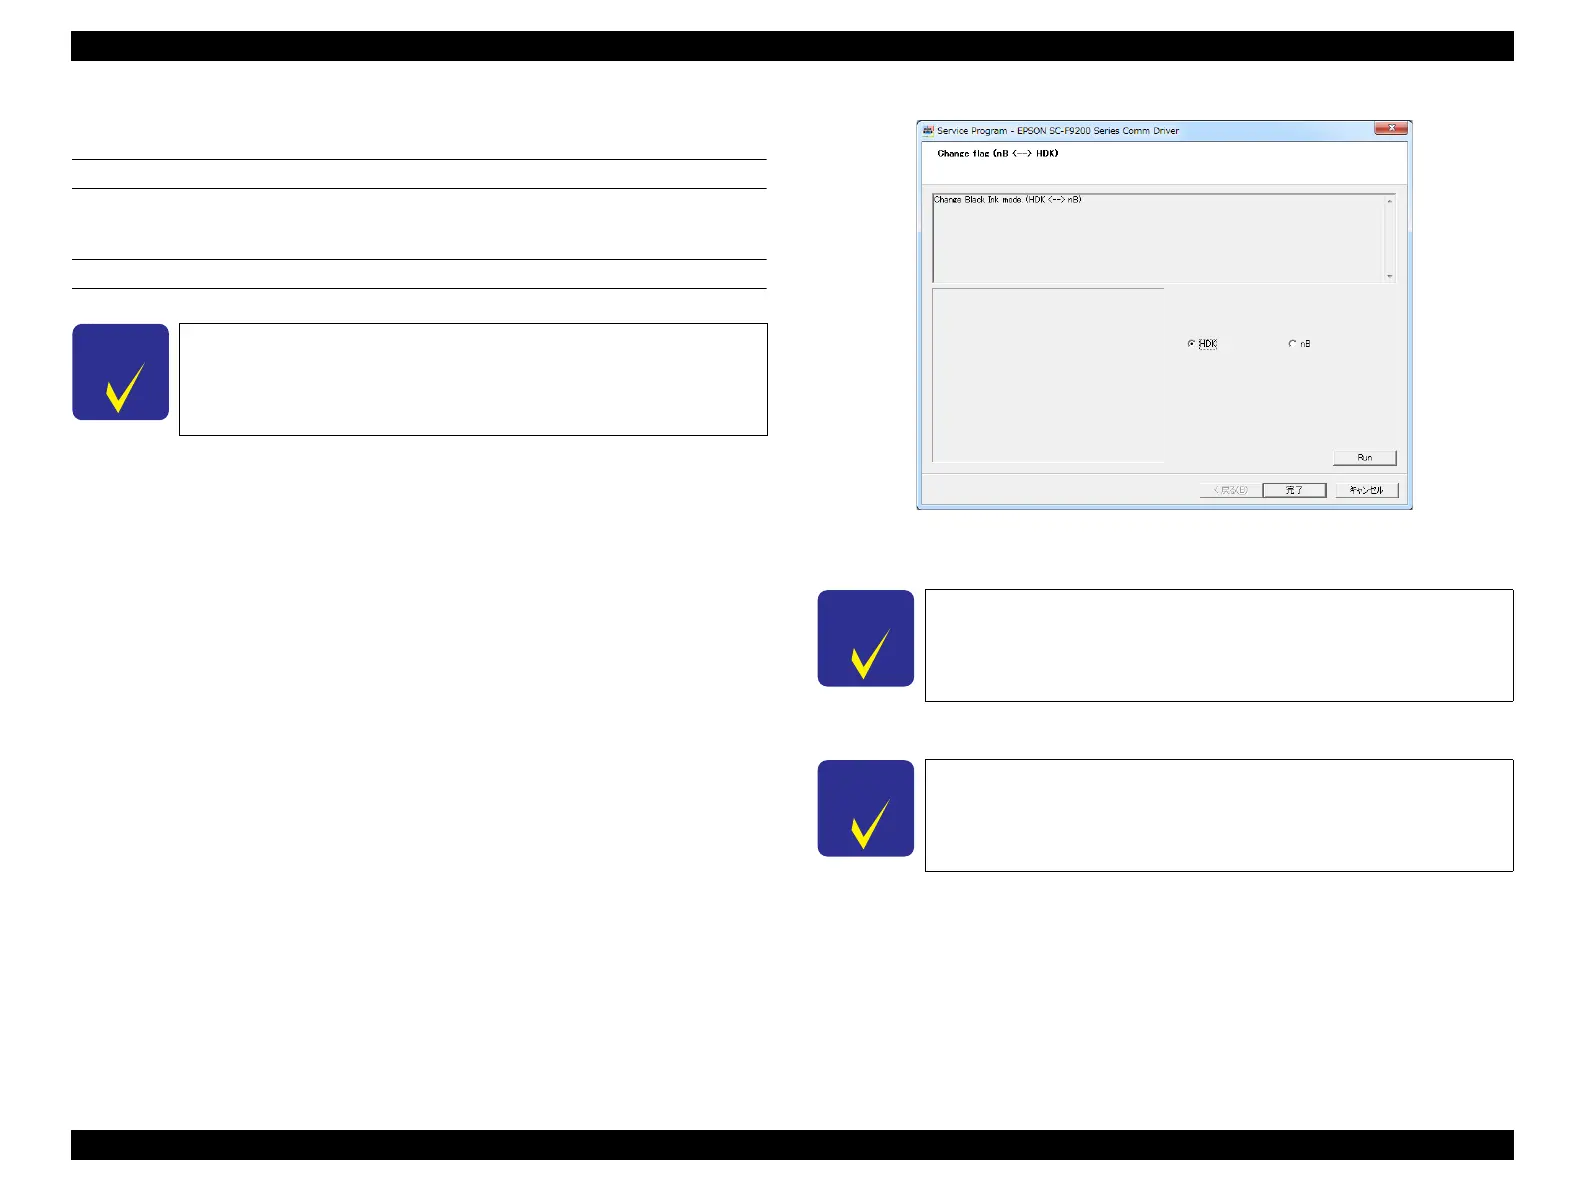
4.12.7 Change flag (nB <--> HDK)
EXECUTION MODE
Normal Mode
PROCEDURE
1. Turn on the printer.
2. Start the Service Program and select Nozzle Check, and print the nozzle check
pattern.
3. Start the Service Program and select Change flag (nB <--> HDK).
4. Select HDK.
5. Click [Run].
Figure 4-58. [Change flag (nB <--> HDK)] Screen
6. Turn off the printer.
7. Turn on the printer.
8. Remove the ink tank, slider, and ink chip for normal black.
9. Install the ink tank, slider, and ink chip for HDK.
10. Fill the ink tank with HDK ink.
11. Discard the waste ink.
12. Reset the Waste Ink Bottle Counter.
The following explains how to switch from normal black to HDK
and the same way vice versa.
And if you perform Main Board Replacement(Backup NG),
perform only Step3, Step4 and Step5 to fix the Black type.
Unless the power is turned off once, the new setting of Change flag
(nB <--> HDK) is not saved in the Main Board.
An error occurs because the normal black ink tank is installed, but
continue the work.
 Loading...


