SC-F9200 Series Revision C
ADJUSTMENT Head Related Checks and Adjustments 327
SE Group Confidential (Related Staff Only)
4.11.10 Manual Bi-D Adjustment
PAPER USED
Size: 24 inch length or longer
Type: Premium Glossy Photo Paper (250)
EXECUTION MODE
Normal Mode
ADJUSTMENT PROCEDURE
1. Load the paper in the printer.
2. Turn the printer ON.
3. On the control panel, select the Media Setup menu and change the Select Media
setting to RIP Settings “0”.
4. Start the Service Program and select Manual Bi-d Adjustment.
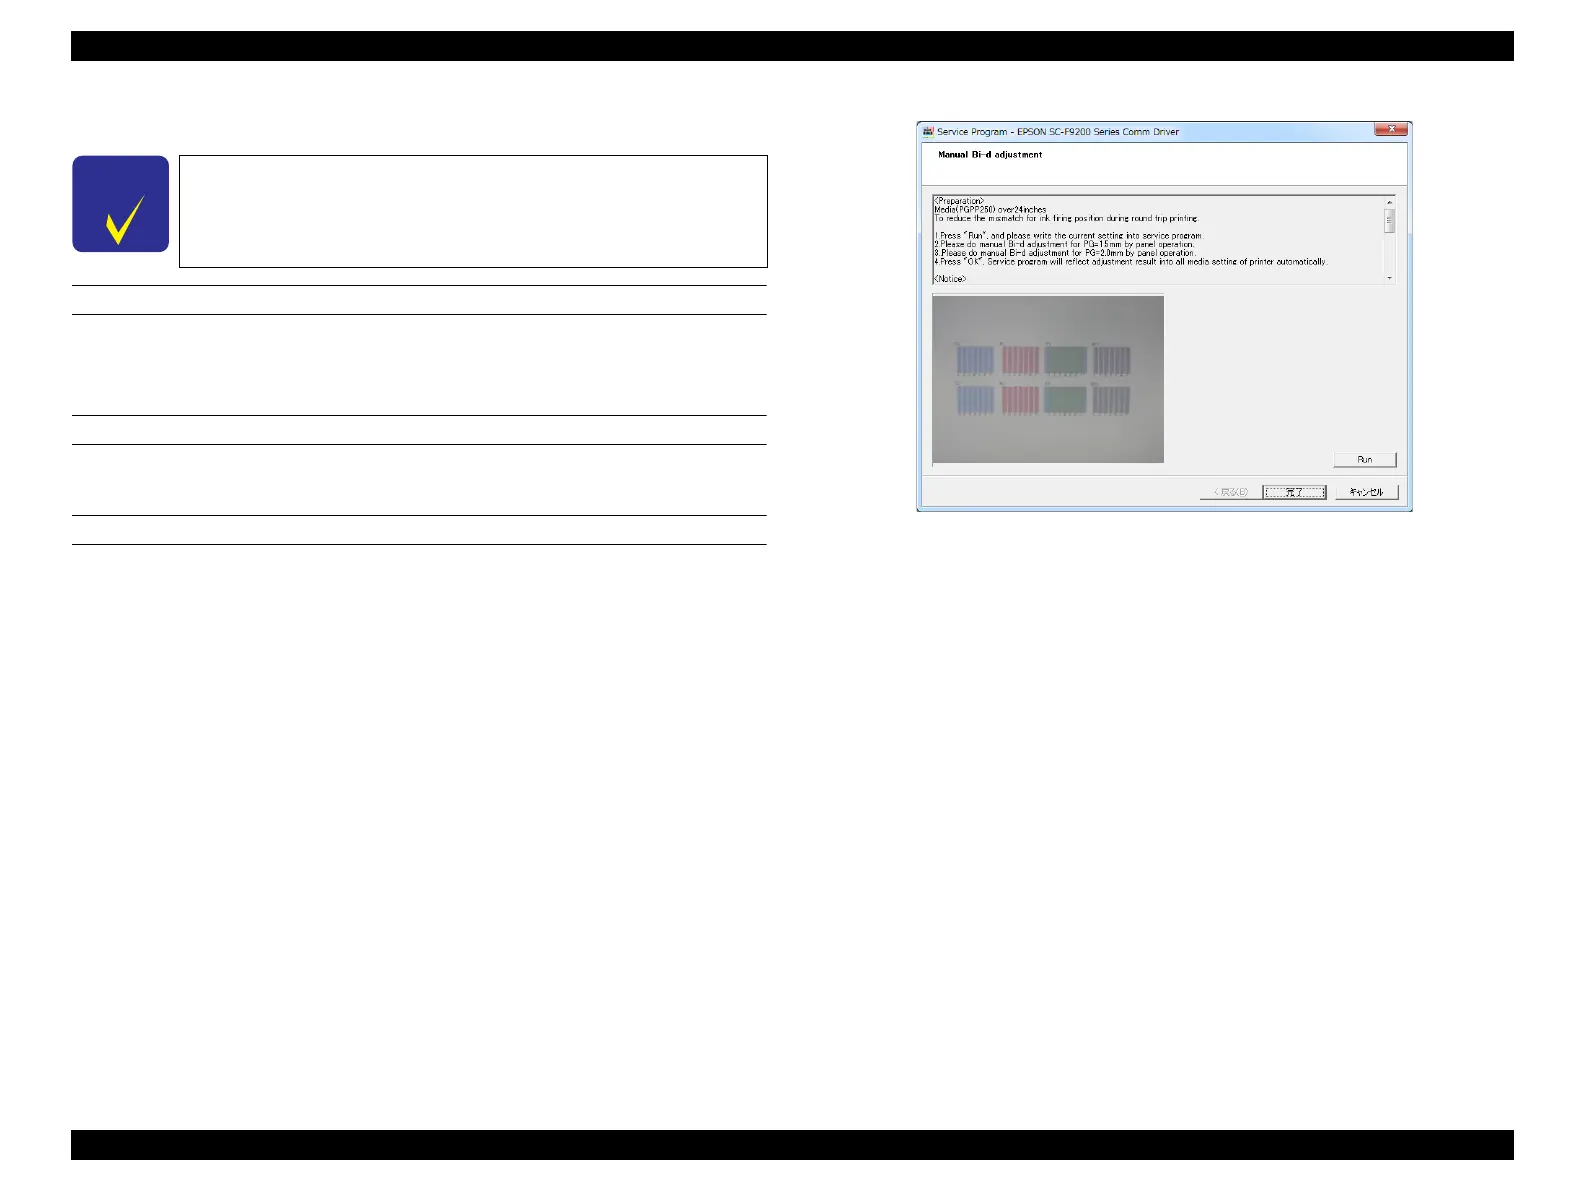
5. Click [RUN], then the POPUP screen will be appeared.
Figure 4-50. [Manual Bi-D adjustment] Screen
6. On the control panel, set [1.5] in Platen Gap.
7. On the control panel, set [0.2mm] in Head Alignment. and then press [OK], the
adjustment pattern will be printed.
8. Repeat adjustment until the number of the pattern with least visible lines falls
between 2 through 8.
Before performing the Manual Bi-D Adjustment, make sure to
carry out the Manual Uni-D Adjustment
(P. 325).
 Loading...


