NVR User Manual 061220NA 123
4. Enter User Name, and Password for PPPoE access.
NOTE: The User Name and Password should be assigned by your ISP.
5. Click the Apply button to save and exit the interface.
6. After successful settings, the system asks you to reboot the device to enable the new settings, and
the PPPoE dial-up is automatically connected after reboot.
7. (Optional) Go to Menu > Maintenance > System Info > Network interface to view the status of PPPoE
connection.
11.2.4
Configuring NTP Server
Purpose
A Network Time Protocol (NTP) Server can be configured on your NVR to ensure the accuracy of system
date/time.
1. Enter the Network Settings interface, Menu > Configuration > Network.
2. Select the NTP tab to enter the NTP Settings interface.
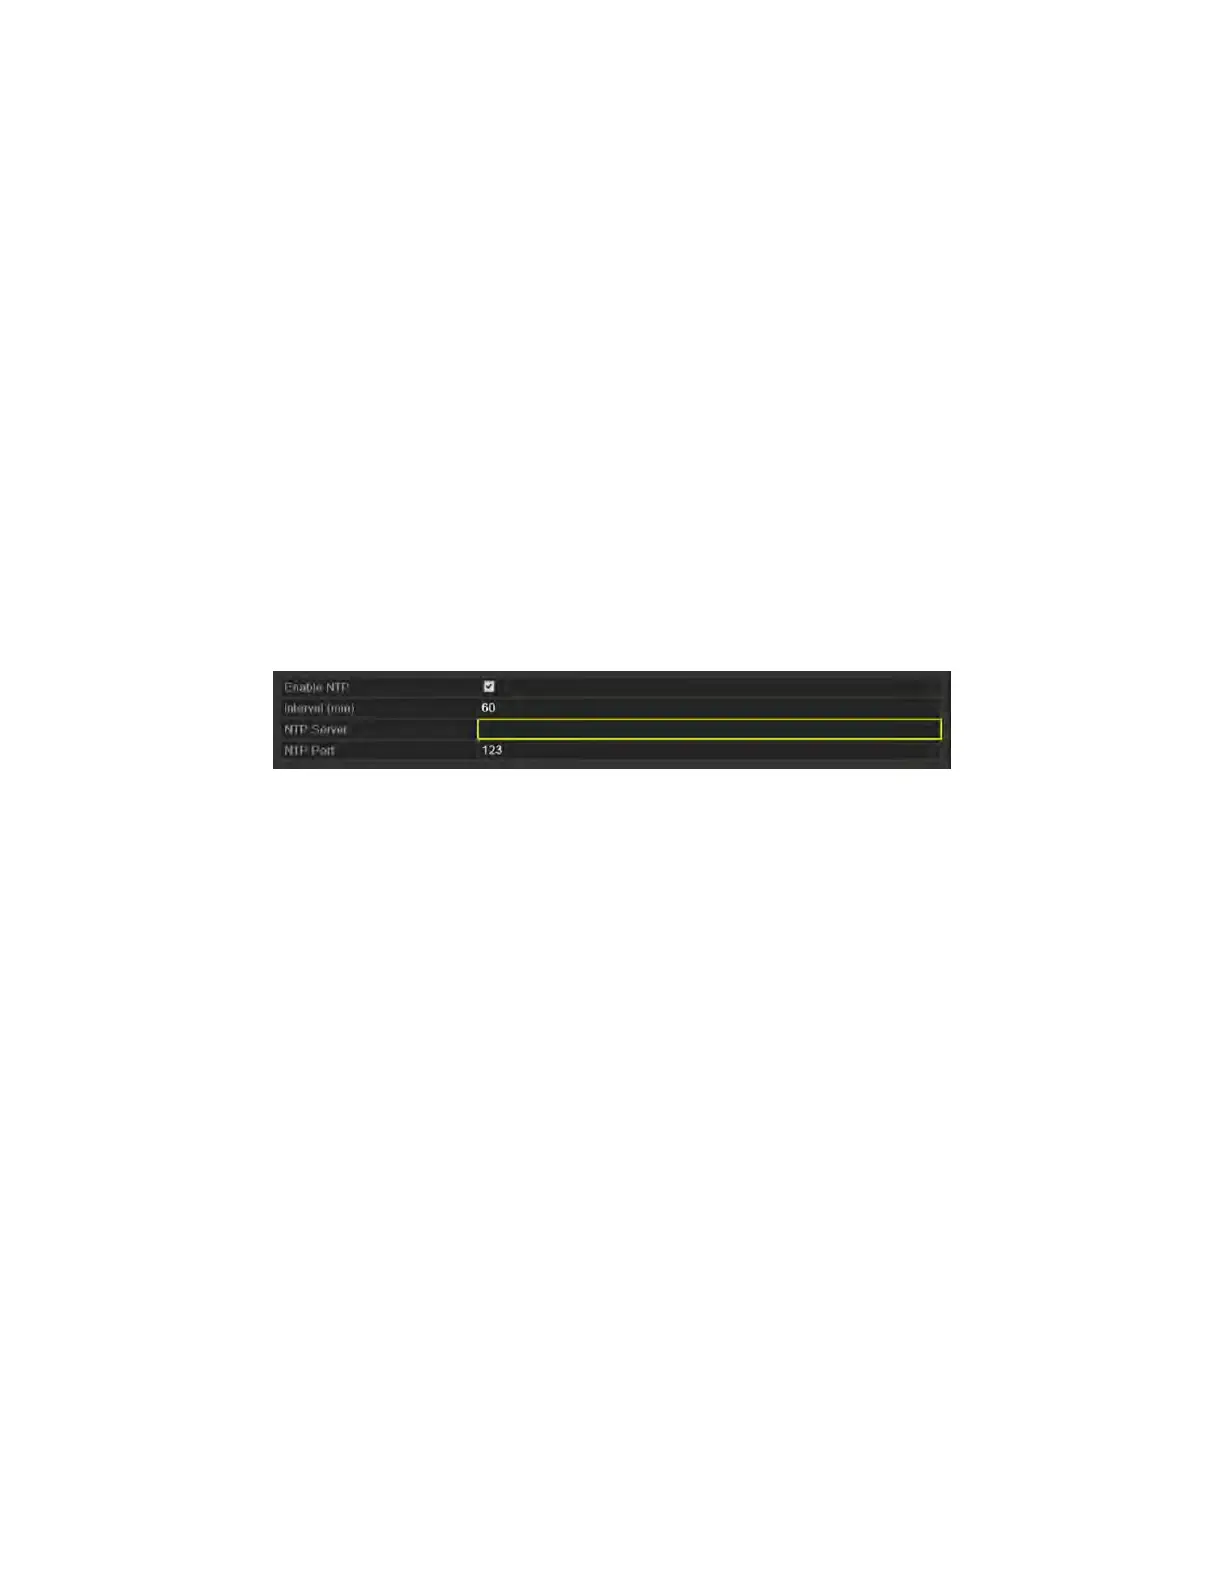
Figure 176, NTP Settings Interface
3. Check the Enable NTP checkbox to enable this feature.
4. Configure the following NTP settings:
• Interval: Time interval between the two synchronizing actions with NTP server. The unit is minute.
• NTP Server: IP address of NTP server.
• NTP Port: Port of NTP server.
5. Click the Apply button to save and exit the interface.
NOTE: The time synchronization interval can be set from 1 to 10080 min, and the default value
is 60 min. If the NVR is connected to a public network, use an NTP server that has a time
synchronization function such as the server at the National Time Center (IP Address:
210.72.145.44). If the NVR is setup in a more customized network, NTP software can be
used to establish a NTP server used for time synchronization.
11.2.5
Configuring SNMP
Purpose
You can use SNMP protocol to get device status and parameters related information.
1. Enter the Network Settings interface, Menu > Configuration > Network.
 Loading...