7. RECOIL STARTER / FUEL TANK
7.1 Fuel tank
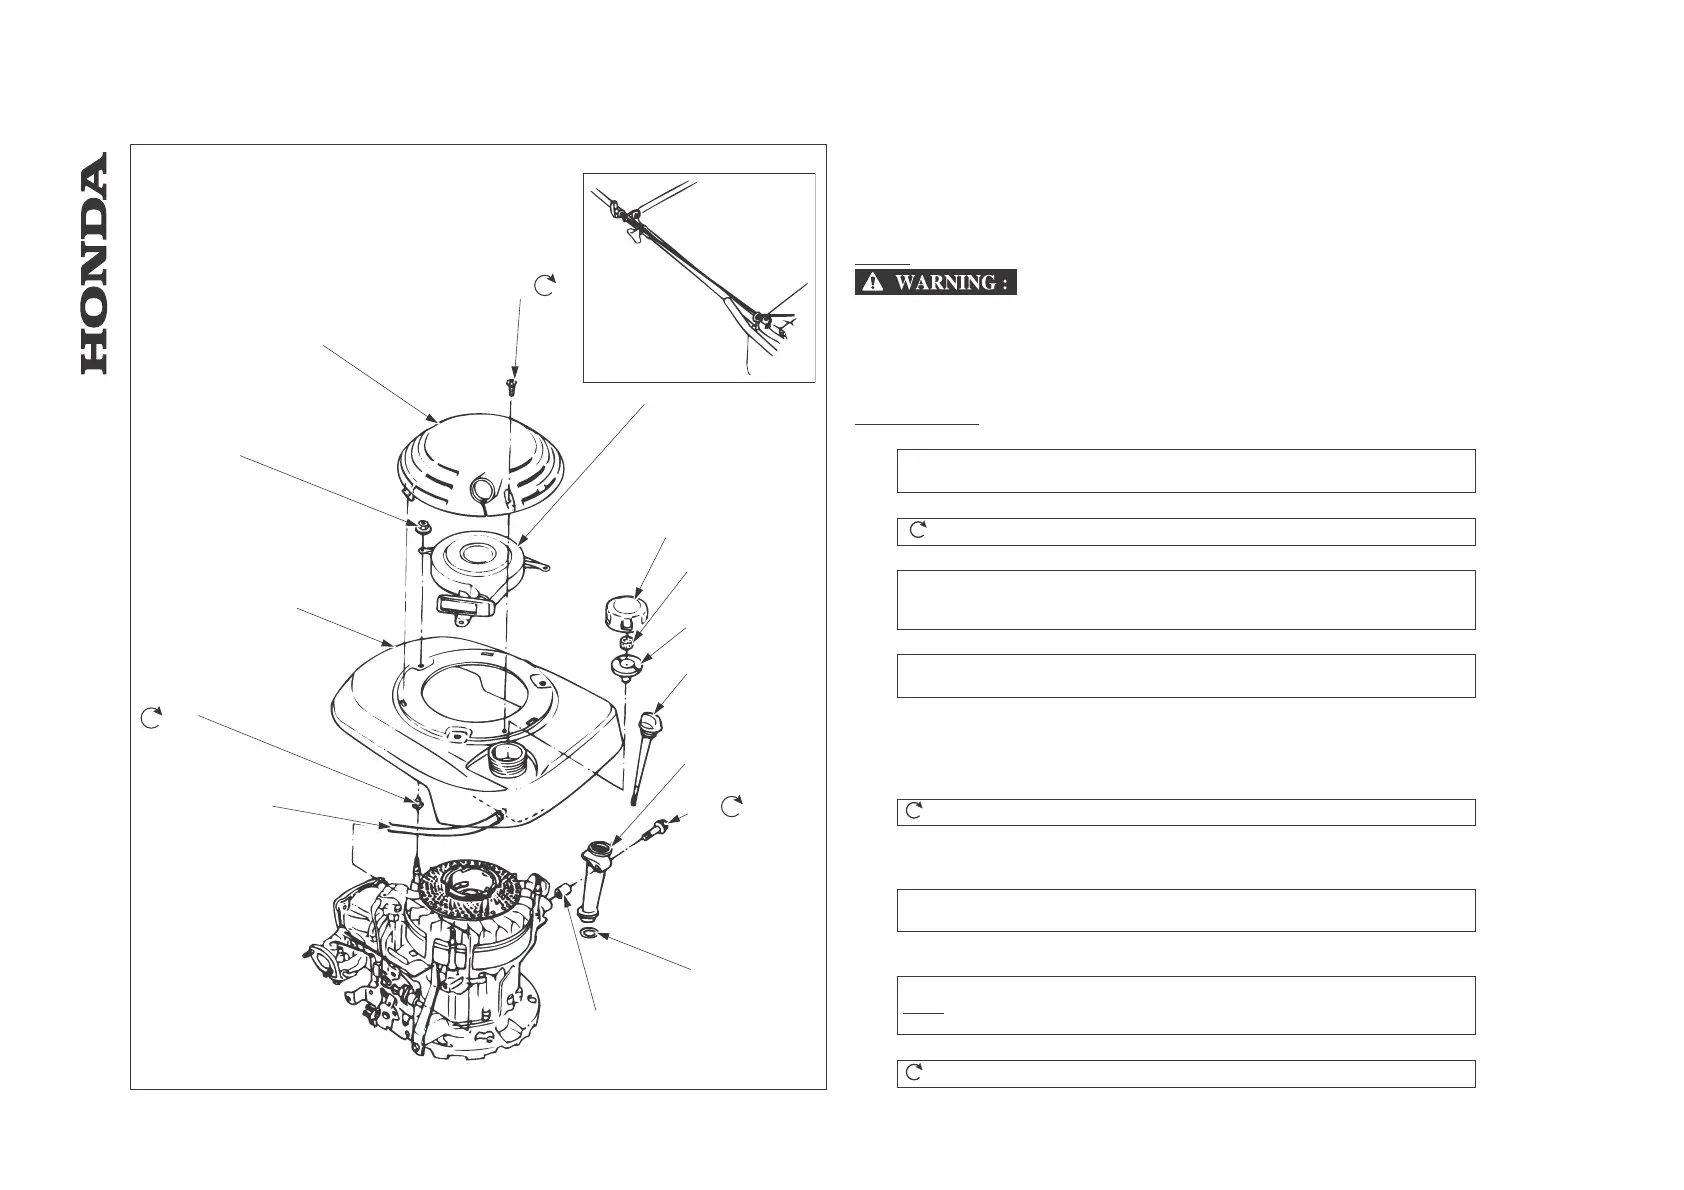
a. Removal / Installation
NOTE:
It is not necessary to remove the engine.
Petrol is highly flammable and explosive. If ignited, petrol can burn you severely.
When draining petrol:
- Drain petrol into an approved container.
- Keep sparks and flames away, and do not smoke.
- Wipe up spills immediately.
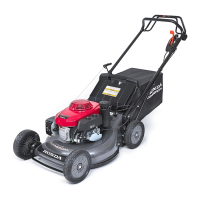
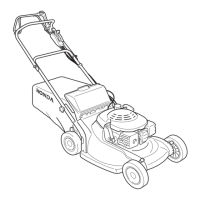
HRD535/K1/K2
[1] RECOIL STARTER COVER
REMOVAL: Unlock the three tabs by pushing from outside.
INSTALLATION: Set the three tabs into the fuel tank groove securely.
[2] TAPPING SCREW,4x20mm
TIGHTENING TORQUE: 0.8 N.m
[3] RECOIL STARTER ASSEMBLY
REMOVAL: Undo the knot on the recoil starter grip level to release it from the handle.
INSTALLATION: Secure the recoil starter rope through the rope guides as shown.
DISASSEMBLY / REASSEMBLY: ch. 7.2
[4] FUEL FILLER CAP
INSTALLATION: Make sure the air vent is clean and not clogged. Blow clean with
compressed air if necessary.
[5] SEAL FOAM
[6] FILLER CAP PACKING
[7] OIL FILLER CAP / DIPSTICK
[8] OIL FILLER TUBE
[9] SCREW,6x32mm
TIGHTENING TORQUE: 8.5 N.m
[10] O-RING
[11] COLLAR
[12] FUEL TUBE
INSTALLATION: Before installing, check for deterioration or damage. Replace if
necessary.
[13] COLLAR (3)
[14] FUEL TANK / FAN COVER
INSTALLATION: Wash to remove sediment and dry thoroughly before installing.
NOTE
: the fuel filter installed in the tank is not removed.
CAPACITY: 1.0 l
[15] FLANGE NUT, 6 mm (3)
TIGHTENING TORQUE: 8.5 N.m
-47-
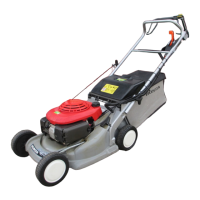
HRA536 - HRD535 - HRD536
[1]
[2]
[3]
[4]
[5]
[6]
[7]
[8]
[9]
[10]
[11]
[12]
[13]
[14]
[15]
8,5
8,5
0,8
- RECOIL STARTER / FUEL TANK
 Loading...