16. After exchanging an item, go to “Verifying the Repair” on page 920.
This ends the procedure.
17. On the FC 9079 tower or lower half of a FC 8079 tower, pull on the two side
fasteners to release the control panel assembly.
18. Slide the panel partially out of the frame.
19. Disconnect the cables that are attached to backside of the control panel.
20. Remove the control panel from the frame.
21. Reverse the above procedure to install the panel.
Note: When a control panel with keystick is replaced, discard the new
keysticks that come with the panel and reuse the original keysticks.
22. Does the system that you are working on have a keystick lock?
Yes No
↓ Go to step 25 on page 693 of this procedure.
23. Do you have the original system unit keys and are you reusing them?
No Yes
↓ Go to step 25 on page 693 of this procedure.
24. Perform the following:
a. Apply AC power.
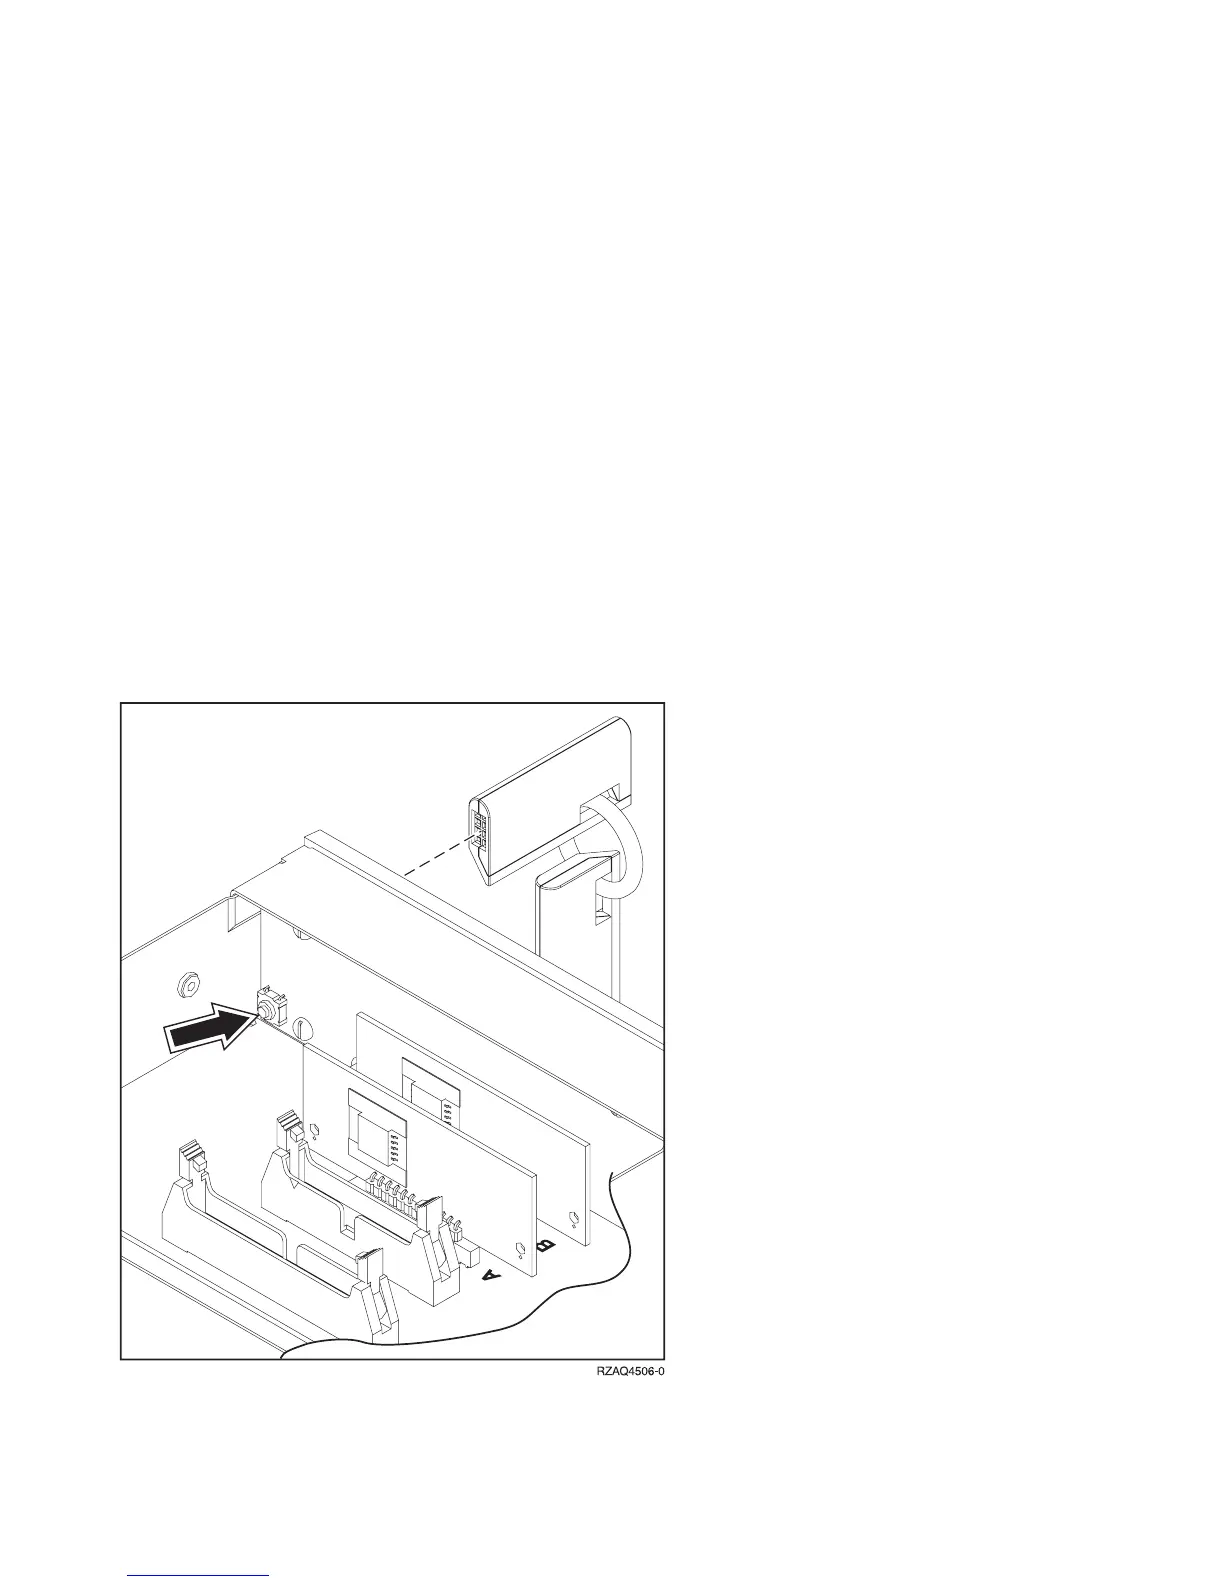
Figure 26. System Unit Control Panel with Keystick (NB1)
Remove and Replace Procedures
692
iSeries Model 830, 840, SB2, and SB3 Problem Analysis, Repair and Parts V5R1
 Loading...


