Range, Digits, Speed, and Filters 6-15
Filter configuration
1. Press the CONFIG key and then the FILTER key to access the filter configuration
menu. The blinking cursor will indicate the state of Auto Filter.
2. Use the or key to place the cursor on the desired Auto Filter selection (DISABLE
or ENABLE), and press ENTER.
3. If you selected ENABLE, the FILT annunciator will turn on and the SourceMeter will
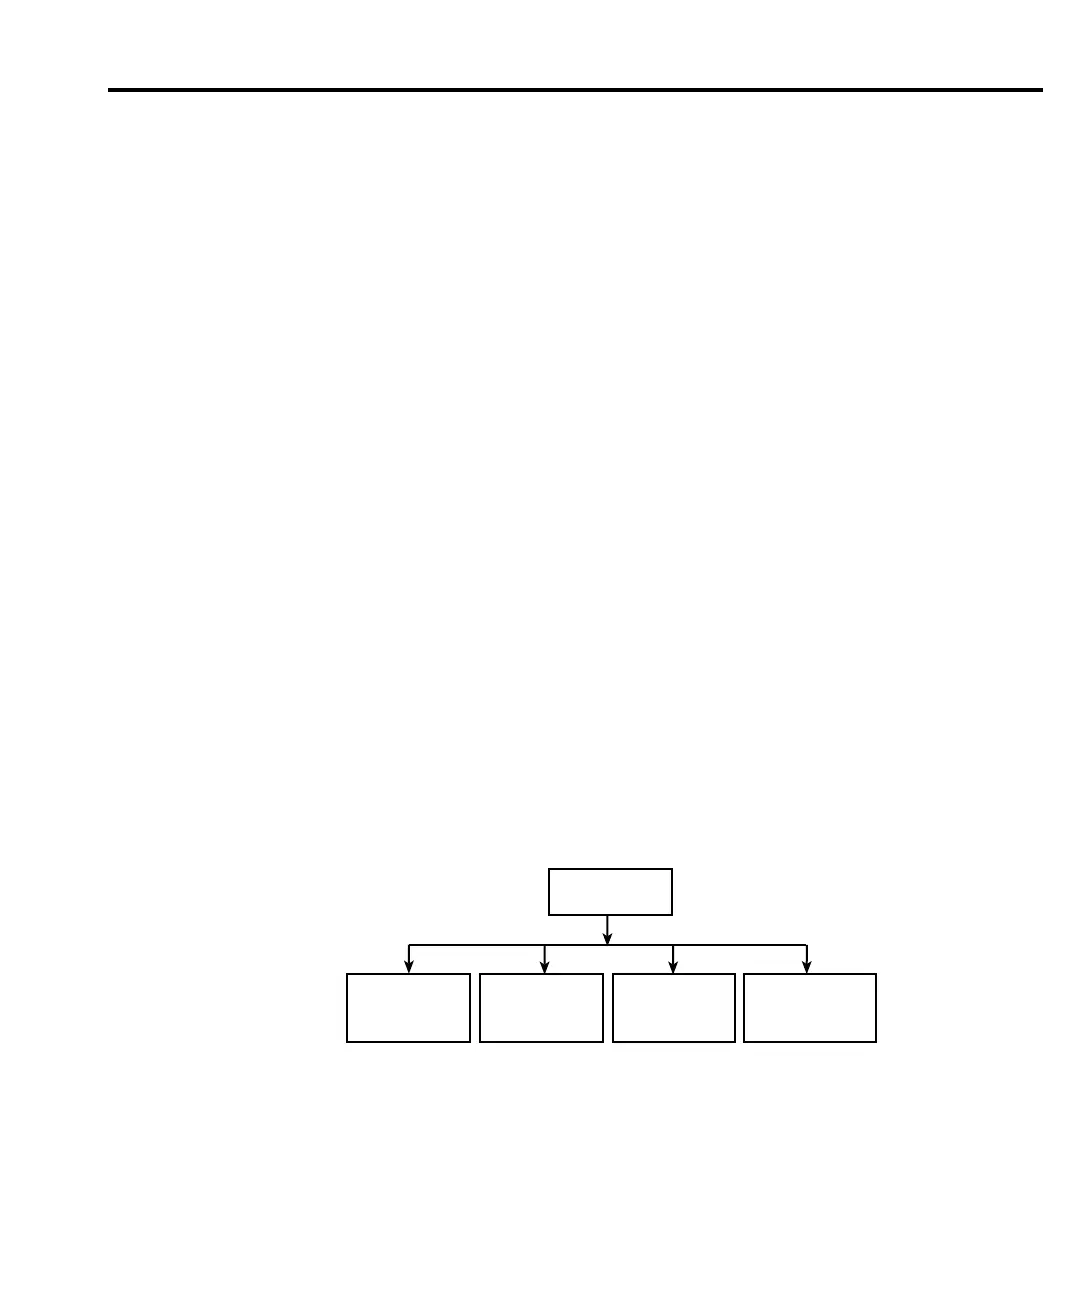
exit from the menu structure. If you selected DISABLE, the Configure Filtering menu
will be displayed. (See Figure 6-6.) Proceed to the next step.
4. Place the cursor on REPEAT COUNT and press ENTER to display the present repeat
count for the Repeat Filter.
5. Use the , ,
▲ and ▼ keys to display the desired repeat count (1 to 100), and press
ENTER. Keep in mind that a count of one disables the Repeat Filter.
6. Place the cursor on MOVING COUNT and press ENTER to display the present moving
count for the Moving Filter.
7. Use the , ,
▲ and ▼ keys to display the desired moving count (1 to 100), and press
ENTER. Keep in mind that a count of one disables the Moving Filter.
8. Place the cursor on ADVANCED and press ENTER. The blinking cursor will indicate
the state of Advanced Filter.
9. Use the or key to place the cursor on the desired Advanced Filter selection (DIS-
ABLE or ENABLE), and press ENTER.
10. If you enabled the Advanced Filter, use the , ,
▲ and ▼ keys to display the desired
noise window (0% to 105%), and press ENTER.
11. Place the cursor on MEDIAN RANK and press ENTER to display the present median
rank for the Median Filter.
12. Place the cursor on the desired rank value (0 to 5) and press ENTER. Keep in mind that
a rank of 0 disables the Median Filter.
13. Use the EXIT key to back out of the menu structure.
▲
▲
▲
▲
▲
▲
▲
▲
▲
▲
ADVANCED
FILTER
REPEAT
COUNT
MOVING
COUNT
MEDIAN
RANK
DISABLE
gure
-
onfigure filtering
menu tree
 Loading...