3: Installation
EDS4100 4 Port Device Server User Guide 25
ON = unit has finished booting.
Table 3-3. Back Panel LEDs
LED Description
ON = EDS4100 is connected to a 100 Mbps Fast Ethernet network. Speed (red)
OFF = EDS4100 is connected to a 10 Mbps Ethernet network.
Activity (green) Blink = EDS4100 is sending data to or receiving data from the
Ethernet network.
Reset Button
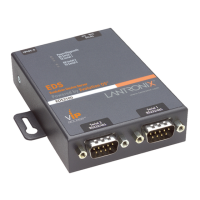
The reset button appears on the back of the EDS4100, to the left of the power connector.
Pressing this button for 2-to-3 seconds reboots the EDS4100 and terminates all data
activity occurring on the serial and Ethernet ports.
Installing the EDS4100
Finding a Suitable Location
Before you install the EDS4100, select a location that conforms to the following:
Place the EDS4100 on a flat horizontal or vertical surface. The EDS4100 comes with
mounting brackets installed for vertically mounting the unit, such as on a wall.
If using AC power, avoid outlets controlled by a wall switch.
Connecting the EDS4100
Observe the following guidelines when attaching serial devices:
All four EDS4100 serial ports support RS-232 devices.
Alternatively, ports 1 and 3 support RS-422/485 devices.
To connect an EDS4100 serial port to another DTE device, use a null modem cable.
To connect the EDS4100 serial port to a DCE device, use a straight-through
(modem) cable.
To connect the EDS4100 to one or more serial devices, use the following procedure.
1. We recommend you power off the serial devices that will be connected to the
EDS4100.
2. For each serial device you want to connect, attach a serial cable between the
EDS4100 and your serial device.
3. Connect an Ethernet cable between the EDS4100 Ethernet port and your Ethernet
network.
 Loading...
