4 Restart the printer and allow it to go through a complete startup cycle.
5 After the startup, turn o the printer, and then install the new controller board.
6 Restart the printer and allow it to go through a complete startup cycle.
If the procedure is successful, then there is no need to adjust any settings.
If the procedure fails, then contact technical support for assistance.
Restoring the printer configuration after replacing the controller board
Restore the printer to its correct configuration to complete the replacement service. Use the Service Restore
Tool to download the software bundle, and then flash the printer settings and embedded solutions.
Note: The software bundle contains the latest version of the firmware, applications, and software licenses
from the Lexmark Virtual Solutions Center (VSC). The printer firmware may be at a dierent level from what
was used before replacing the controller board.
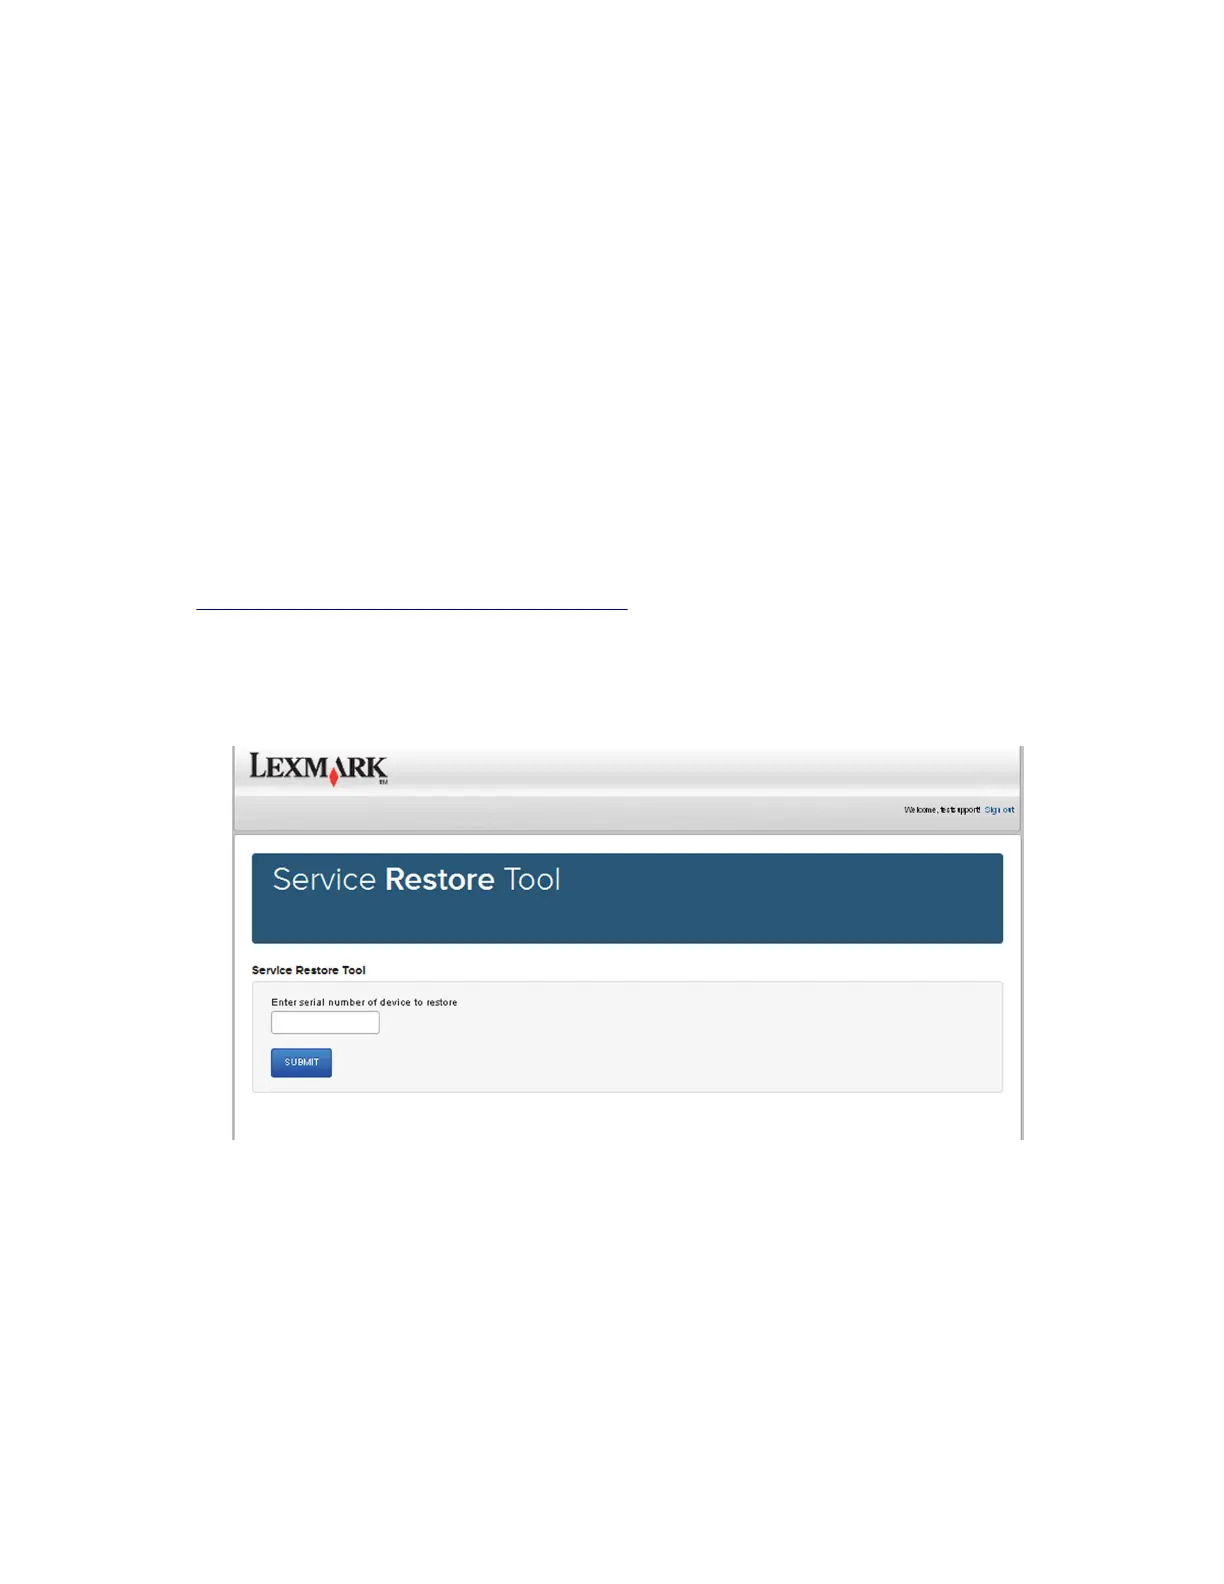
Using the Service Restore Tool
1
Go to https://cdp.lexmark.com/service-restore-tool/ to access the tool.
2 Log in using your Lexmark or partner login.
If your login fails, then contact your next level of support.
3 Enter the printer serial number, and then submit the information.
Note: Make sure that the serial number that appears on the
verification
screen is correct.
7528
Repair information
297

 Loading...