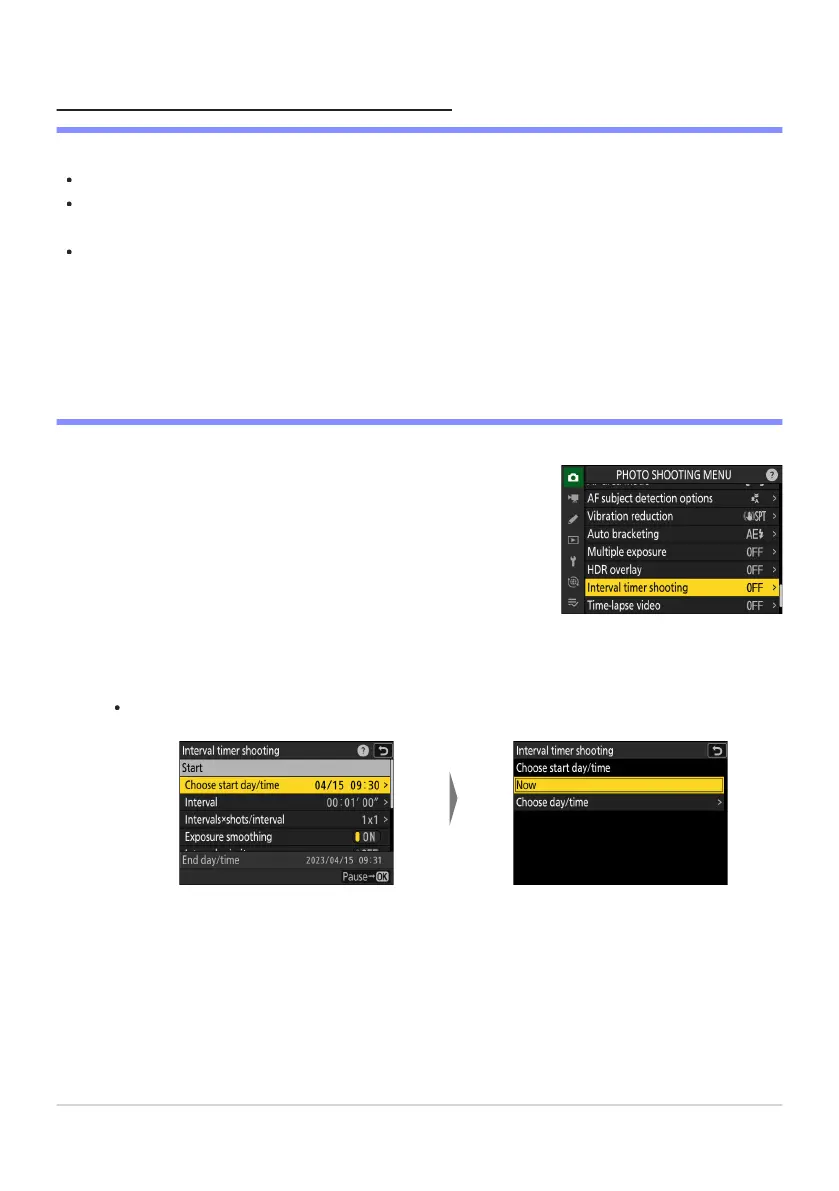
Highlight [Interval timer shooting] in the photo shooting
menu and press
2.
Highlight [Choose start day/
time
] and press 2.
Highlight an option and press
J.
Interval-Timer Photography
D Before Shooting
T
ake a test shot at current settings.
Before proceeding, select [Time zone and date] in the setup menu and make sure that the camera
clock is set to the correct time and date.
We recommend using one of the following power sources to prevent loss of power while shooting is
in progress:
A fully-charged battery
An optional EH‑7P charging AC adapter
An optional EH‑8P AC adapter with a UC‑E25 USB cable (featuring Type C connectors at both
ends)
An optional EP‑5B power connector with an EH‑5d, EH‑5c, or EH‑5b AC adapter
Adjust interval timer settings.
Choose the start day and time.
To start shooting immediately, select [Now].
To start shooting at a chosen date and time, select [Choose day/time]. Choose the date
and time and press J.
485
Interval Timer Shooting
-
-
-
-
1
2
-
-