Laser Optics
SM 3-23 G133
Replacement
Adjustment
To check if SP 2-111-1 was successful, watch the screen during the process. A message is
displayed at the end. Also, you can check the result with SP 2-194-10 to -12.
After you replace the motor, do the adjustments in the following section of the manual:
Image Adjustment – Registration.
3.5.4 SHUTTER MOTOR
1. All PCUs ( "p.3-3 "PCU"")
2. Image transfer belt unit ( "p.3-3 "Image Transfer Belt Unit"")
3. Rear cover ( "p.3-3 "Rear Cover"")
4. Right rear cover ( "p.3-3 "Right Rear Cover"")
5. Controller box ( "p.3-3 "Controller Box"")
6. Third duct ( "p.3-3 "Third Duct Fan"")
7. Left cover ( "p.3-3 "Left Cover"")
8. PSU bracket ( "p.3-3 "PSU"")
9. Gear unit ( "p.3-3 "Gear Unit"")
10. Image transfer belt contact motor ( "p.3-3 "Image Transfer Belt Contact Motor"")
11. Registration motor ( "p.3-3 "Registration Motor"")
12. Duplex unit ( "p.3-3 "Duplex Unit"")
13. Paper guide plate 1 and 2 ( "p.3-3 "Registration Sensor"")
14. Operation panel cover ( "p.3-3 "Operation Panel"")
15. Pull out the tray 1 and 2, and image transfer belt unit.
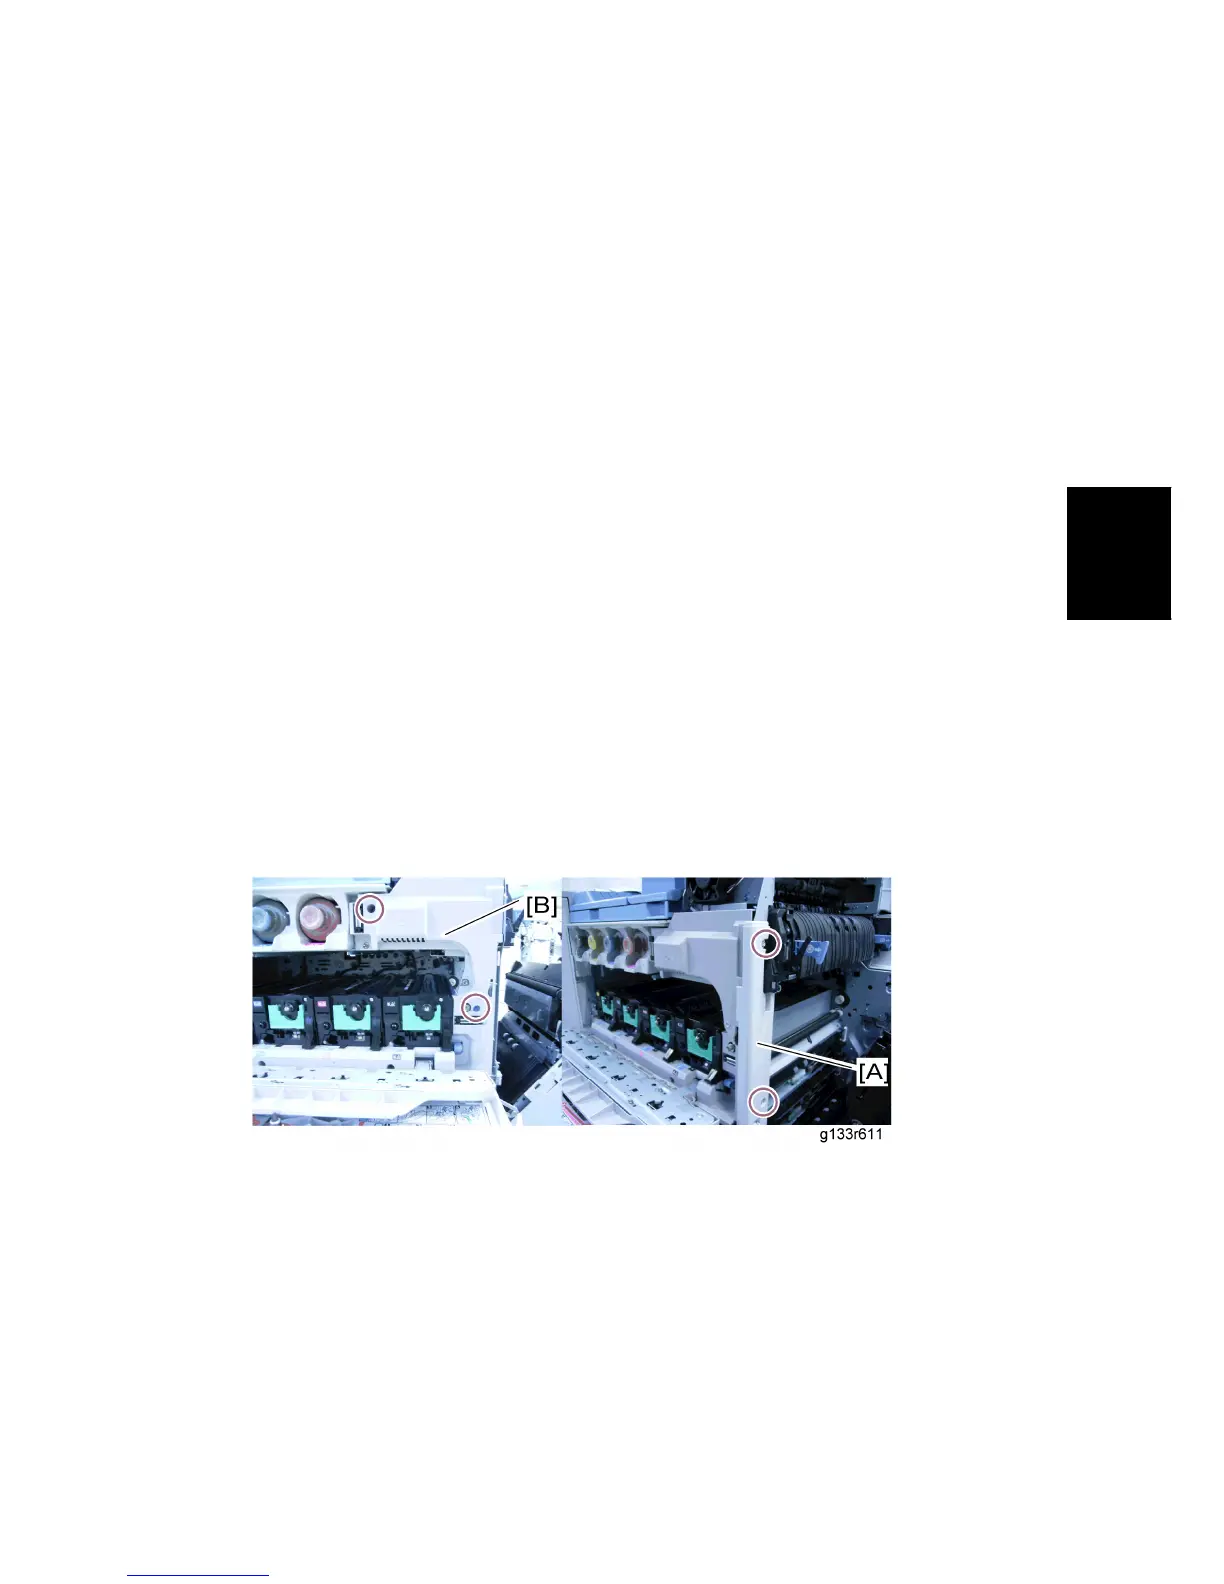
16. Right front cover [A] ( x 2)
17. Front inner cover [B] ( x 2)

 Loading...


