29
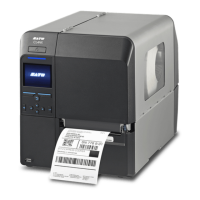
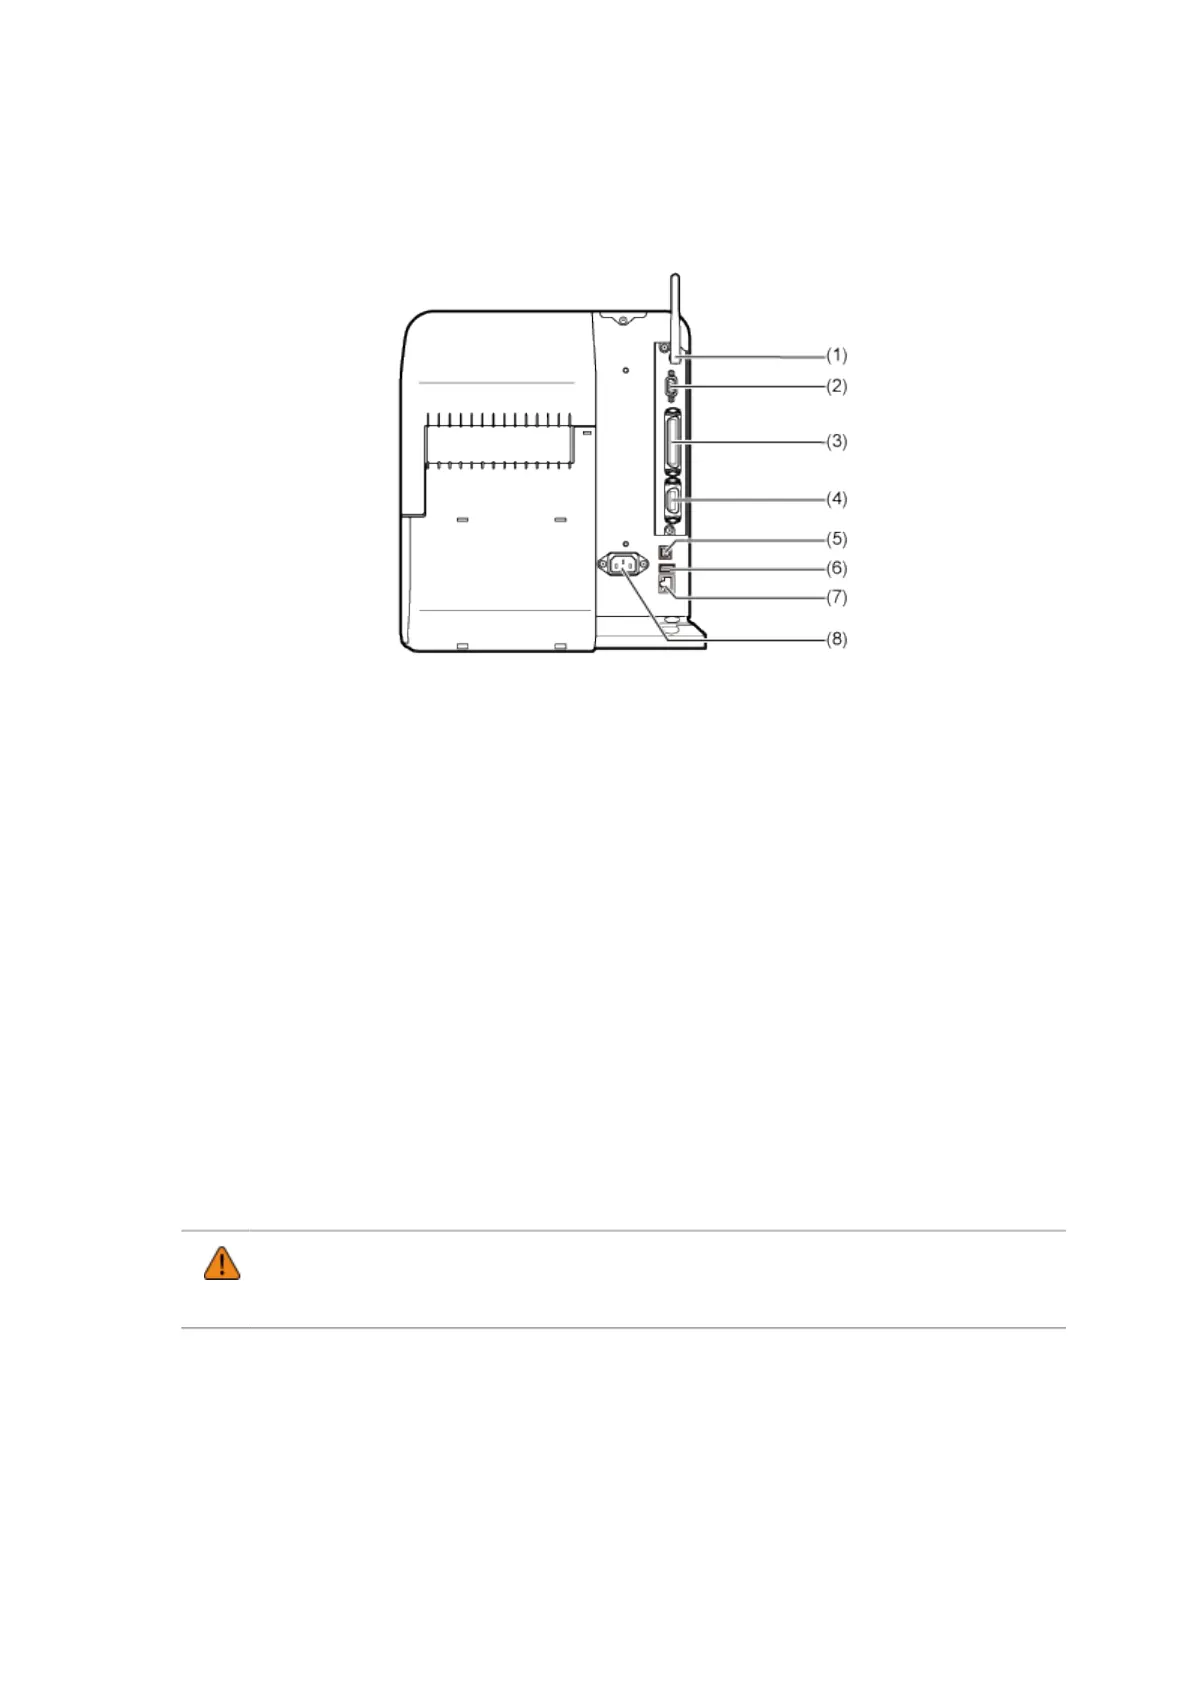
Rear View
(1) Wireless LAN antenna (Optional)
Connector for installation of optional wireless LAN antenna.
(2) RS-232C connector
To connect the printer to the computer using the RS-232C serial interface.
You can also connect a barcode checker.
Usage of the RS-232C interface can be selected in the [Interface] > [RS-232C] > [Interface] menu.
(3) IEEE1284 connector
To connect the printer to the computer using the IEEE1284 interface.
(4) EXT connector (External signal interface)
Interface connector for external signals. Connect an optional device to this terminal.
(5) USB connector (Type B)
To connect the printer to the computer using the USB interface.
(6) USB connector (Type A)
Enable the storage of printer settings information with USB memory.
Also, other devices like a barcode checker, barcode scanner or keyboard can be connected.
• Be sure to perform a virus check on the USB memory before connecting it to the
printer. SATO Corporation shall not be held responsible for any printer malfunctions
caused by a virus spread via USB memory.
(7) LAN connector
To connect the printer to the network using the LAN interface.
(8) AC input terminal
Supplies power to the printer through the inserted power cord.
Before connecting, make sure that the AC voltage of your region is in the range of AC 100 to 240
V, 50 to 60 Hz.
 Loading...