3RP10, 3RP15 solid-state time relays
SIRIUS System Manual
7-22
GWA 4NEB 430 0999-02b
7.5 Mounting and connection
7.5.1 Mounting
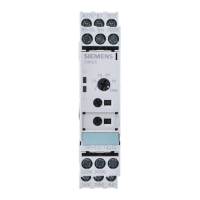
3RP10
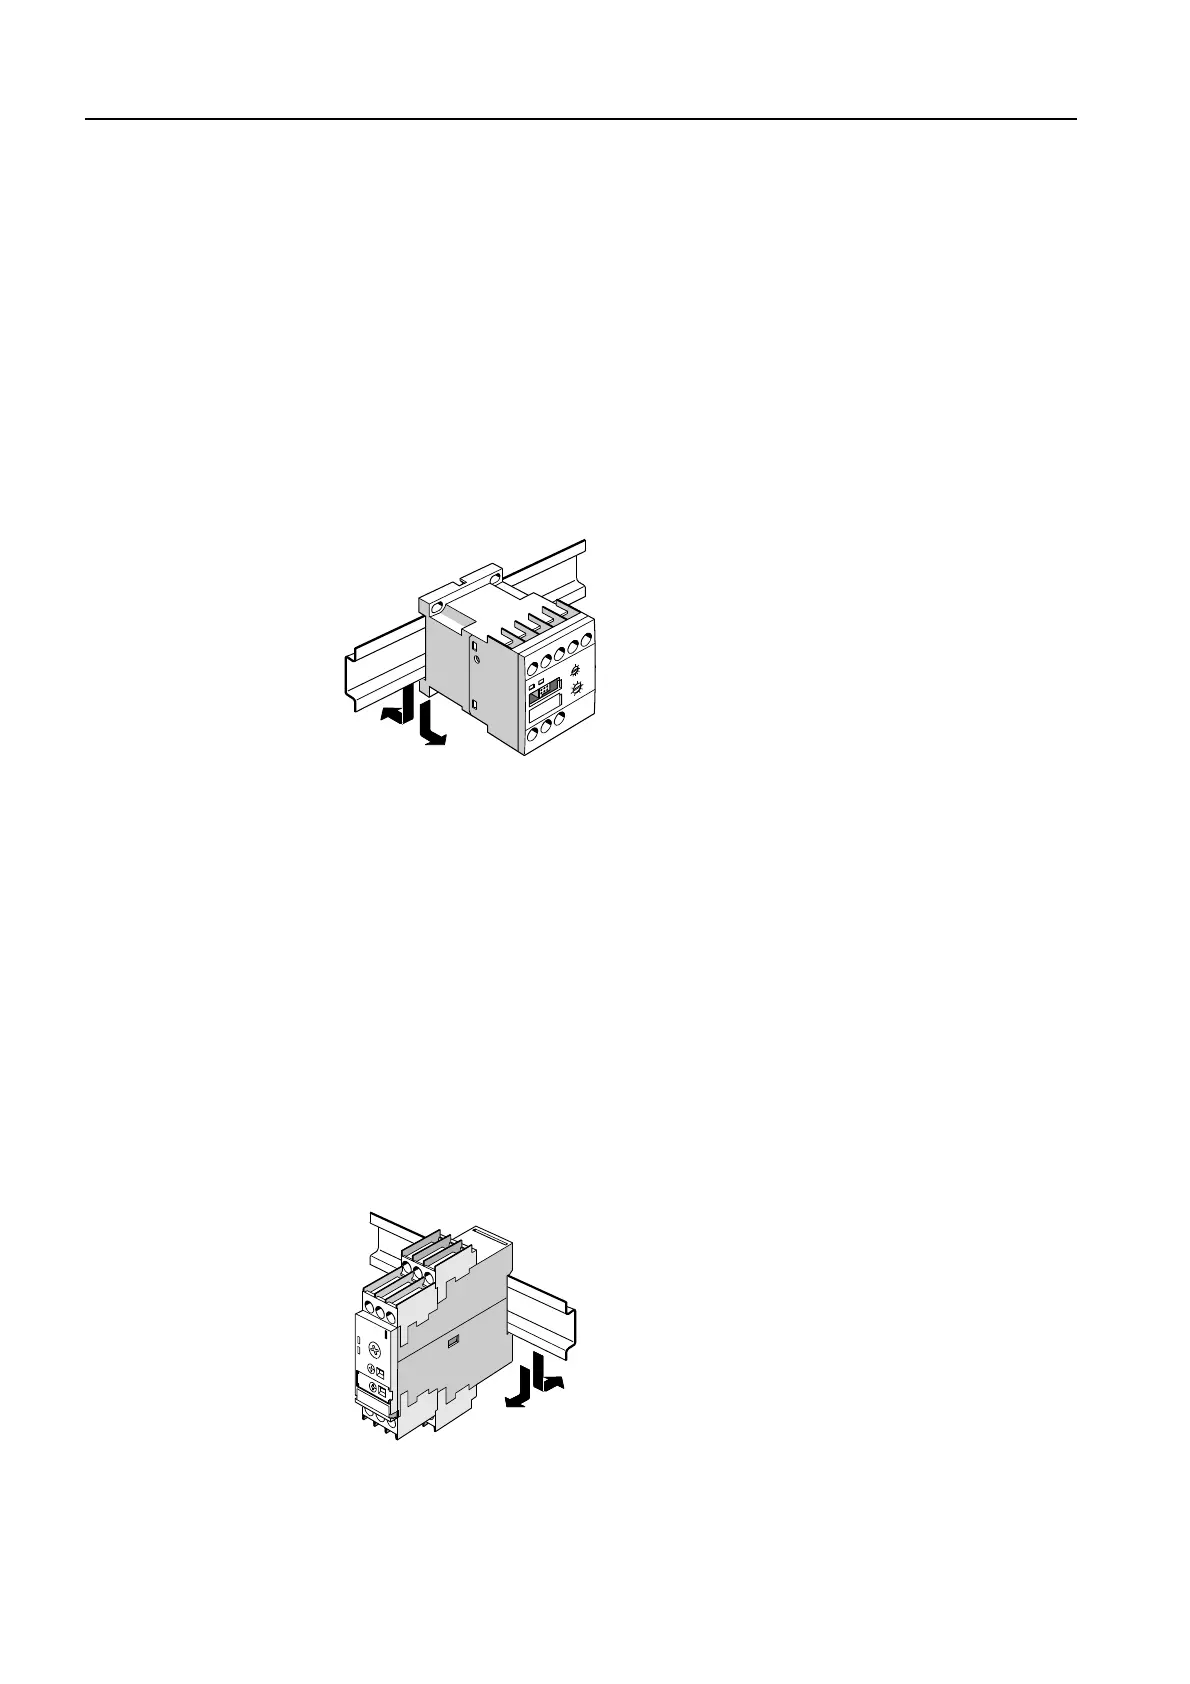
Snap-on attachment
The 3RP10 time relays can be snapped onto the 35 mm rails and removed
without tools in acc. with EN 50 022.
Place the time relay on the upper edge of the rail, and press it downward
until it snaps onto the lower edge of the rail. To remove the time relay, press
it downward to release the tension of the spring, and the time relay can be
removed.
Figure 7-18: 3RP10: mounting on and removal from a 35 mm rail
Screw-on attachment
The following is required for screw-type attachment of the 3RP10 time relay:
• 2 M4 screws, diagonal
• Maximum tightening torque of 10.5 Nm
• Washers and spring lock washers must always be used
• The distance to grounded parts at the side must be more than 6 mm
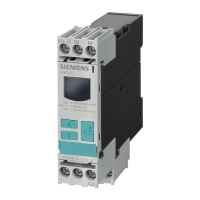
3RP15
Snap-on attachment
The 3RP15 time relays can be snapped onto the 35 mm rails and removed
without tools in acc. with EN 50 022.
Place the time relay on the upper edge of the rail, and press it downward
until it snaps onto the lower edge of the rail. To remove the time relay, press
it downward to release the tension of the spring, and the time relay can be
removed.
Figure 7-19: Rail mounting