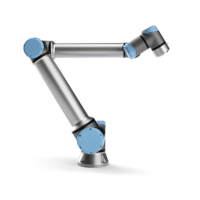
4.3 Mounting
vibration free.
If the robot is mounted on a linear axis or a moving platform then the acceleration of the moving
mounting base shall be very low. A high acceleration might cause the robot to stop, thinking it
bumped into something.
DANGER:
• Make sure the robot arm is properly and securely bolted in
place. The mounting surface shall be sturdy.
• Remember to insert the rubber plugs in all mounting holes in
the robot base to avoid entrapment of fingers.
CAUTION:
If the robot is bathed in water over an extended time period it might
be damaged. The robot should not be mounted in water or in a wet
environment.
Tool The robot tool flange has four M6 thread holes for attaching a tool to the robot. The M6 bolts
need to be tightened with 9 N m. If very accurate repositioning of the tool is desired, the Ø6 hole is
provided for use with a pin. Figure 4.2 shows where to drill holes and mount the screws.
DANGER:
1. Make sure the tool is properly and securely bolted in place.
2. Make sure that the tool is constructed such that it cannot create
a hazardous situation by dropping a part unexpectedly.
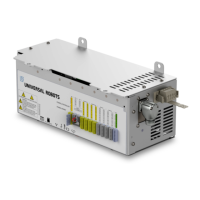
Control Box The control box can be hung on a wall, or it can be placed on the ground. A clearance
of 50 mm on each side is needed for sufficient airflow. Extra brackets for mounting can be bought.
Teach Pendant The teach pendant can be hung on a wall or on the control box. Extra brackets
for mounting the teach pendant can be bought. Make sure that no one can trip over the cable.
UR3/CB3 I-24 Version 3.10
Copyright © 2009–2019 by Universal Robots A/S. All rights reserved.

 Loading...


