74
Design Center Stage 2 (Line Image Stage)
b Memo:
• To quit the operation and go back to stage
1 (Original Image stage), click
Cancel
.
• It is recommended to select just as many
colors as necessary to create a clear
outline of the image. In the above
example, only a single color was selected.
• If you do not like the result, select the
menu command
Stage
–
To Original
Image
to go back to stage 1 (Original
Image stage), and then create the line
image again.
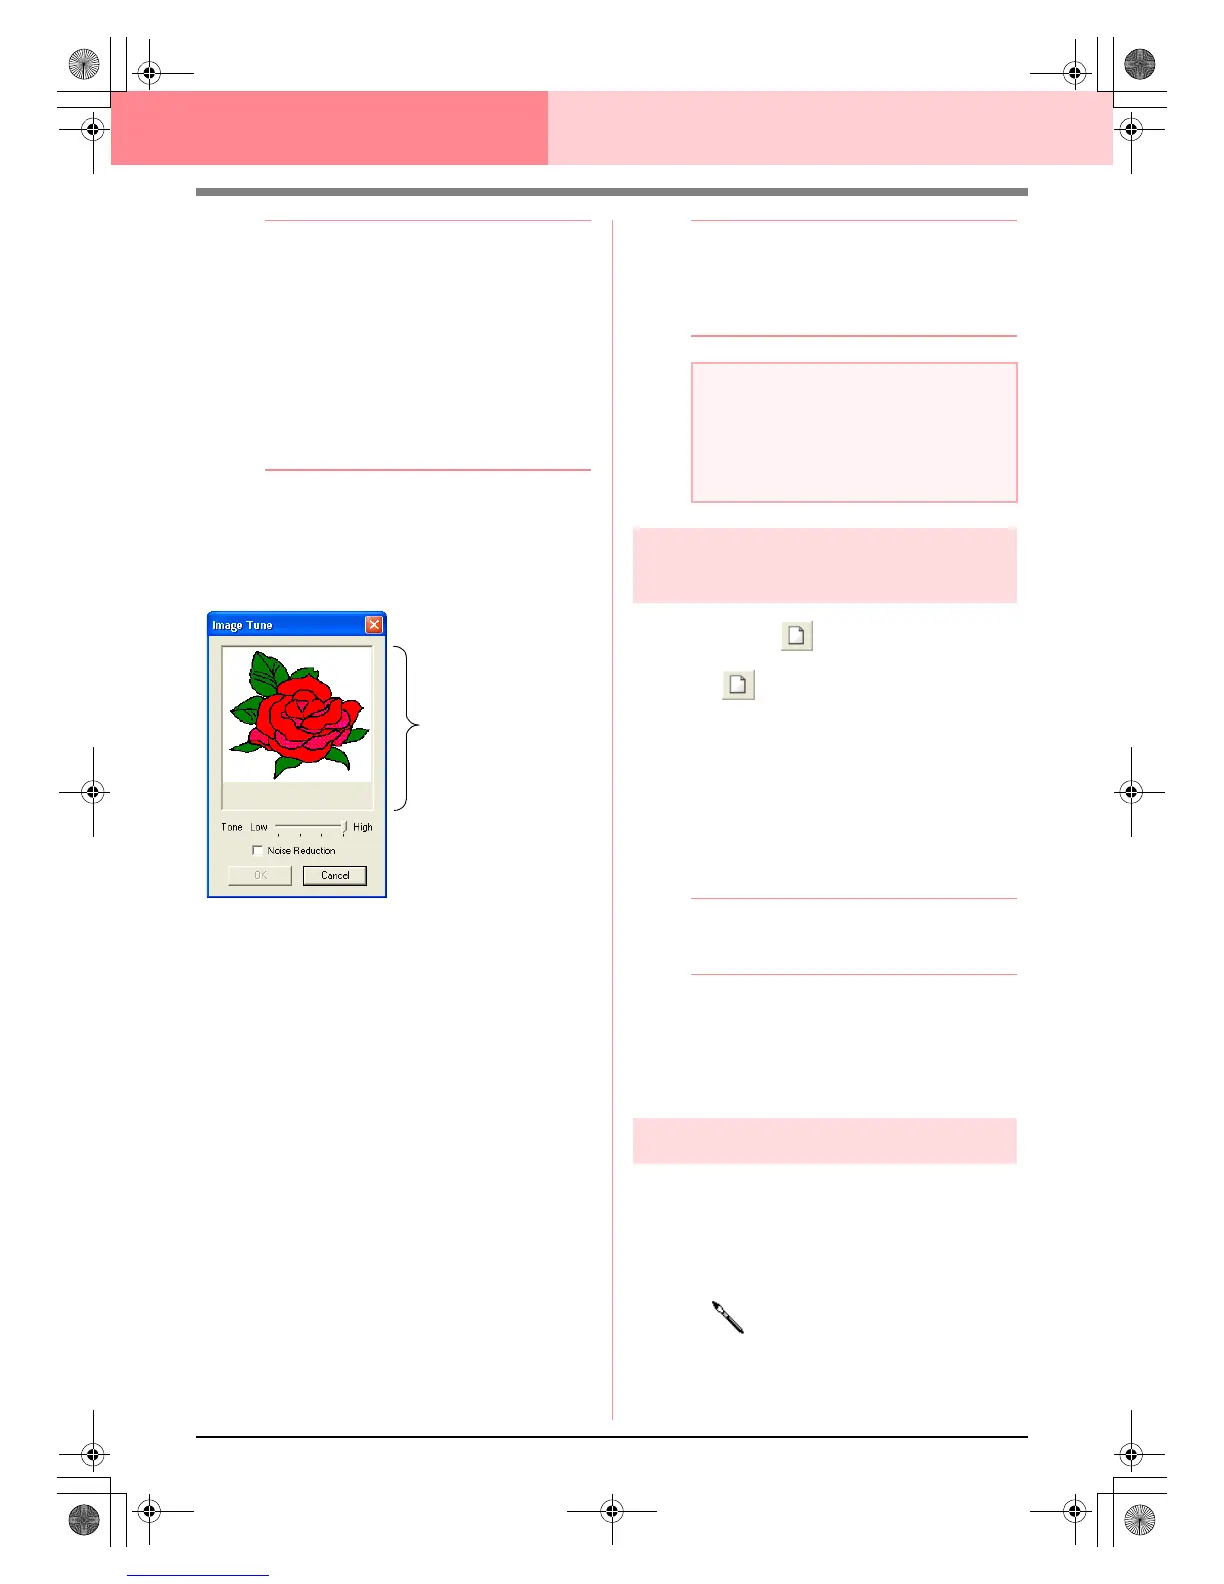
Image tuning
Clicking the Image Tune button in the Cut out to
Line Image dialog box displays an Image Tune
dialog box similar to the one shown below.
From this dialog box, you can reduce the colors of
the image data (posterize) or reduce image noise
(distortions). By applying an even gradation to make
the image smoother, you can select colors more
easily, even from image data that was taken from a
scanner or other device and does not have clear
outlines.
1) The image window displays the image
resulting from the current settings.
2) Move the Tone slider to set the amount of
color reduction (posterization). Set to High to
show the original image. Set towards Low to
increase the color reduction.
3) If the Noise Reduction check box is
selected, the smaller areas of noise are
removed.
4)
Click
OK
to show the corrected image in the
image window on the
Cut out to Line Image
dialog box and to close the dialog box.
b Memo:
• To close the dialog box without applying
the changes to the settings, click
Cancel
.
• Clicking
OK
resets the
Pick Colors
list on
the
Cut out to Line Image
dialog box.
Creating a new Design Page
in stage 2 (Line Image stage)
Toolbar button:
1. Click , or click File, then New Line
Image.
→ If the current Design Page has already
been saved or has not been edited, a new
Design Page immediately appears in
stage 2 (Line Image stage).
→ If the current Design Page has not been
saved, you will be asked whether you
want to save the changes.
b Memo:
In stage 2 (Line Image stage), the file will be
saved as a .pel file.
c
“Importing image data from a TWAIN
device” on page 72, “Saving” on
page 104, and “Creating a new Design
Page in stage 3 (Figure Handle stage)” on
page 78
Drawing and erasing outlines
Drawing outlines
1. On the Tool Box, click the button for the pen
with the desired thickness.
→ The shape of the pointer changes to
.
2. To add a dot, click once. To draw a line, drag
the pointer.
Image window
a Note:
The image adjustments selected in the
Image Tune
dialog box apply only to the
image displayed in the
Cut out to Line
Image
dialog box; the image that results
from these adjustments cannot be saved.
PeDesignV6Eng.book Page 74 Thursday, July 8, 2004 11:59 AM
 Loading...