Note:
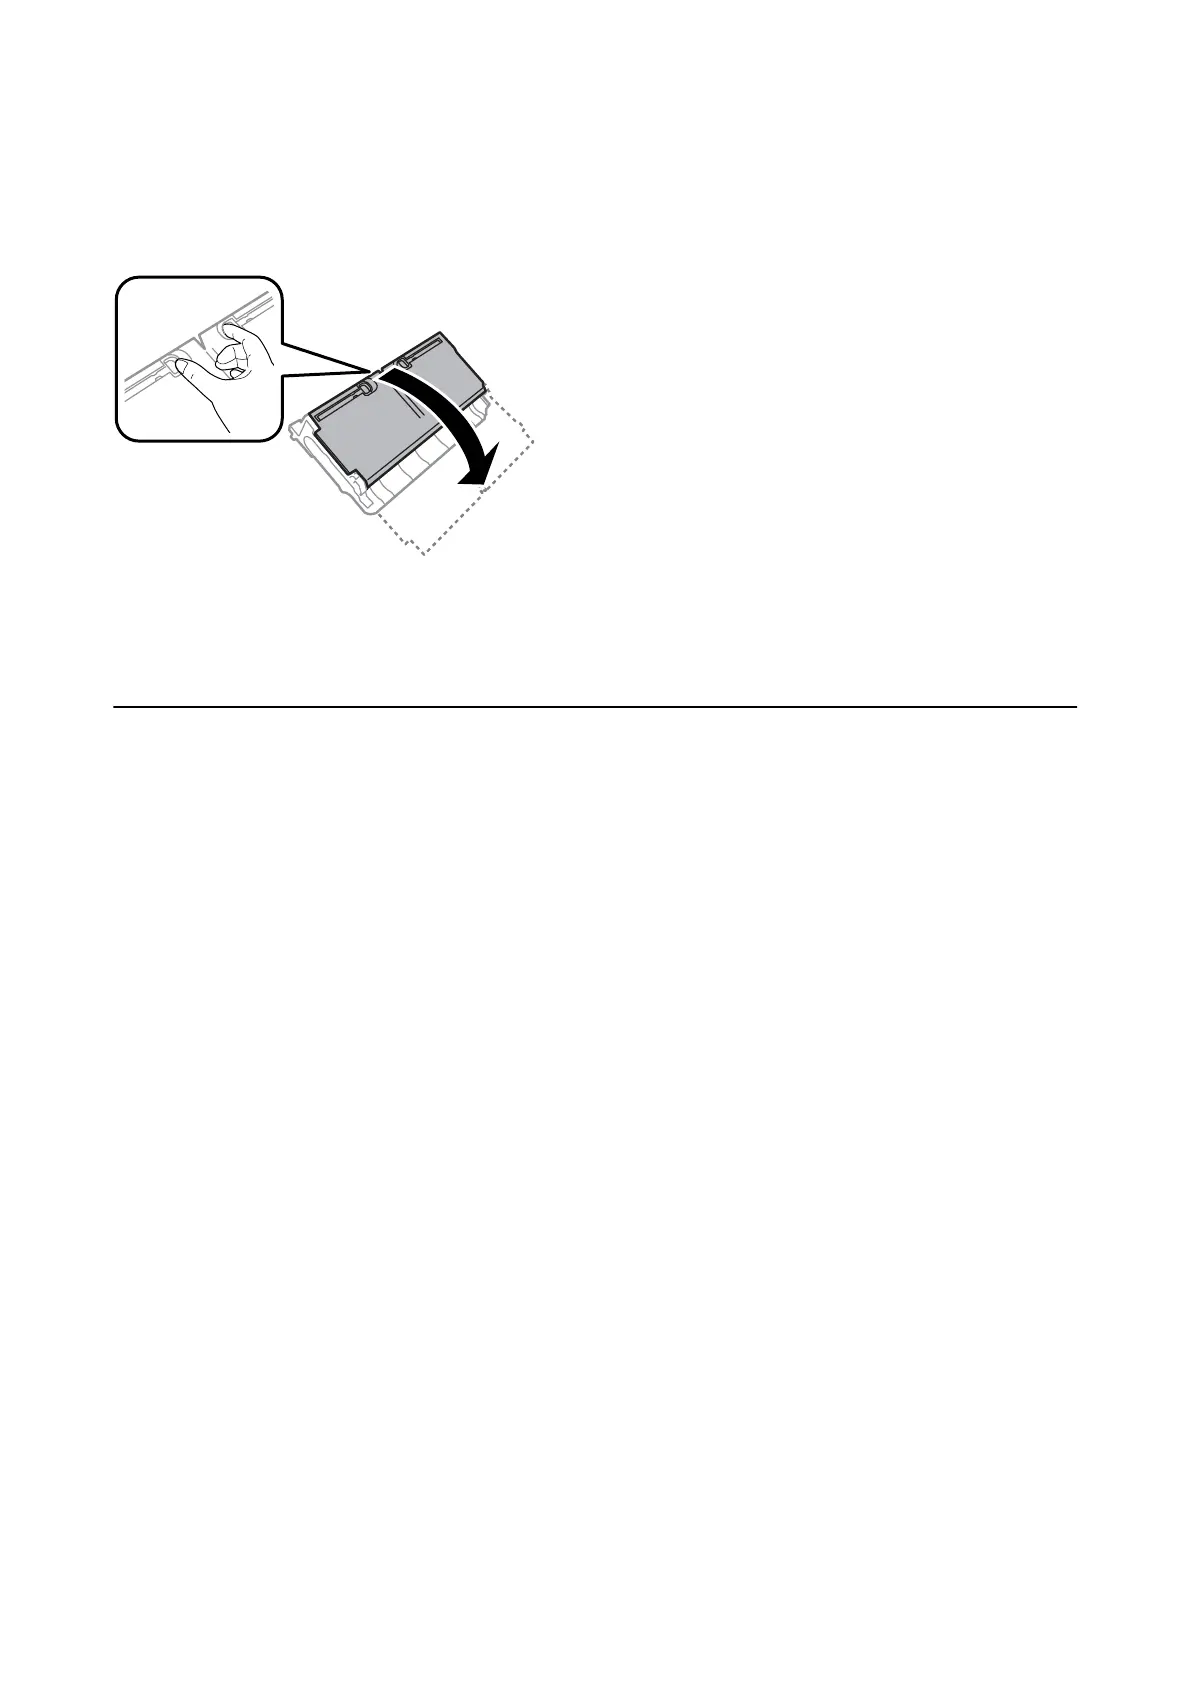
If the paper jam error has not been cleared, torn pieces of the jammed paper may remain inside the rear cover 2. Open the
rear cover 2, and then remove the jammed paper.
Note:
If any torn pieces of paper remain, select Settings > Maintenance > Remove Paper
aer
clearing the paper jam error.
is
helps you to remove the remaining pieces of paper.
Paper Does Not Feed Correctly
Check the following points, and then take the appropriate actions to solve the problem.
❏ Place the printer on a
at
surface and operate in the recommended environmental conditions.
❏ Use paper supported by this printer.
❏ Follow the paper handling precautions.
❏ Do not load more than the maximum number of sheets specied for the paper. For plain paper, do not load
above the line indicated by the triangle symbol on the edge guide.
❏ Make sure the paper size and paper type settings match the actual paper size and paper type loaded in the
printer.
Related Information
& “Environmental Specications” on page 276
& “Paper Handling Precautions” on page 45
& “Available Paper and Capacities” on page 43
& “List of Paper Type” on page 52
Paper Jams
Load paper in the correct direction, and slide the edge guides against the edges of the paper.
Related Information
& “Removing Jammed Paper” on page 233
& “Loading Paper in the Paper Cassette” on page 46
& “Loading Paper in the Rear Paper Feed Slot” on page 48
User's Guide
Solving Problems
234
 Loading...