1. Select Settings on the home screen.
2. Select General Settings > Network Settings > Advanced.
3.
Select Email Server > Server Settings.
4. Tap the authentication method of the email server you are using, and then the settings screen is displayed.
c
Important:
e
following authentication methods are available.
❏
O
❏ POP before SMTP
❏ SMTP-AUTH
Contact your internet service provider to conrm the authentication method of the email server.
e printer may not be able to communicate with an email server even if the authentication method is
available since security may be enhanced (for example SSL communication is necessary). Visit the Epson
support website for the latest information.
http://www.epson.eu/Support (Europe)
http://support.epson.net/ (outside Europe)
5. Make the appropriate settings.
e necessary settings vary depending on the authentication method. Enter the information for the email
server you are using.
6. Tap Proceed.
Note:
❏ If an error message is displayed, check if the email server settings are correct.
❏ When you cannot send an email even if the connection check succeeds, check the authentication method for the
email server you are using.
Related Information
& “Email Server Setting Items” on page 72
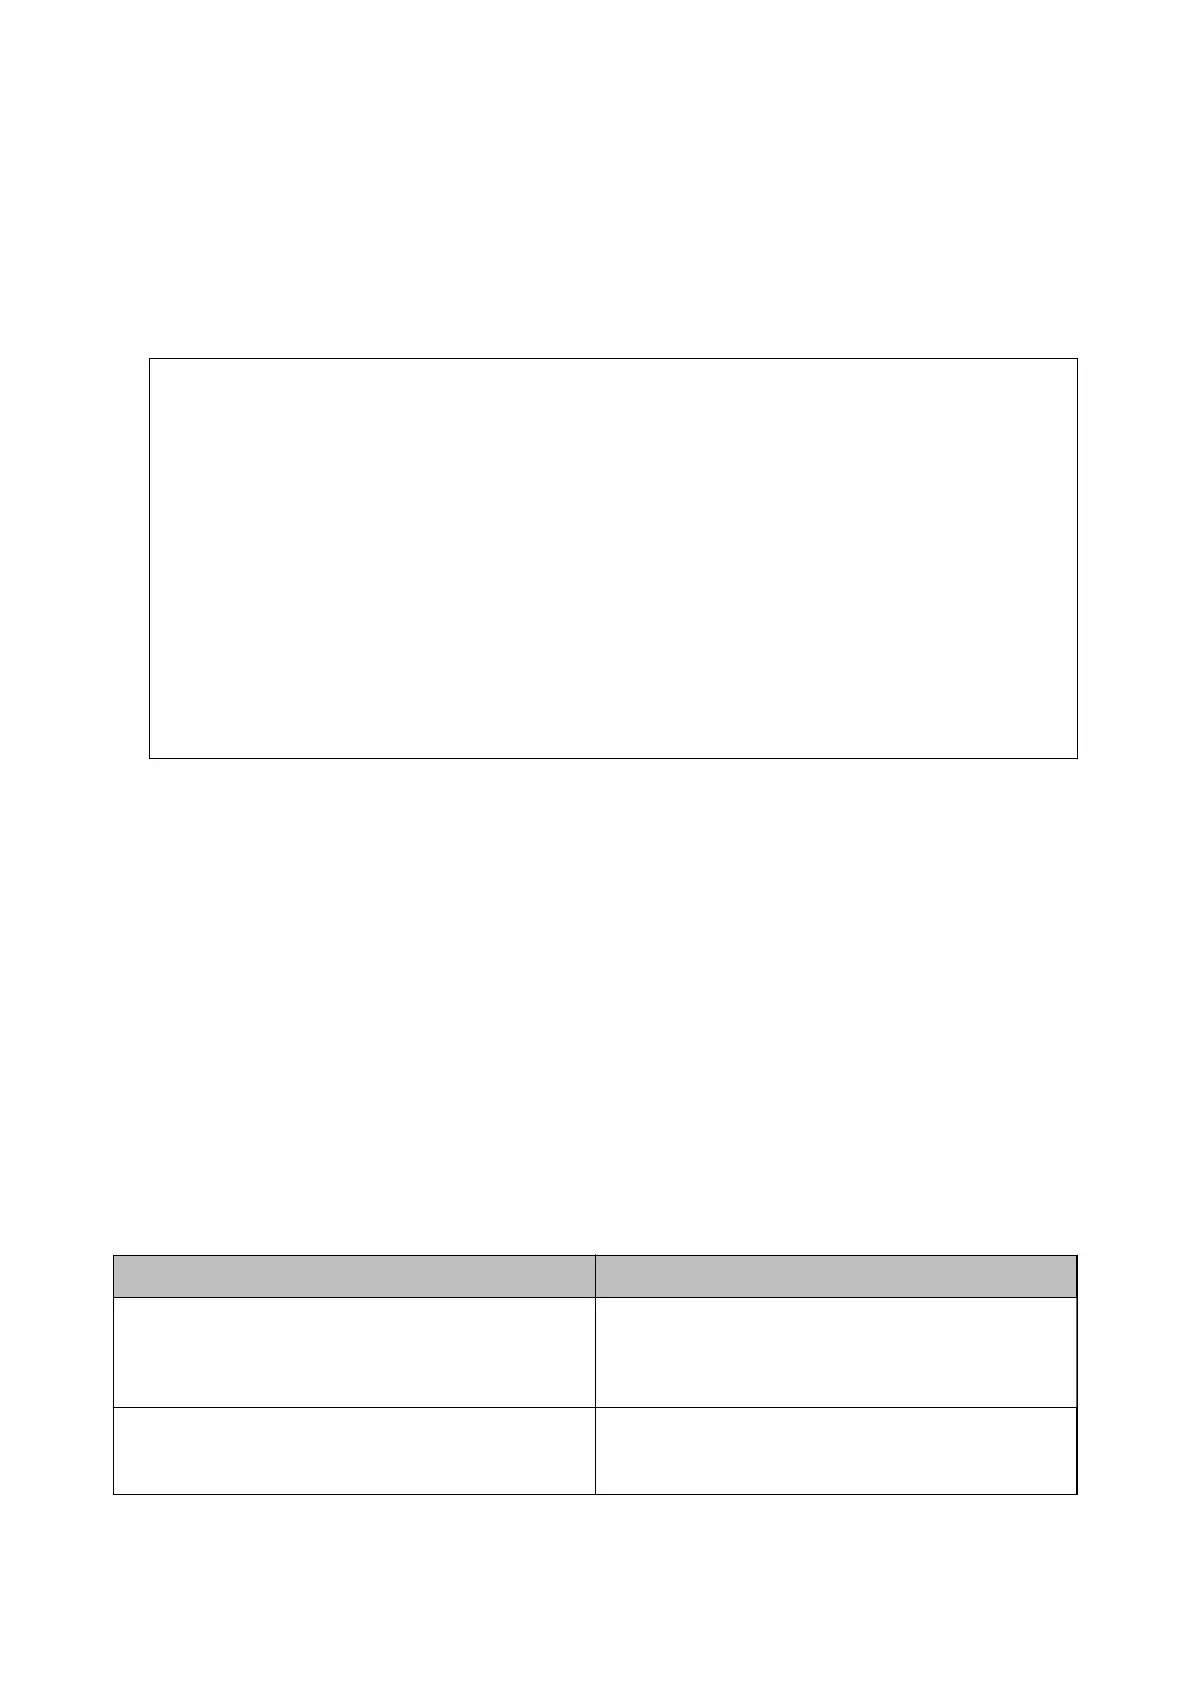
Email Server Setting Items
Items Explanations
Authenticated Account
If you select SMTP-AUTH or POP before SMTP as the Email
Server Authentication Method, enter the user name (email
address) registered to the email server within 255 characters
or less.
Authenticated Password
If you select SMTP-AUTH or POP before SMTP as the Email
Server Authentication Method, enter the password of the
authenticated account within 20 characters or less.
User's Guide
Preparing the Printer
72
 Loading...