4.2 Loading Paper 119
Setting the Bypass Tray for Auto Tray Selection
Use the procedure below to set Bypass Tray for auto tray selection on the control panel.
You can set Bypass Tray for auto tray selection by specifying paper tray priority and paper
size.
Refer to
• “Auto Tray Selection Feature” (P. 118)
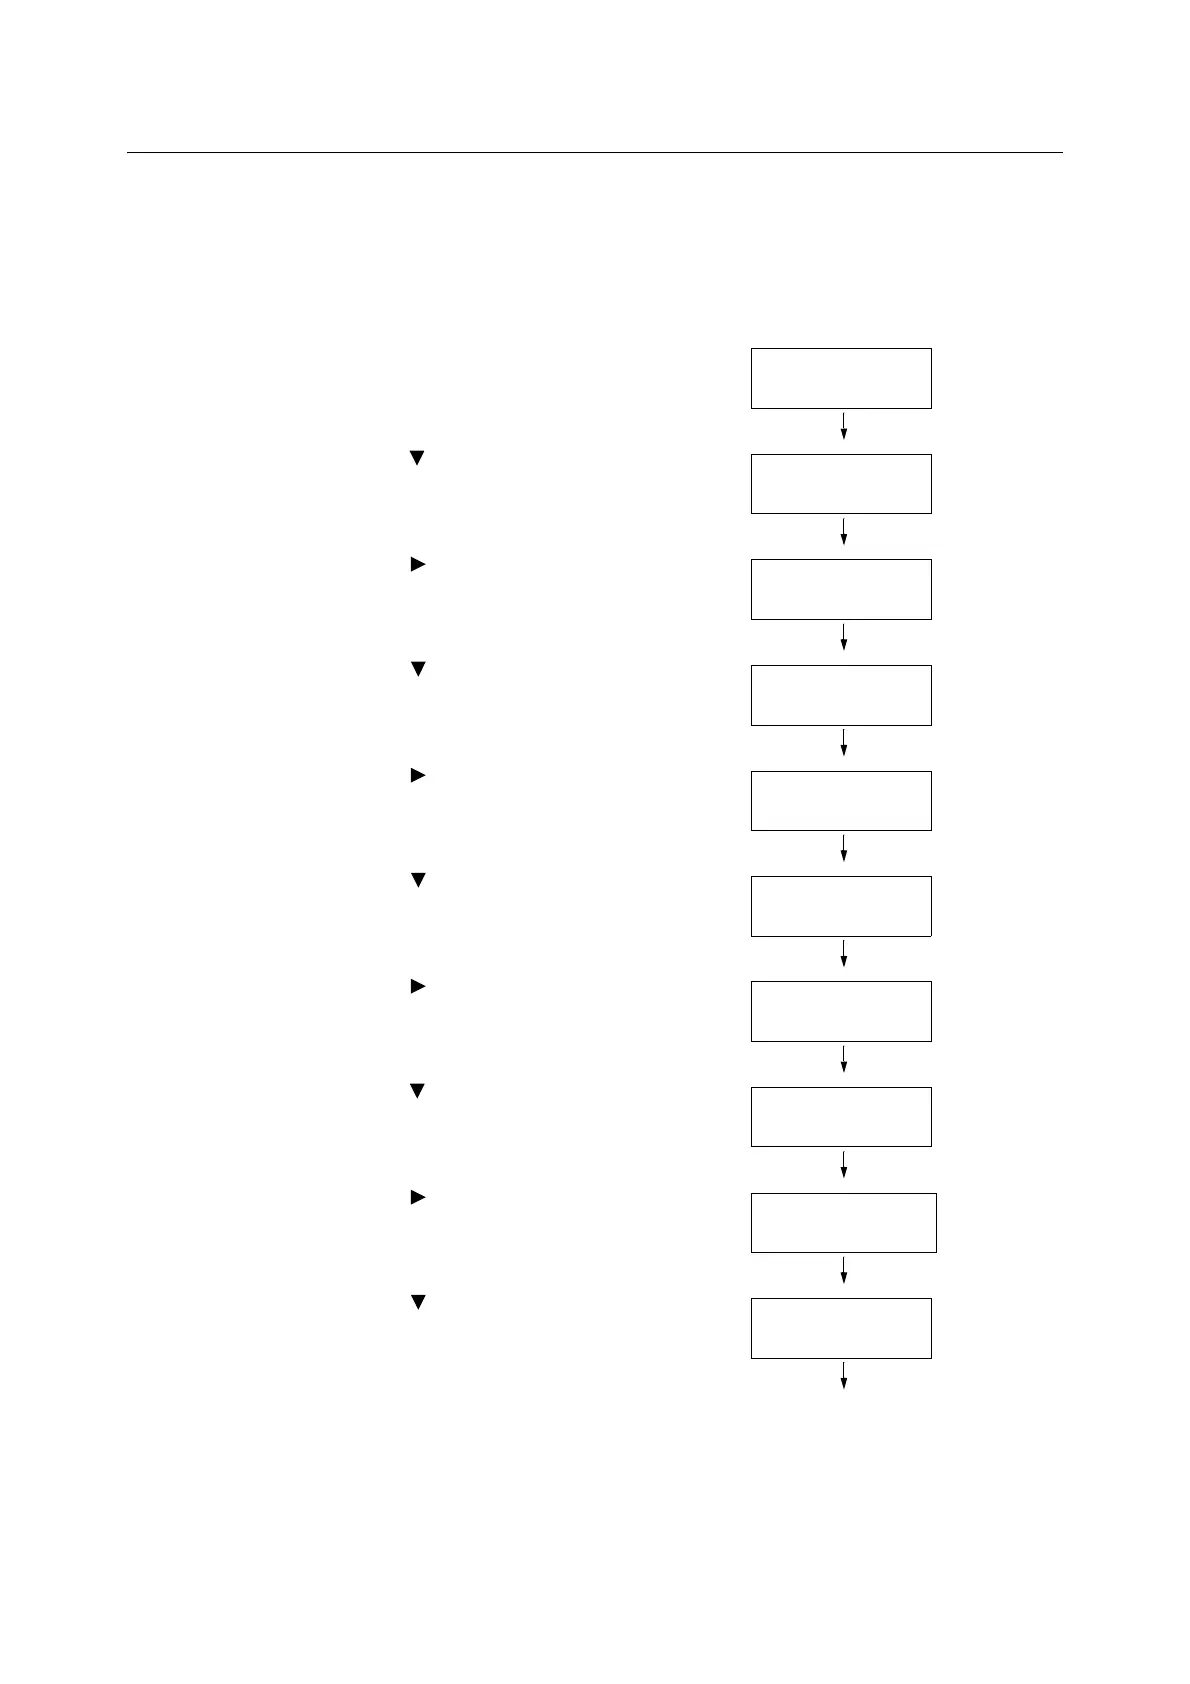
1. On the control panel, press the <Printer
Settings> button to display the menu
screen.
2. Press the < > button until [Admin Menu] is
displayed.
3. Press the < > or <OK> button to select.
[Network / Port] is displayed.
4. Press the < > button until [Printer
Settings] is displayed.
5. Press the < > or <OK> button to select.
[Substitute Tray] is displayed.
6. Press the < > button until [PaperTray
Priority] is displayed.
7. Press the < > or <OK> button to select.
[Tray 1] is displayed.
8. Press the < > button until [Bypass Tray] is
displayed.
9. Press the < > or <OK> button to select.
[No AutoTraySwitch] is displayed.
10. Press the < > button, and then press the
<OK> button.
Now, priority for Bypass Tray is set.
Note
• Only the lowest priority can be set for Bypass Tray.
The example shown to the right is when 3 Tray Module
(optional) has been installed to the printer.
Settings
LanguageEmulation
Admin Menu
Network / Port
Admin Menu
Printer Settings
Printer Settings
Substitute Tray
Printer Settings
PaperTrayPriority
PaperTrayPriority
Bypass Tray
Bypass Tray
•
No AutoTraySwitch

 Loading...