7.1 Replacing Consumables 243
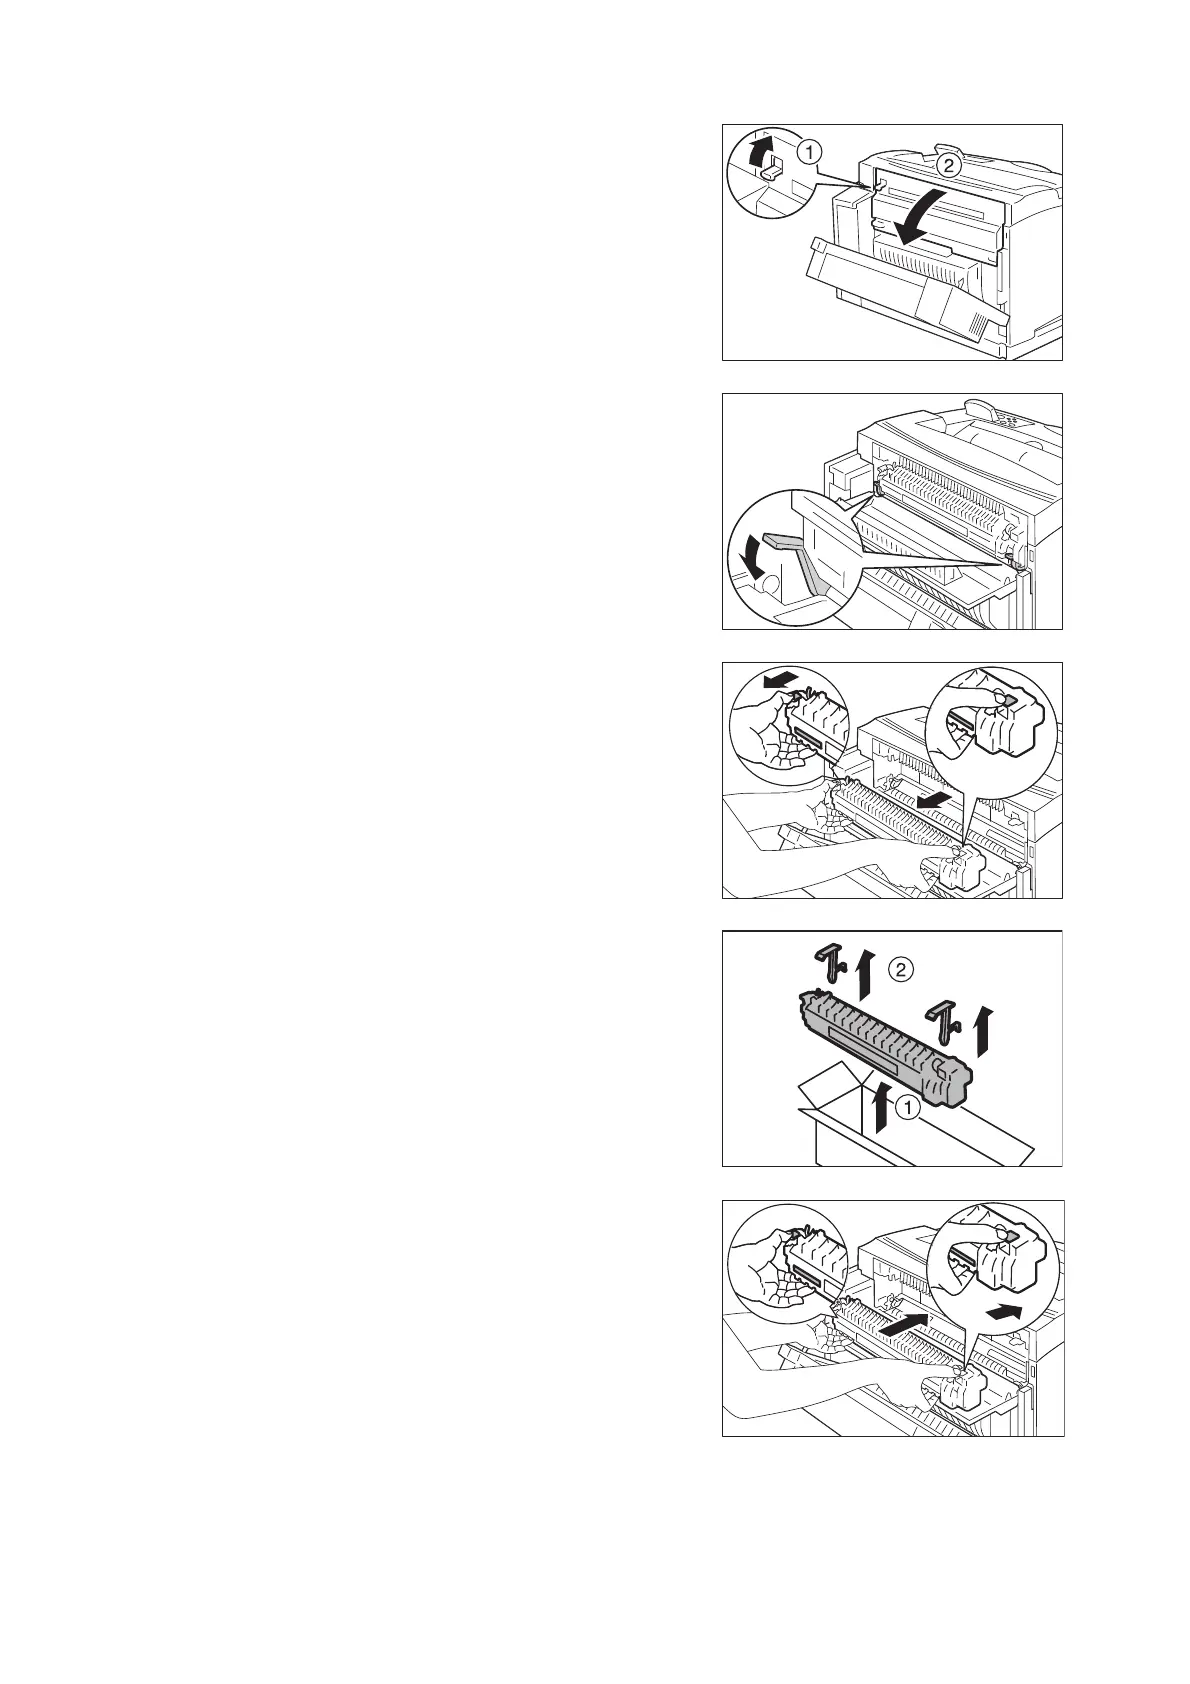
3. Lift the lever at the left end of the printer (1)
and open cover B (2).
4. Lower the orange lever slowly.
5. Hold both ends of the Fuser Unit (parts
indicated by amber gold) and pull it straight
out horizontally with the ground.
Note
• Do not touch the Fuser Unit as it is extremely hot and
may cause burns.
6. Take the new Fuser Unit out of the box (1),
and detach the spacers (2).
7. A warning labes for this side, insert the new
Fuser Unit in the printer.

 Loading...