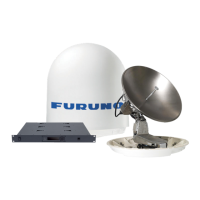
Installation of the ADU
2-19
2.3.1 To install the ADU
Make sure that there is sufficient space underneath the ADU to open the service hatch.
Through this hatch you access the ADU modules for service and maintenance.
The ADU does not have to be aligned with the bow-to-stern line of the ship. When
configuring the FV-110 you make an azimuth calibration to obtain the correct azimuth of
the ADU.
• It is important to maintain vertical orientation of the ADU center line.
• Consider the aspect of interference, read more about this in Interference on page 2-13.
• Install the ADU where vibrations are limited to a minimum.
• Always use all 4 bolts when installing the ADU.
To install the ADU, do as follows:
1. Install the mast with the mast flange and have the 4 M12 bolts ready.
2. Undo all shipping buckles, take off the wooden top and remove the casing.
3. Unscrew the 4 bolts holding the ADU on the wooden platform.
4. Attach a webbed, four-part sling with a belt to all 4 lifting brackets.
Figure 2-15: FV-110: Free space for access to the service hatch
Provide sufficient free
space for access through
the service hatch.

 Loading...