4-1
Chapter 4
Connecting power
4
This chapter is organised in the following sections:
• Power up
4.1 Power up
4.1.1 Procedure
1. Connect power to the VMU.
2. Switch on the ACU. The unit starts up and goes through an initialization procedure:
• ACU POST
• ADU Initializing
• ADU POST
• READY
This may take some time (up to a couple of minutes).
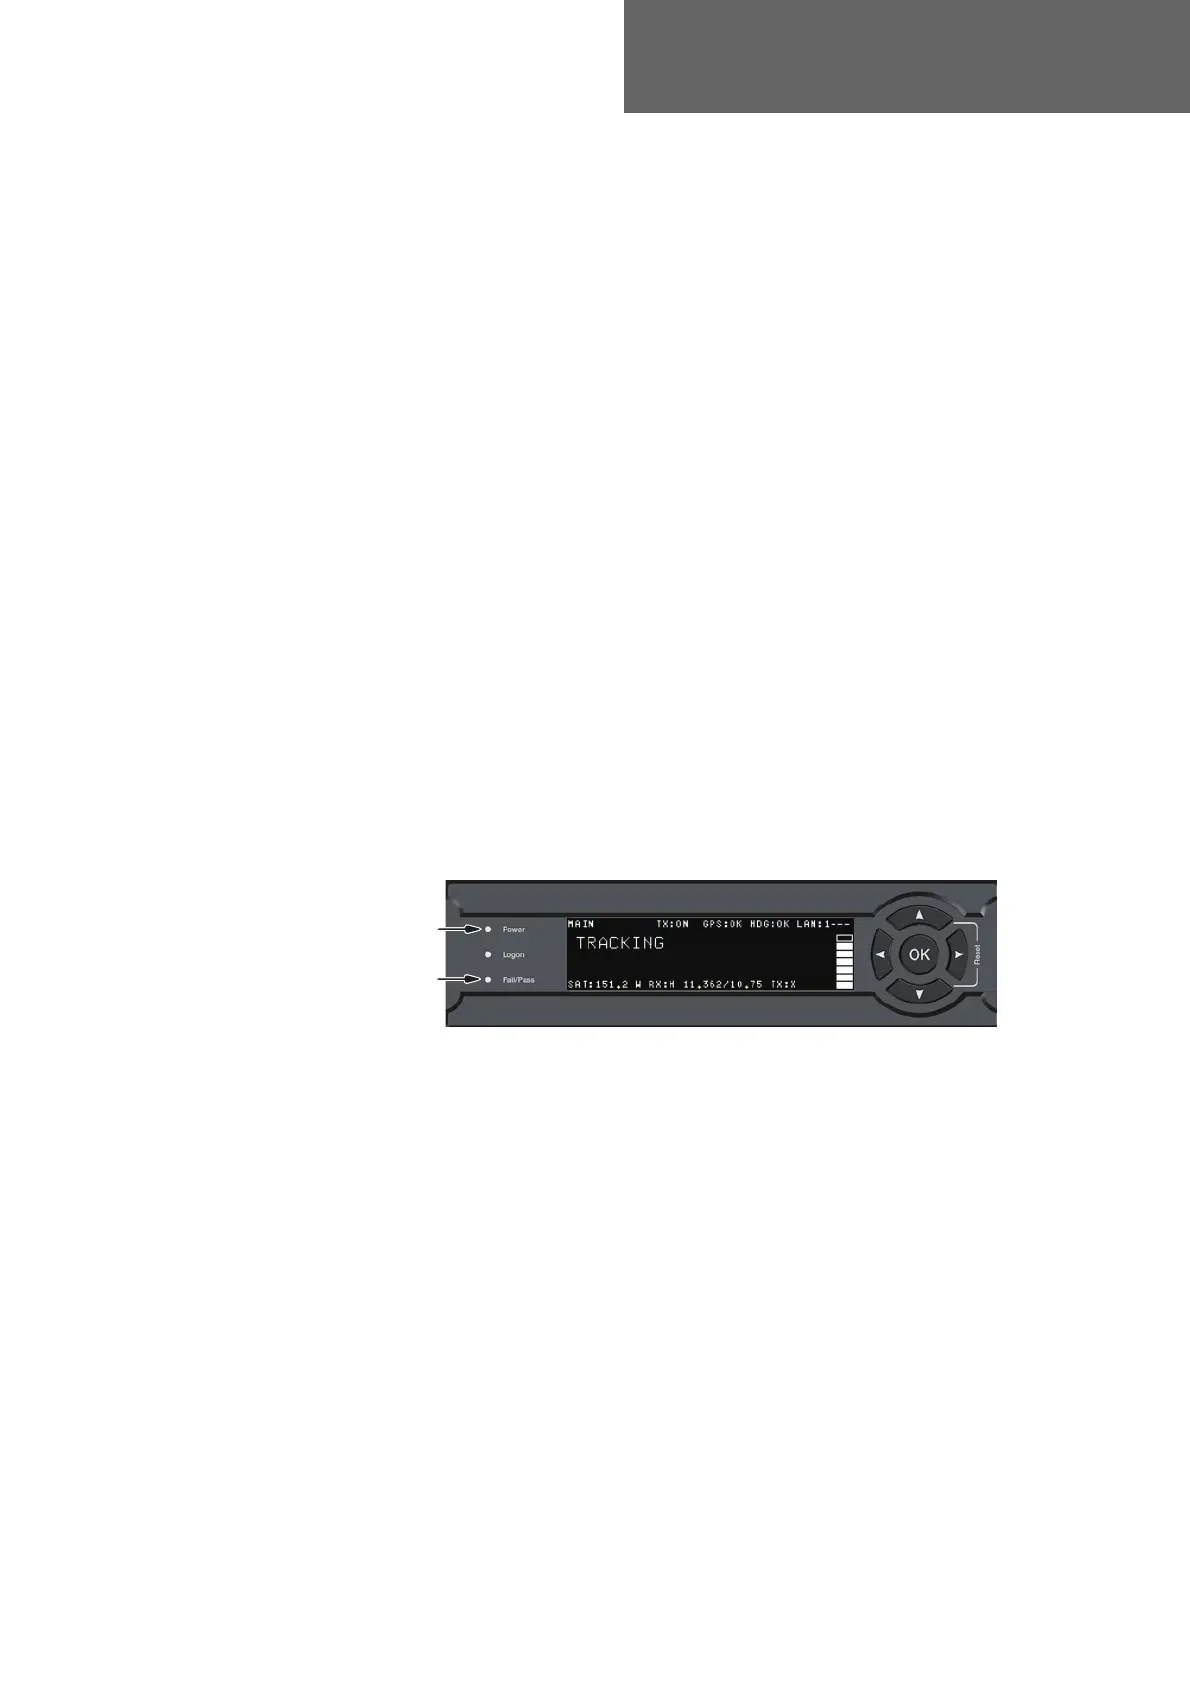
3. The FV-110 is ready to be calibrated (for first time power up) or receive data from the
VSAT modem (when in normal operation). The ACU display shows the following
message:
The LEDs Power and Fail/Pass are steady green, the LED Logon is off. For further
information on status indicators see Status signalling with LEDs and status messages
on page 7-7.
Make sure there are no hardware failures or error codes present, check the display of
the ACU for events. For more information on error codes and events see
Troubleshooting on page 7-12 and System messages on page G-1.
4. Continue to get the FV-110 system operational, do the following:
• Make a cable loss and an azimuth calibration.
• Create VSAT modem profiles.
• Create one or more satellite profiles.
For step-by-step instructions, see Introduction to the built-in web interface on page 5-1.
For installation check lists see, Installation check on page 6-1.
Figure 4-1: ACU display after first power on (example with LAN ports 1 and 4 used)
 Loading...