D
IRECTION FR091521, REVISION 1 VIVID S60N/VIVID S70N BASIC SERVICE MANUAL
Chapter 8 - Replacement Procedures 8-15
PRELIMINARY
8-2-7 Printer Cover Replacement Procedure
8-2-7-1 Tools
Phillips screwdriver.
8-2-7-2 Time Required
5 min
8-2-7-3 Preparations
Shut down the Vivid™ S60/Vivid™ S70 ultrasound unit, as described in Power Shut Down on page 4 - 7.
Note: The removal and installation procedure for the printer cover is the same as that described for
the DVD and Printer Cover Replacement Procedure section, on page 8-13 in this case making
use of the printer cover.
8-2-7-4 Printer Cover Removal Procedure
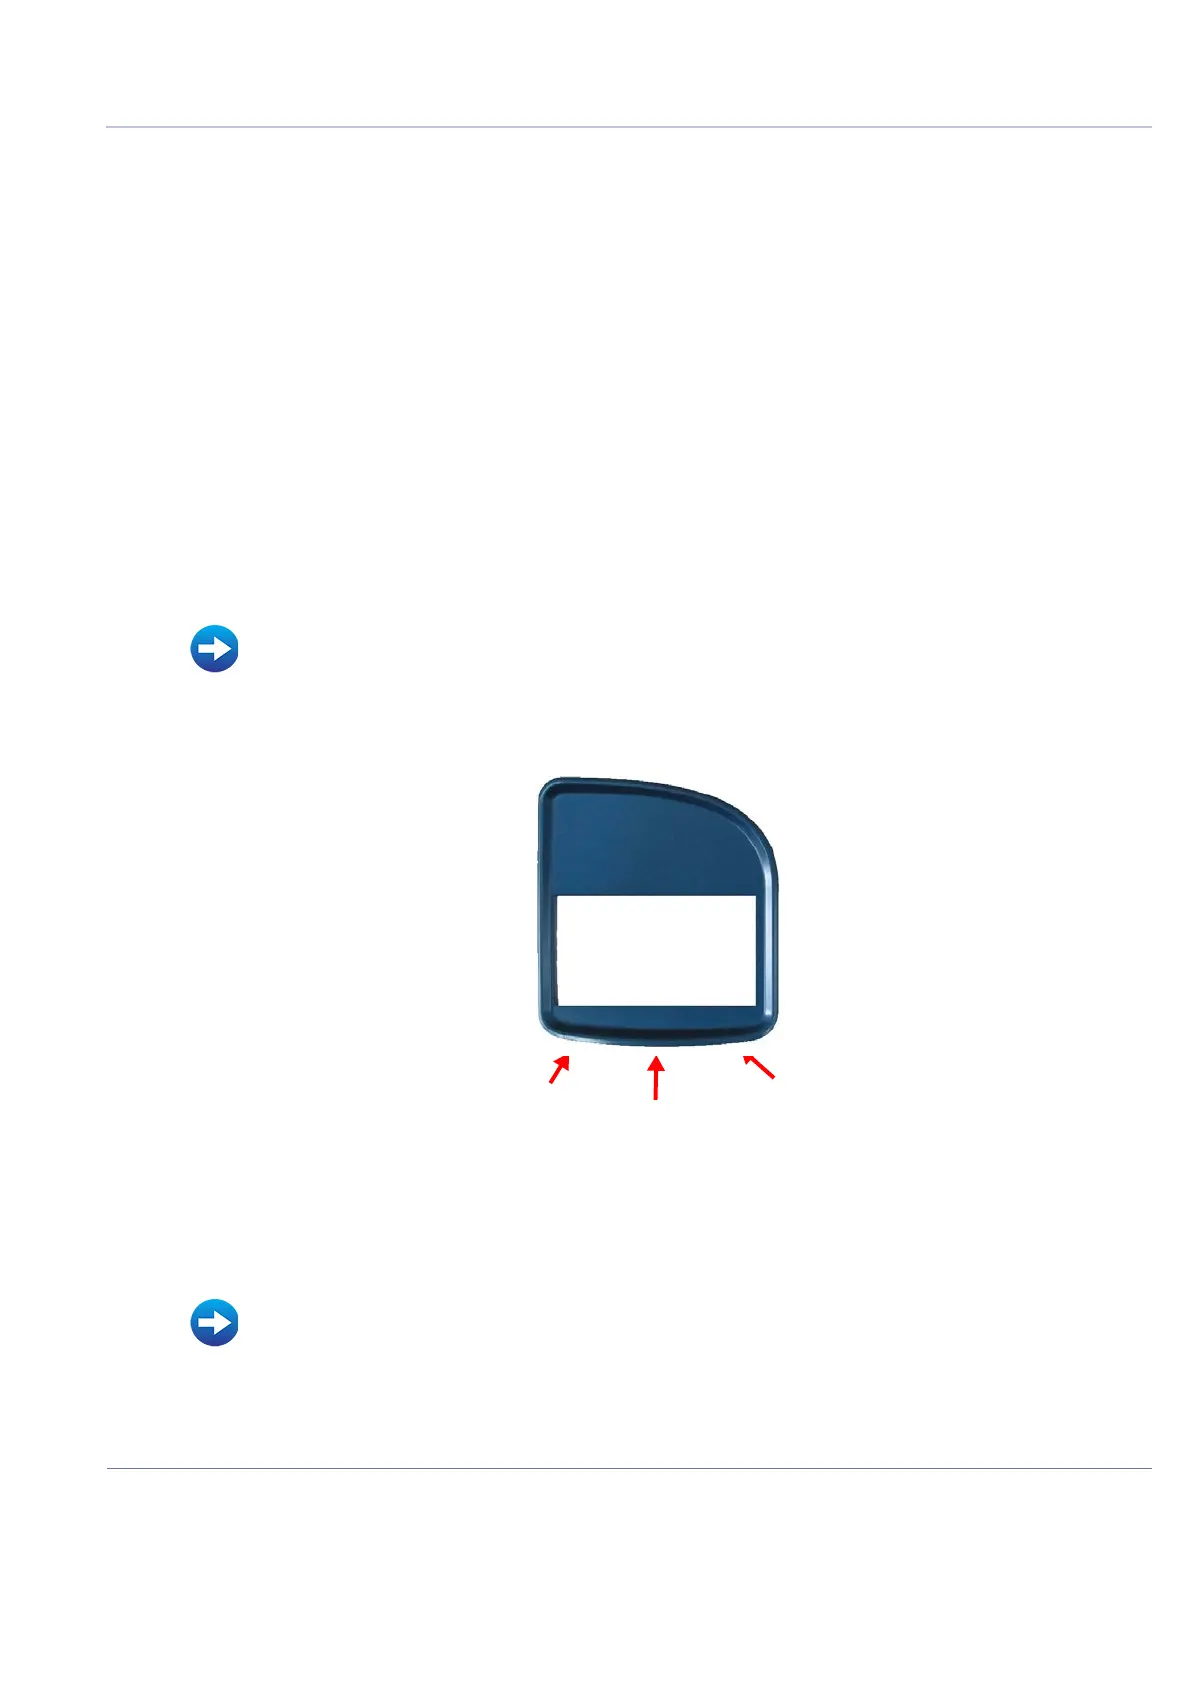
Note: The Printer cover is secured to the mechanical platform by 4 snap-lock securing clips on
the inner side of the cover.
1) Remove the right side cover:
2.) Grip the bottom of the cover and pull it towards you to release it from the snap-lock securing clips
(Figure 8-30). Remove the cover.
8-2-7-5 Printer Cover Installation Procedure
1) Return the cover to the right of the system, carefully aligning the 4 snap-lock securing clips with the
securing pins.
2.) Push the cover until it clicks in position.
3.) Install the right side cover.
Refer to Table 9-8 on page 9-7.
• Right Side Cover Removal Procedure
Figure 8-9 Removing the Printer Cover
• Right Side Cover Installation Procedure

 Loading...


