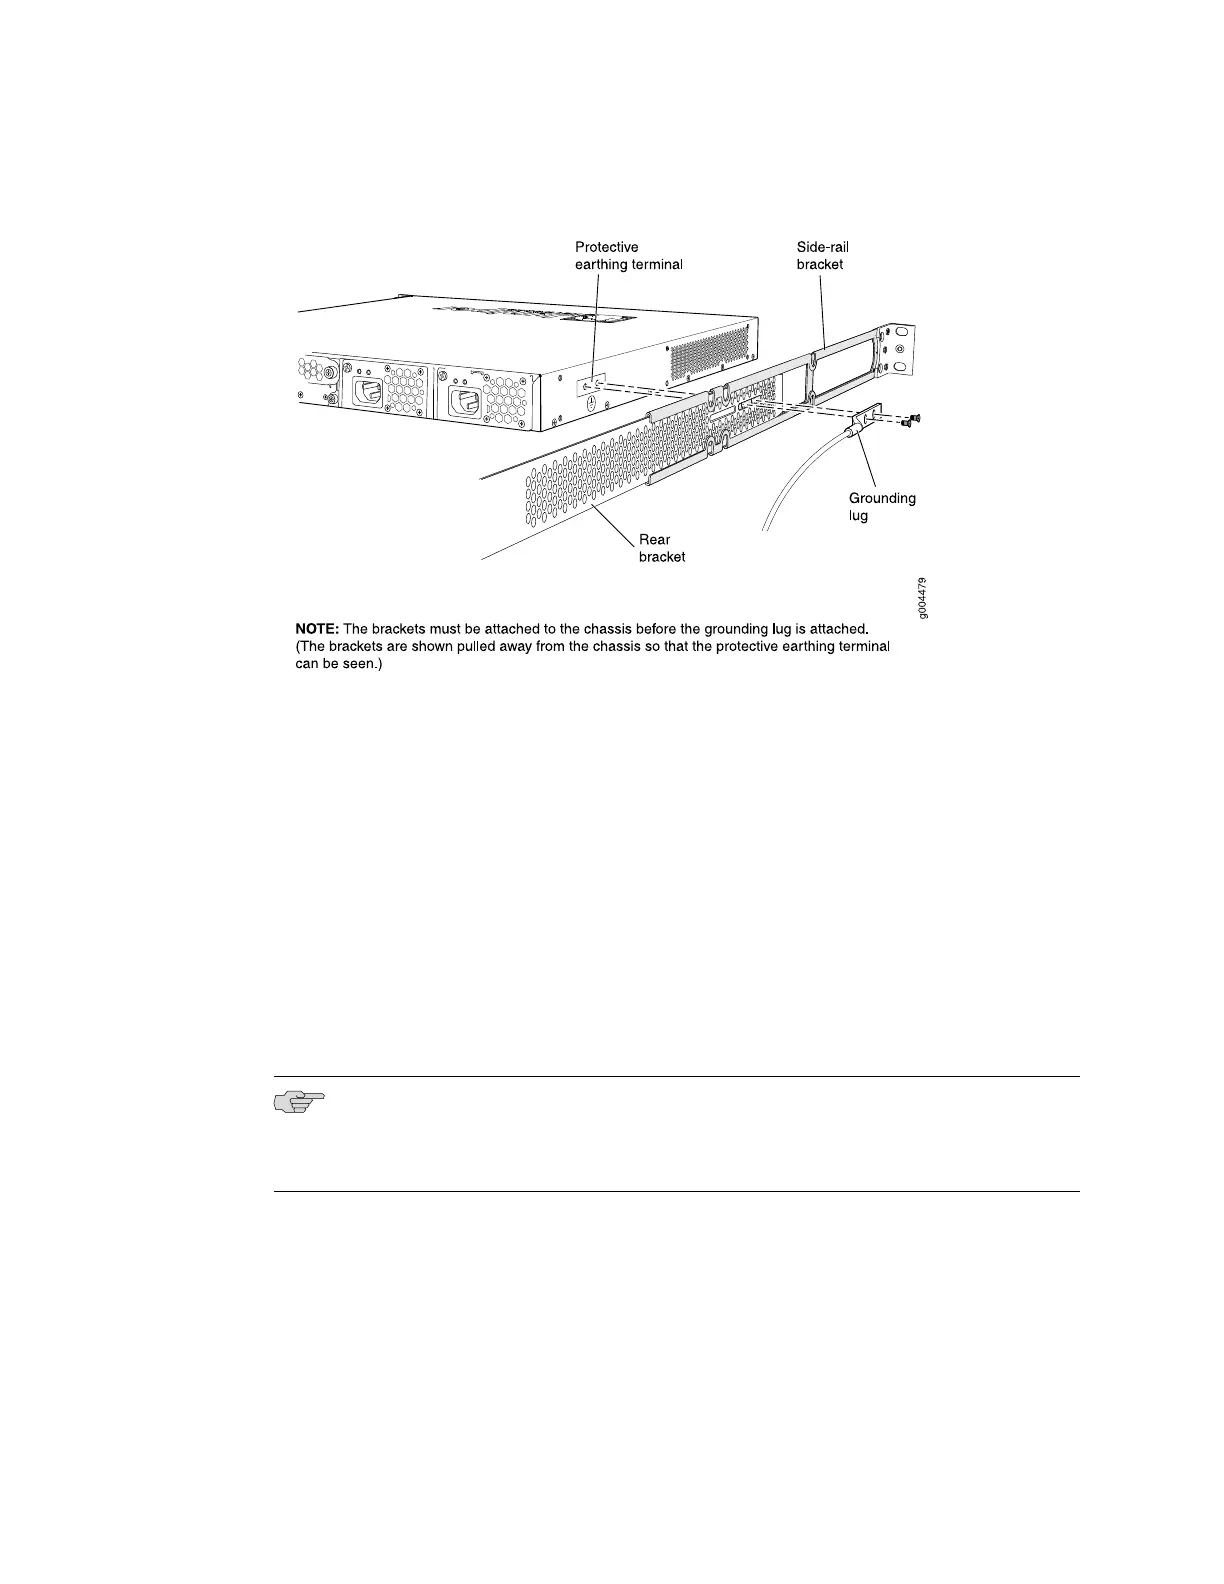
Figure 35: Connecting the Grounding Lug to an EX4200 Switch on a Four-Post Rack
3. Secure the grounding lug to the protective earthing terminal with screws.
4. Dress the grounding cable and ensure that it does not touch or block access to
other switch components and that it does not drape where people could trip
over it.
Connecting Earth Ground to an EX4500 Switch
The protective earthing terminal is located on the left rear of the chassis in an EX4500
switch.
An AC-powered EX Series switch chassis gets additional grounding when you plug
the power supply in the switch into a grounded AC power outlet by using an AC
power cord appropriate for your geographical location. See “AC Power Cord
Specifications for an EX4500 Switch” on page 57.
NOTE: If you plan to mount your switch on four posts of a rack or cabinet, mount
your switch in the rack or cabinet before attaching the grounding lug to the switch.
See “Mounting an EX4500 Switch on Four Posts in a Rack or Cabinet” on page 68
Ensure that you have the following parts and tools available:
■ Grounding cable for your EX4500 switch—The grounding cable must be 14 AWG
(2 mm²), minimum 90°C wire, or as permitted by the local code.
■ Grounding lug for your grounding cable. See “Grounding Cable and Lug
Specifications for EX4500 Switches” on page 39.
86 ■ Connecting Earth Ground to an EX4500 Switch
Complete Hardware Guide for EX4500 Ethernet Switches
 Loading...


