of each fiber-optic cable connector with a rubber safety cap immediately after
disconnecting the fiber-optic cables.
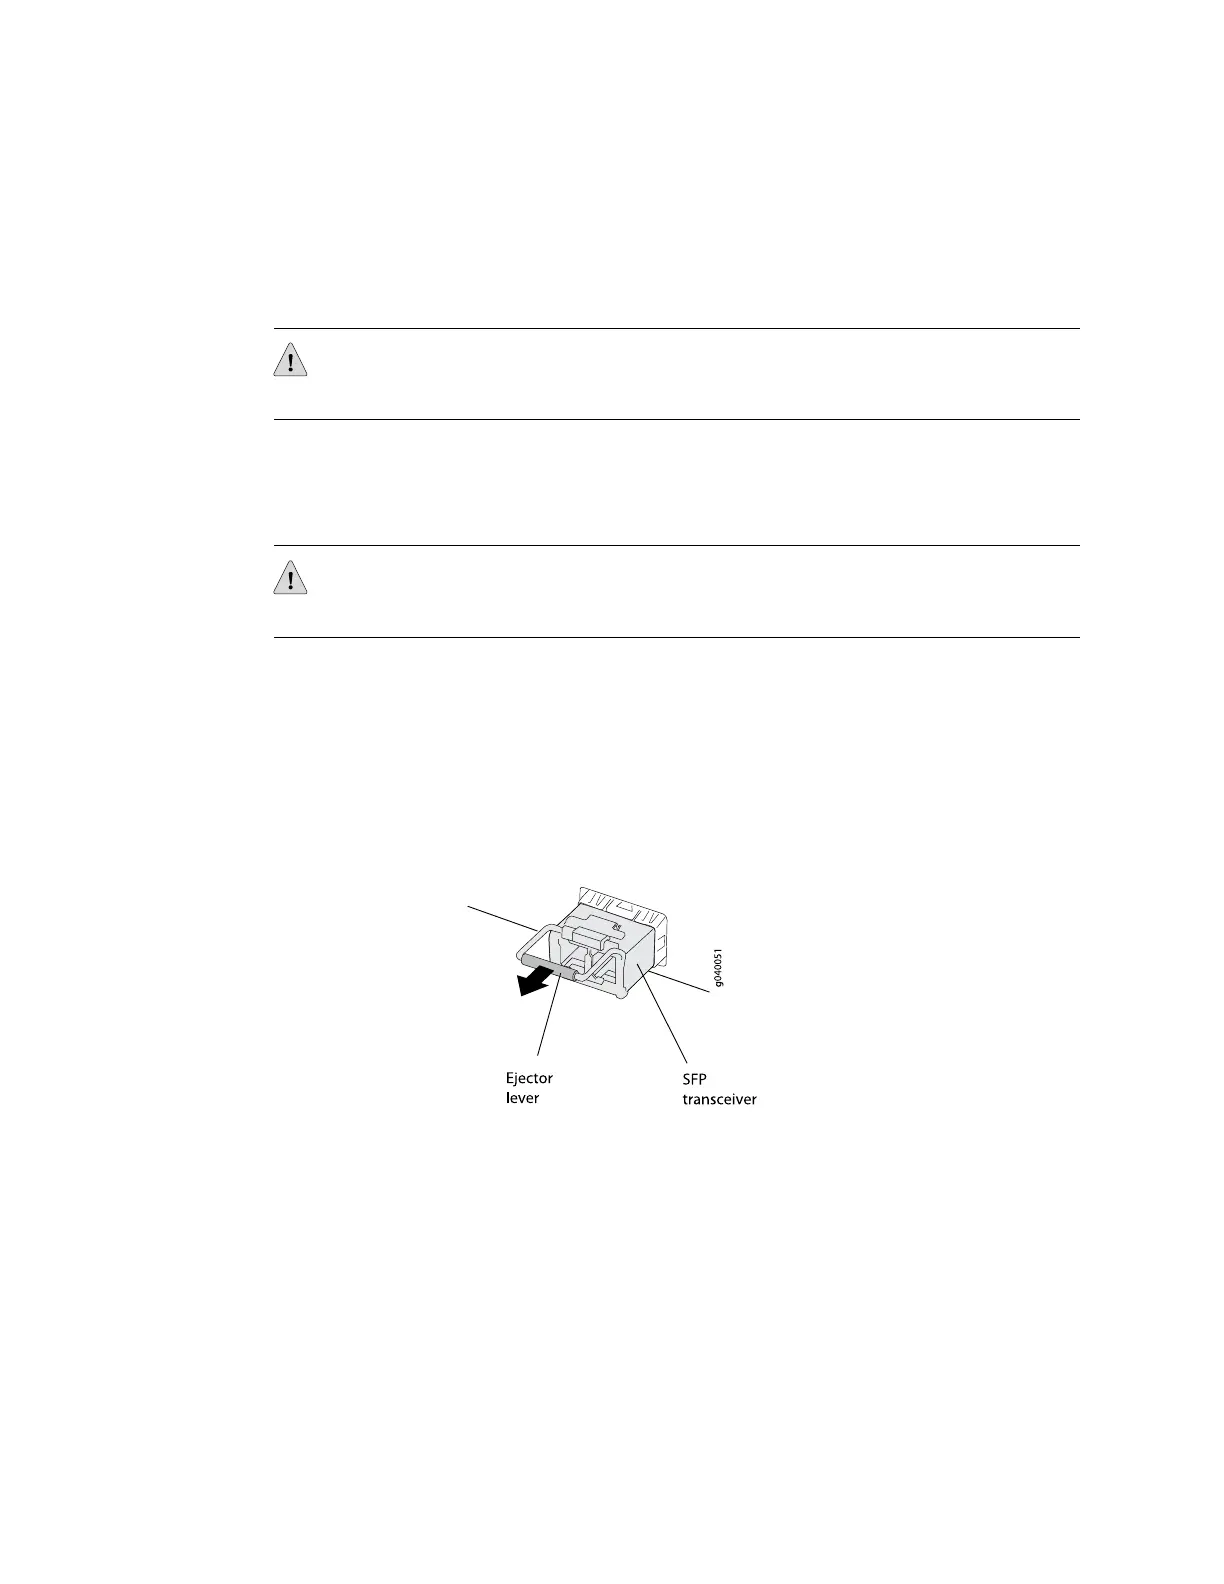
4. Using your fingers, pull the ejector lever on the transceiver to unlock the
transceiver.
CAUTION: Before removing the transceiver, make sure you open the ejector lever
completely until you hear it click. This prevents damage to the transceiver.
5. Using the needlenose pliers, pull the ejector lever out from the transceiver.
6. Grasp the transceiver ejector lever and gently slide the transceiver approximately
0.5 in. (1.3 cm) straight out of the port.
CAUTION: To avoid electrostatic discharge (ESD) damage to the transceiver, do not
touch the connector pins at the end of the transceiver.
7. Using your fingers, grasp the body of the transceiver and pull it straight out of
the port.
8. Place the transceiver in the antistatic bag or on the antistatic mat placed on a
flat, stable surface.
9. Place the dust cover over the empty port.
Figure 50: Removing a Transceiver from an EX Series Switch
Related Topics ■ Installing a Transceiver in an EX Series Switch on page 81
■ Optical Interface Support in EX2200 Switches
■ Optical Interface Support in EX3200 and EX4200 Switches
■ Optical Interface Support in EX4500 Switches on page 31
■ Optical Interface Support in EX8200 Switches
Removing a Transceiver from an EX Series Switch ■ 127
Chapter 13: Removing Switch Components
 Loading...


