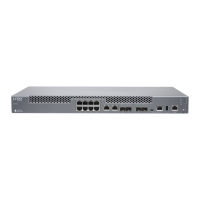
Figure 126: Setting the Enable Switches for the Power Source
2—1— Power switch, on (|) and standby (o)Dip switches for enabling input sources
21. Verify that the input 1 and 2 LEDs on the power supply faceplate are lit and are on steadily.
22. Press the power switch to the on (|) position.
SEE ALSO
How to Remove a JNP10K-PWR-DC Power Supply | 215
Connecting DC Power to an MX10000 | 164
Power Requirements for an MX10008 Router | 100
Field-Replaceable Units in an MX10008 | 38
JNP10K-PWR-AC Power Supply | 61
How to Remove a JNP10K-PWR-DC2 Power Supply
The JNP10K-PWR-DC2 power supply in an MX10000 chassis is a hot-removable and hot-insertable
field-replaceable unit (FRU). You remove power supplies from the rear of the chassis.
CAUTION: A working JNP10K-PWR-DC2 power supply can reach temperatures of 158°F
(70°C); In order to avoid injury, do not touch a running power supply with your bare
hands.
230

 Loading...