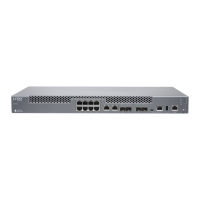
Install a Transceiver
The transceivers for the router are hot-removable and hot-insertable field-replaceable units (FRUs). You
can remove and replace transceivers without powering off the device or disrupting device functions.
NOTE: After you insert a transceiver or after you change the media-type configuration, wait for
6 seconds for the interface to display the operational commands.
NOTE: We recommend that you use only optical transceivers and optical connectors purchased
from Juniper Networks with your Juniper Networks device.
CAUTION: If you face a problem running a Juniper Networks device that uses a third-party
optic or cable, the Juniper Networks Technical Assistance Center (JTAC) can help you
diagnose the source of the problem. Your JTAC engineer might recommend that you
check the third-party optic or cable and potentially replace it with an equivalent Juniper
Networks optic or cable that is qualified for the device.
Before you begin installing a transceiver in a router, ensure that you have taken the necessary precautions
for safe handling of lasers (see “Laser and LED Safety Guidelines and Warnings” on page 330).
Ensure that you have a rubber safety cap available to cover the transceiver.
Figure 159 on page 269 shows how to install a QSFP+ transceiver. The procedure is the same for all types
of transceivers except the QSFP28 and CFP transceivers.
To install a transceiver in the router:
CAUTION: To avoid electrostatic discharge (ESD) damage to the transceiver, do not
touch the connector pins at the end of the transceiver.
1. Wrap and fasten one end of the ESD wrist strap around your bare wrist, and connect the other end of
the strap to the ESD point on the router.
2. Remove the transceiver from its bag.
267

 Loading...