Section 2 Setup, Starting, and Exiting 2-2 Installing the NS-Designer
NS-Designer Operation Manual
NS-Designer Operation Manual
2-2-2 Installation Procedure
1. Start up Windows 95, 98, NT, Me, 2000, or XP.
2. Close all applications before executing installation. Place the NS-Designer CD-ROM in the
CD-ROM drive. The setup program is started automatically. If the setup program does not start
automatically, such as after executing uninstall, locate Setup.exe in the CD-ROM using Windows
Explorer, and then double-click the file to execute the setup program.
Reference
♦ If NS-Designer Ver. 2.X, 3.X, 4.X, 5.X, or 6.X is already installed, a dialog box to confirm deletion of
this version will be displayed. Click the OK Button to start deleting this version. To exit the setup
program, click the Cancel Button and then click the Exit Button.
FinsGateway and CX-Server will not be uninstalled by this operation.
R
R
e
e
f
f
e
e
r
r
e
e
n
n
c
c
e
e
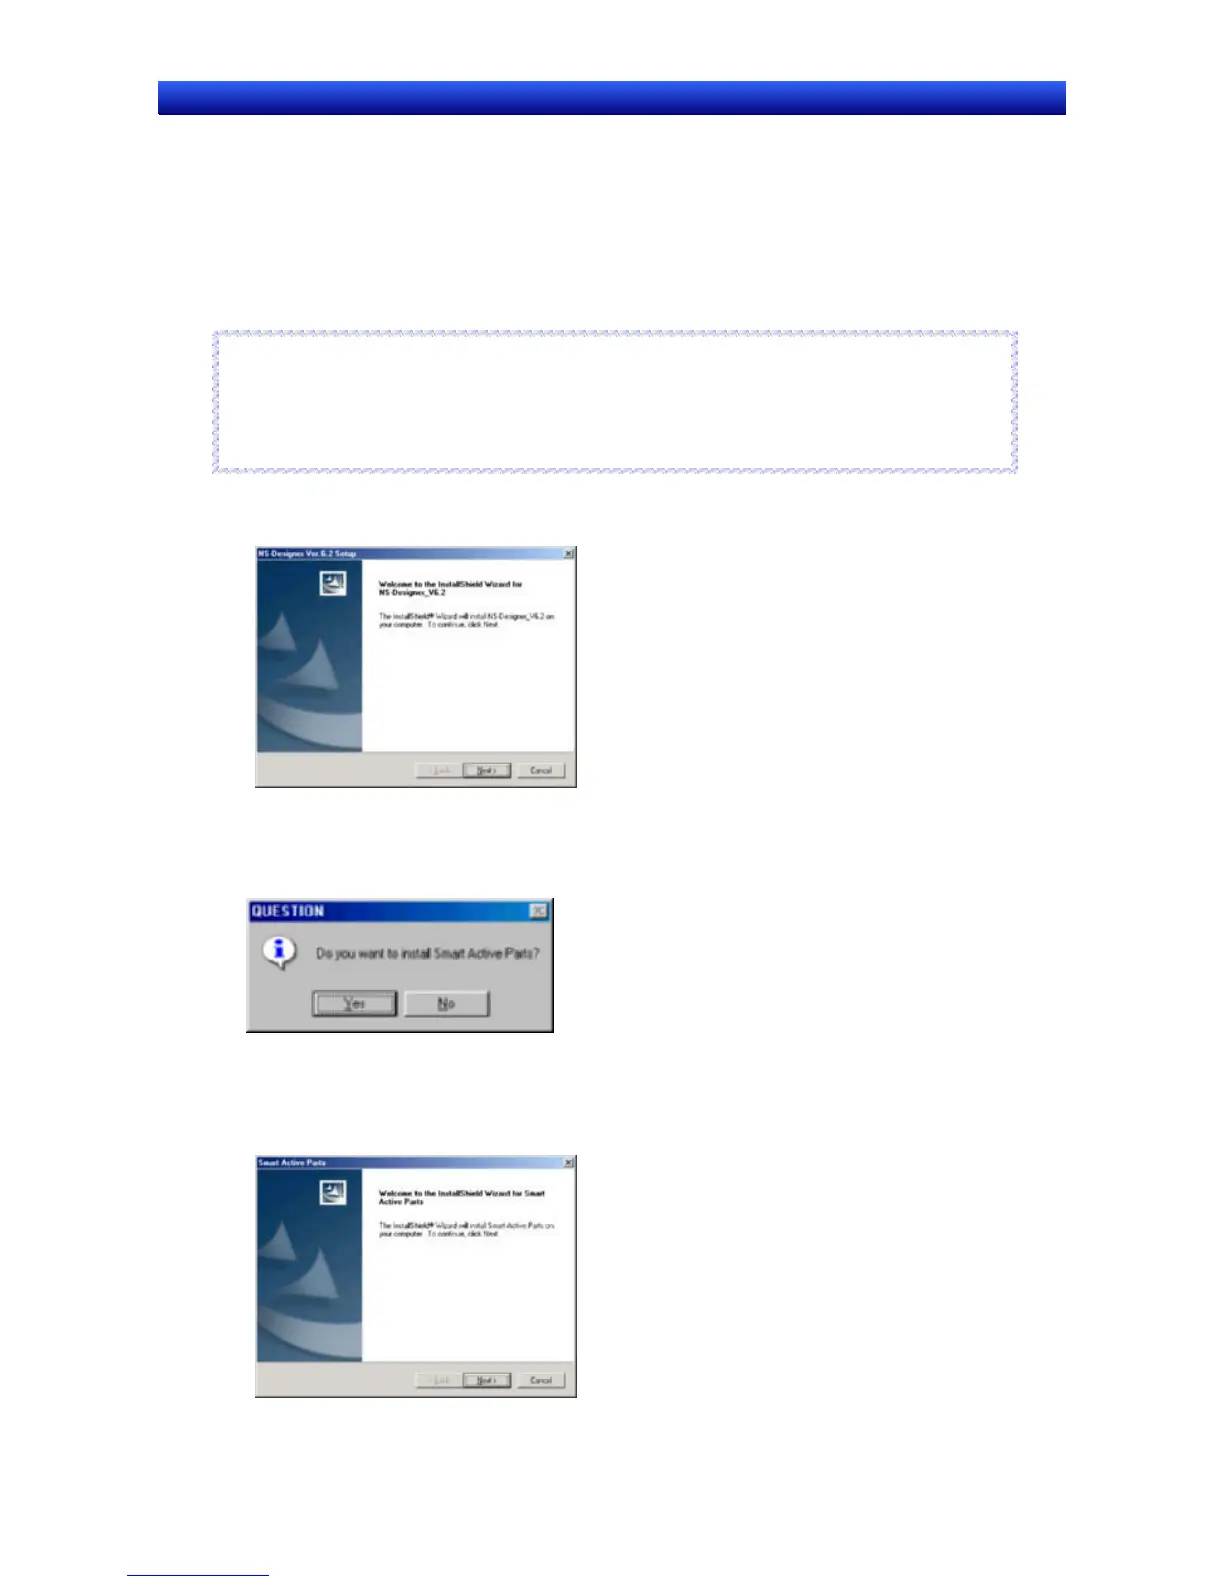
3. The NS-Designer Setup Wizard will be displayed.
Install the NS-Designer by following the instructions in the Setup Wizard.
4. During installation, the installation progress is displayed as a percentage.
5. When NS-Designer installation has been completed, a message to confirm installation of Smart
Active Parts will be displayed. Click the Yes Button to start the installation. If Smart Active Parts
installation is not required, click the No Button and proceed to step 10.
Smart Active Parts are libraries containing setting/monitoring screens (e.g., Position Control Unit
setting screens and Temperature Controller monitoring screens).
6. The following dialog box will be displayed. Click the Next Button.
2-3
 Loading...