6 - 9
6 Installation
NX-series EtherCAT Coupler Unit User’s Manual (W519)
6-1 Installing Units
6
6-1-4 Installing the EtherCAT Coupler Unit
This section describes how to install the EtherCAT Coupler Unit.
• Always turn OFF the power supply before installing the Unit.
If the power supply is not OFF, the Unit may malfunction or may be damaged.
• Do not apply labels or tape to the Unit. When the Unit is installed or removed, adhesive or
scraps may adhere to the pins in the NX bus connector, which may result in malfunctions.
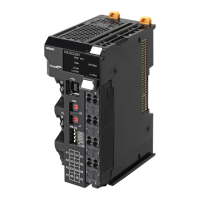
• Do not write on the EtherCAT Coupler Unit with ink within the restricted region that is shown
in the following figure. Also do not get this area dirty. When the Unit is installed or removed,
ink or dirt may adhere to the pins in the NX bus connector, which may result in malfunctions
in the EtherCAT Slave Terminal.
Precautions for Correct Use
• When you handle the Unit, be careful not to touch or bump the pins in the NX bus connector.
• When you handle the Unit, be careful not to apply stress to the pins in the NX bus connector.
If the Unit is installed and the power supply is turned ON when the pins in the NX bus con-
nector are deformed, contact failure may cause malfunctions.
1
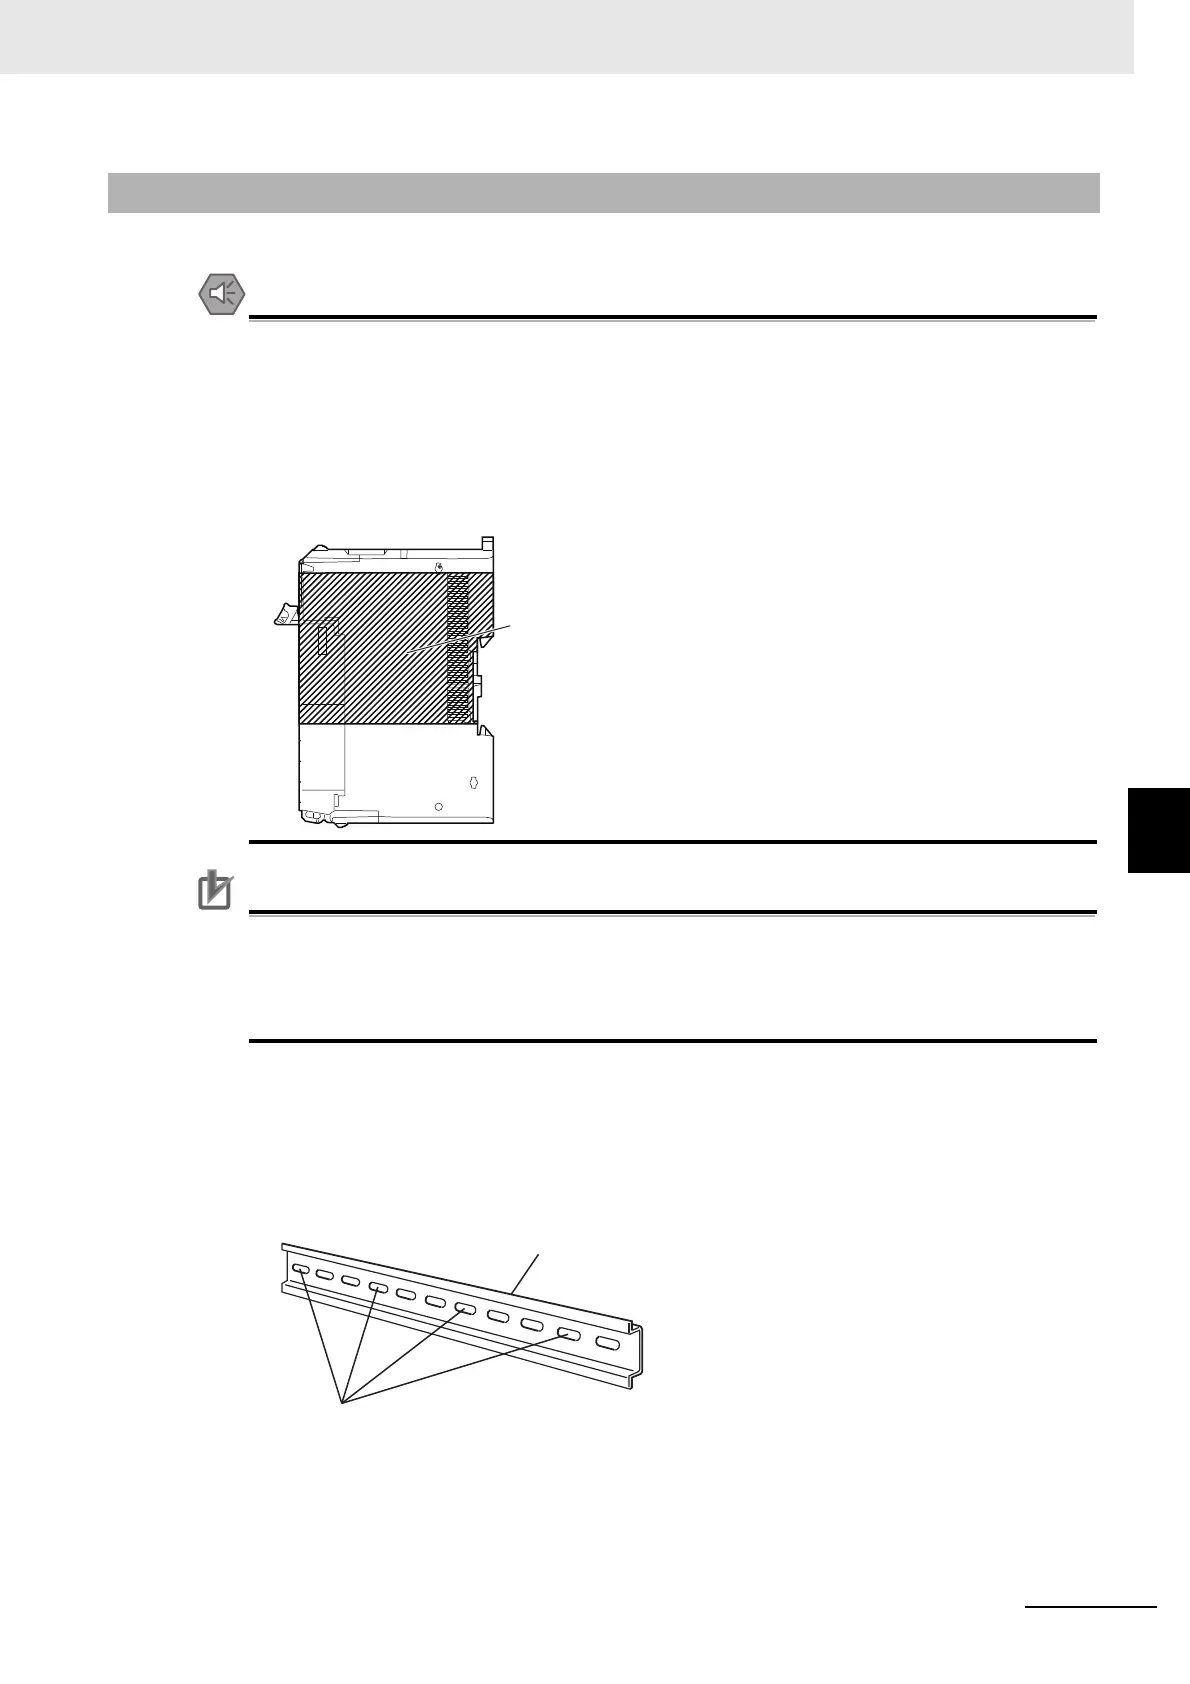
Install the DIN Track.
• Using a PFP-50N/100N DIN Track
Use one M4 screw for each three holes in the DIN Track. There must be a screw for each inter-
val of 105 mm or less. The screw tightening torque is 1.2 N·m.
6-1-4 Installing the EtherCAT Coupler Unit
Restricted region (shaded portion)
DIN Track
Use one screw for each three holes.
 Loading...